
<!–
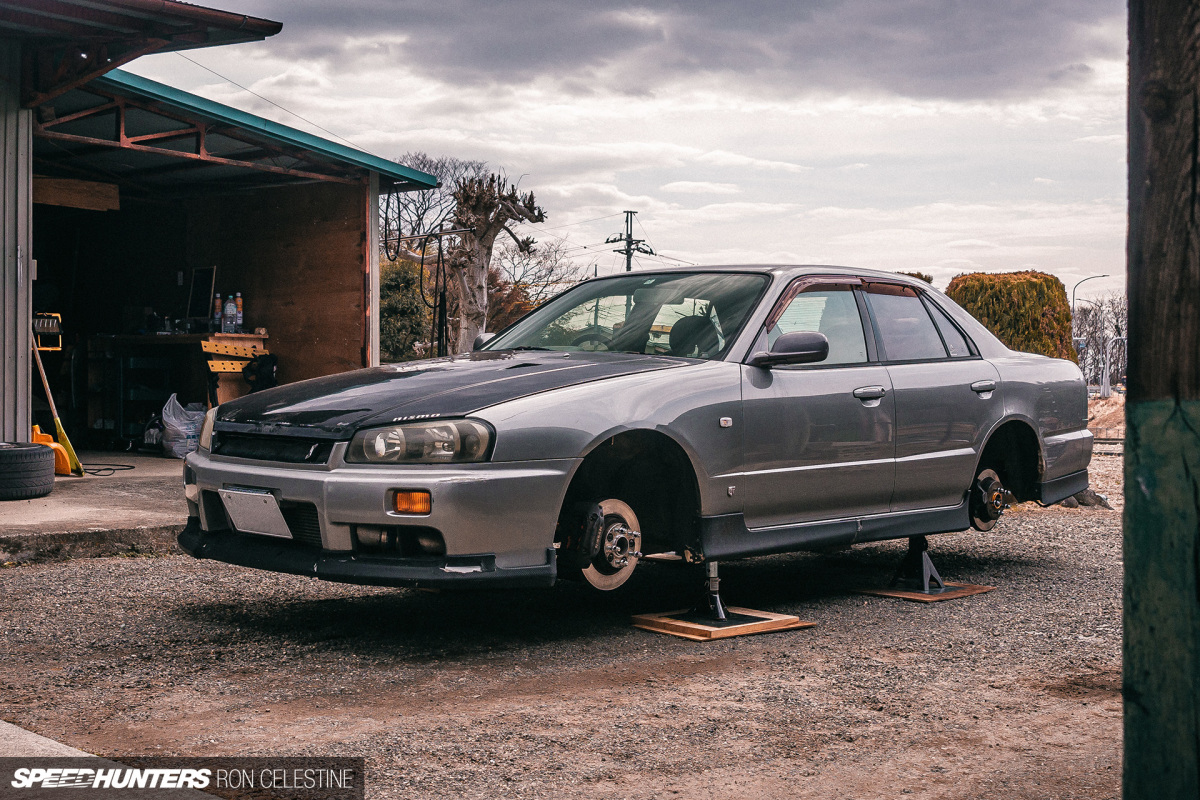
With Project Rough, my 1999 ER34 Nissan Skyline 25GT-T, I have challenged myself to take on some rather ambitious DIY projects. I’ve done this not only for the sake of fixing and improving my Skyline, but also to gain a better understanding of how cars work mechanically, through trial and error.
It’s safe to say there’s been a bit of error along the way, but what is learning without failure a few times in the process? Sure, you can research and study theories on how things should work, but until you actually apply these ideas and concepts in the real world, you truly won’t know.
With this and my next couple of SH Garage stories, I’m going to cover off what I’ve been trying to understand over the past year. Because finally, I’ve had some success.
The best modification you can do to your car to enhance performance is fit stickier rubber on all four corners. After all, the only thing that is actually connecting the car to the pavement is the tires themselves, thus it makes sense to go for the grippiest tires you can afford and reap the instant benefits, right?
Well, yes, however I think there should be a caveat to this, that being the state of your suspension and its geometry.
If you have tired or completely shot suspension bushings, you’re not going to be able to maximize the potential grip that becomes available with decent tires. Likewise, if you have worn suspension components including control arms, shock absorbers and tie rods, you’re simply leaving performance on the table. Wheel alignment totally out? Not only will you not be able to take full advantage of those gripper tires, but the car could become unpredictable and, as a consequence, dangerous.
On the flip side, if you’re confident your car’s suspension system is in good working condition and is set up correctly, then yes, a good set of performance tires will have a really positive effect on how well it drives.
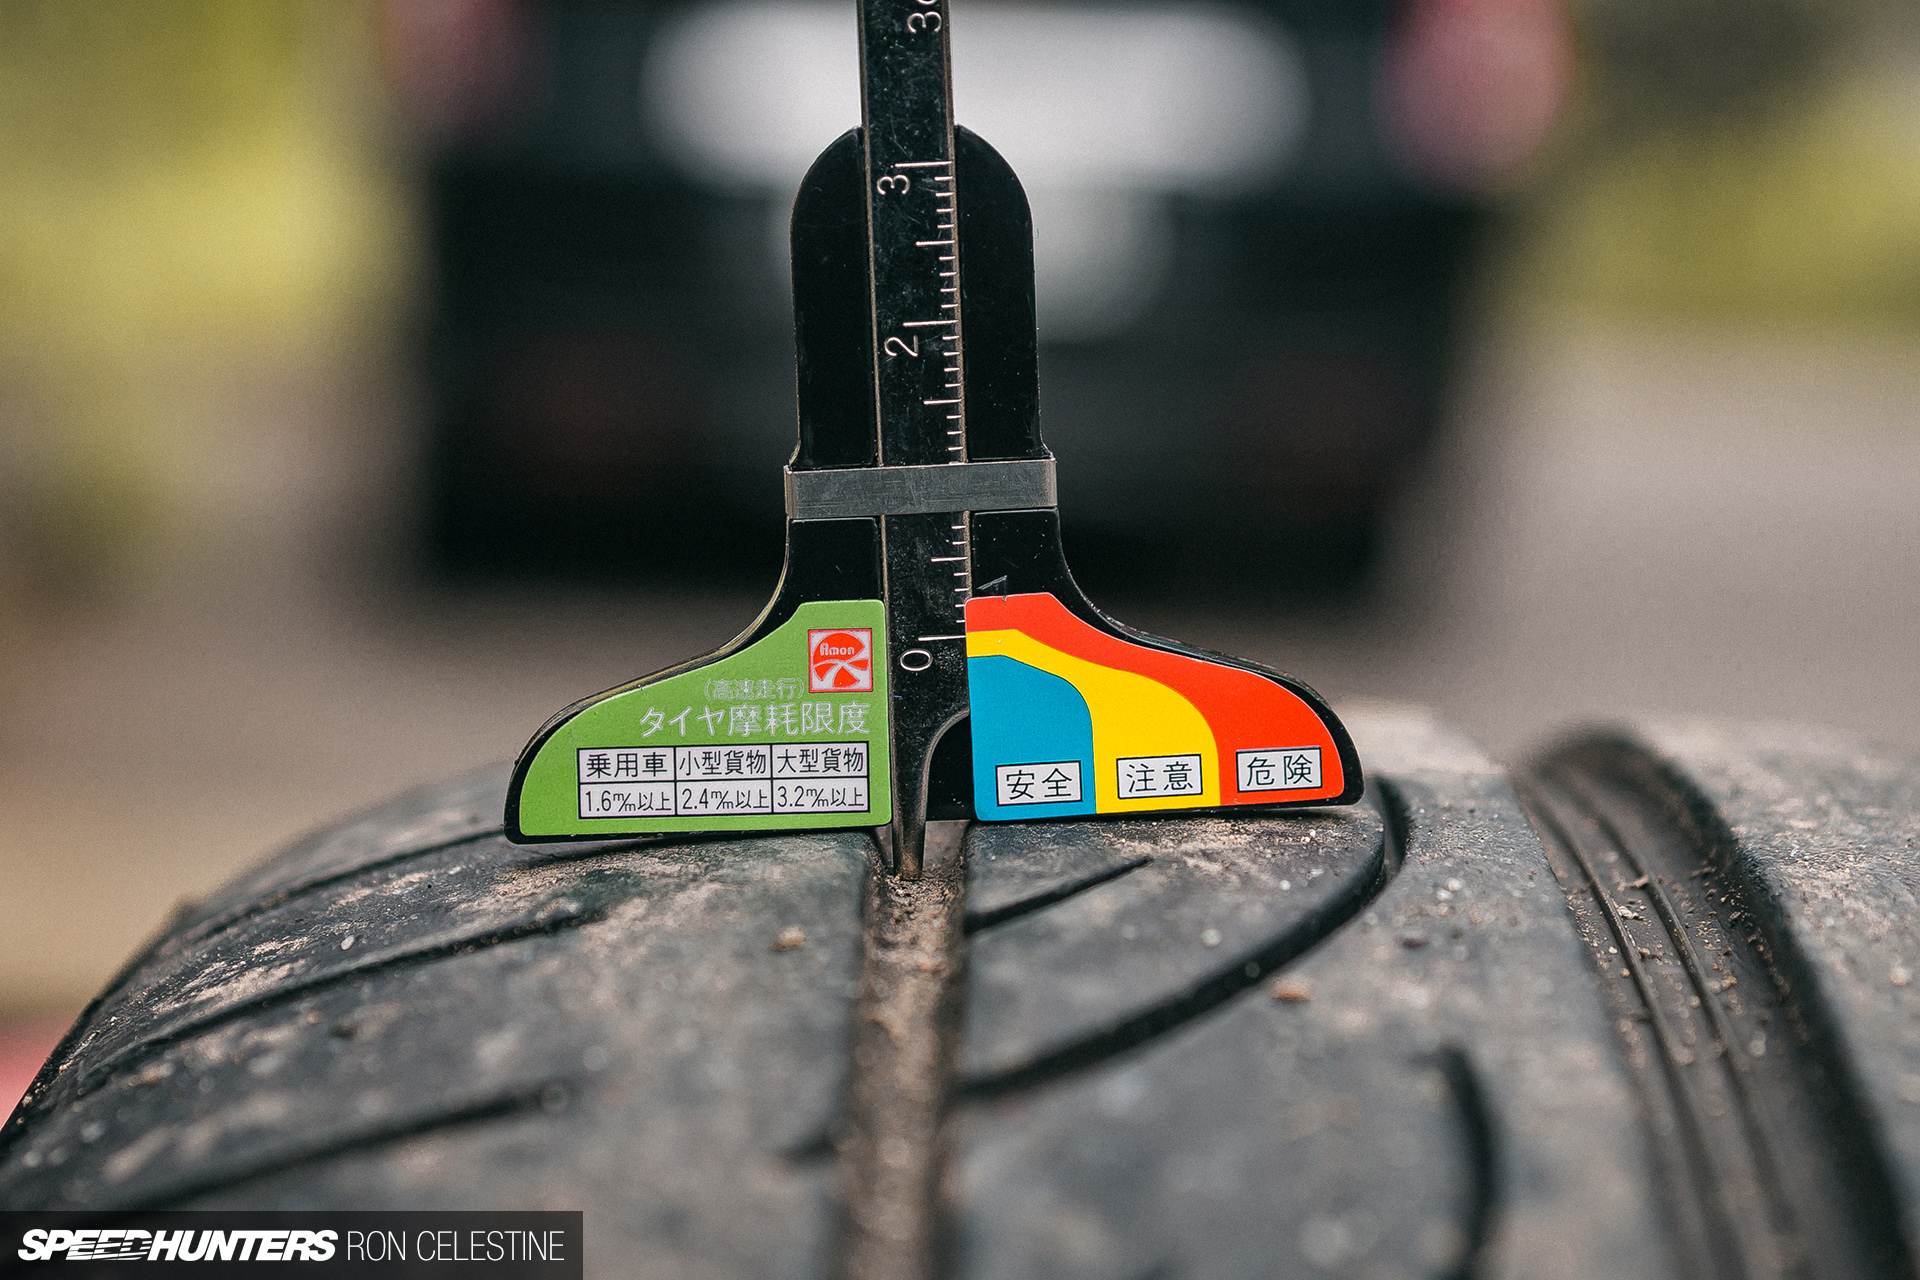
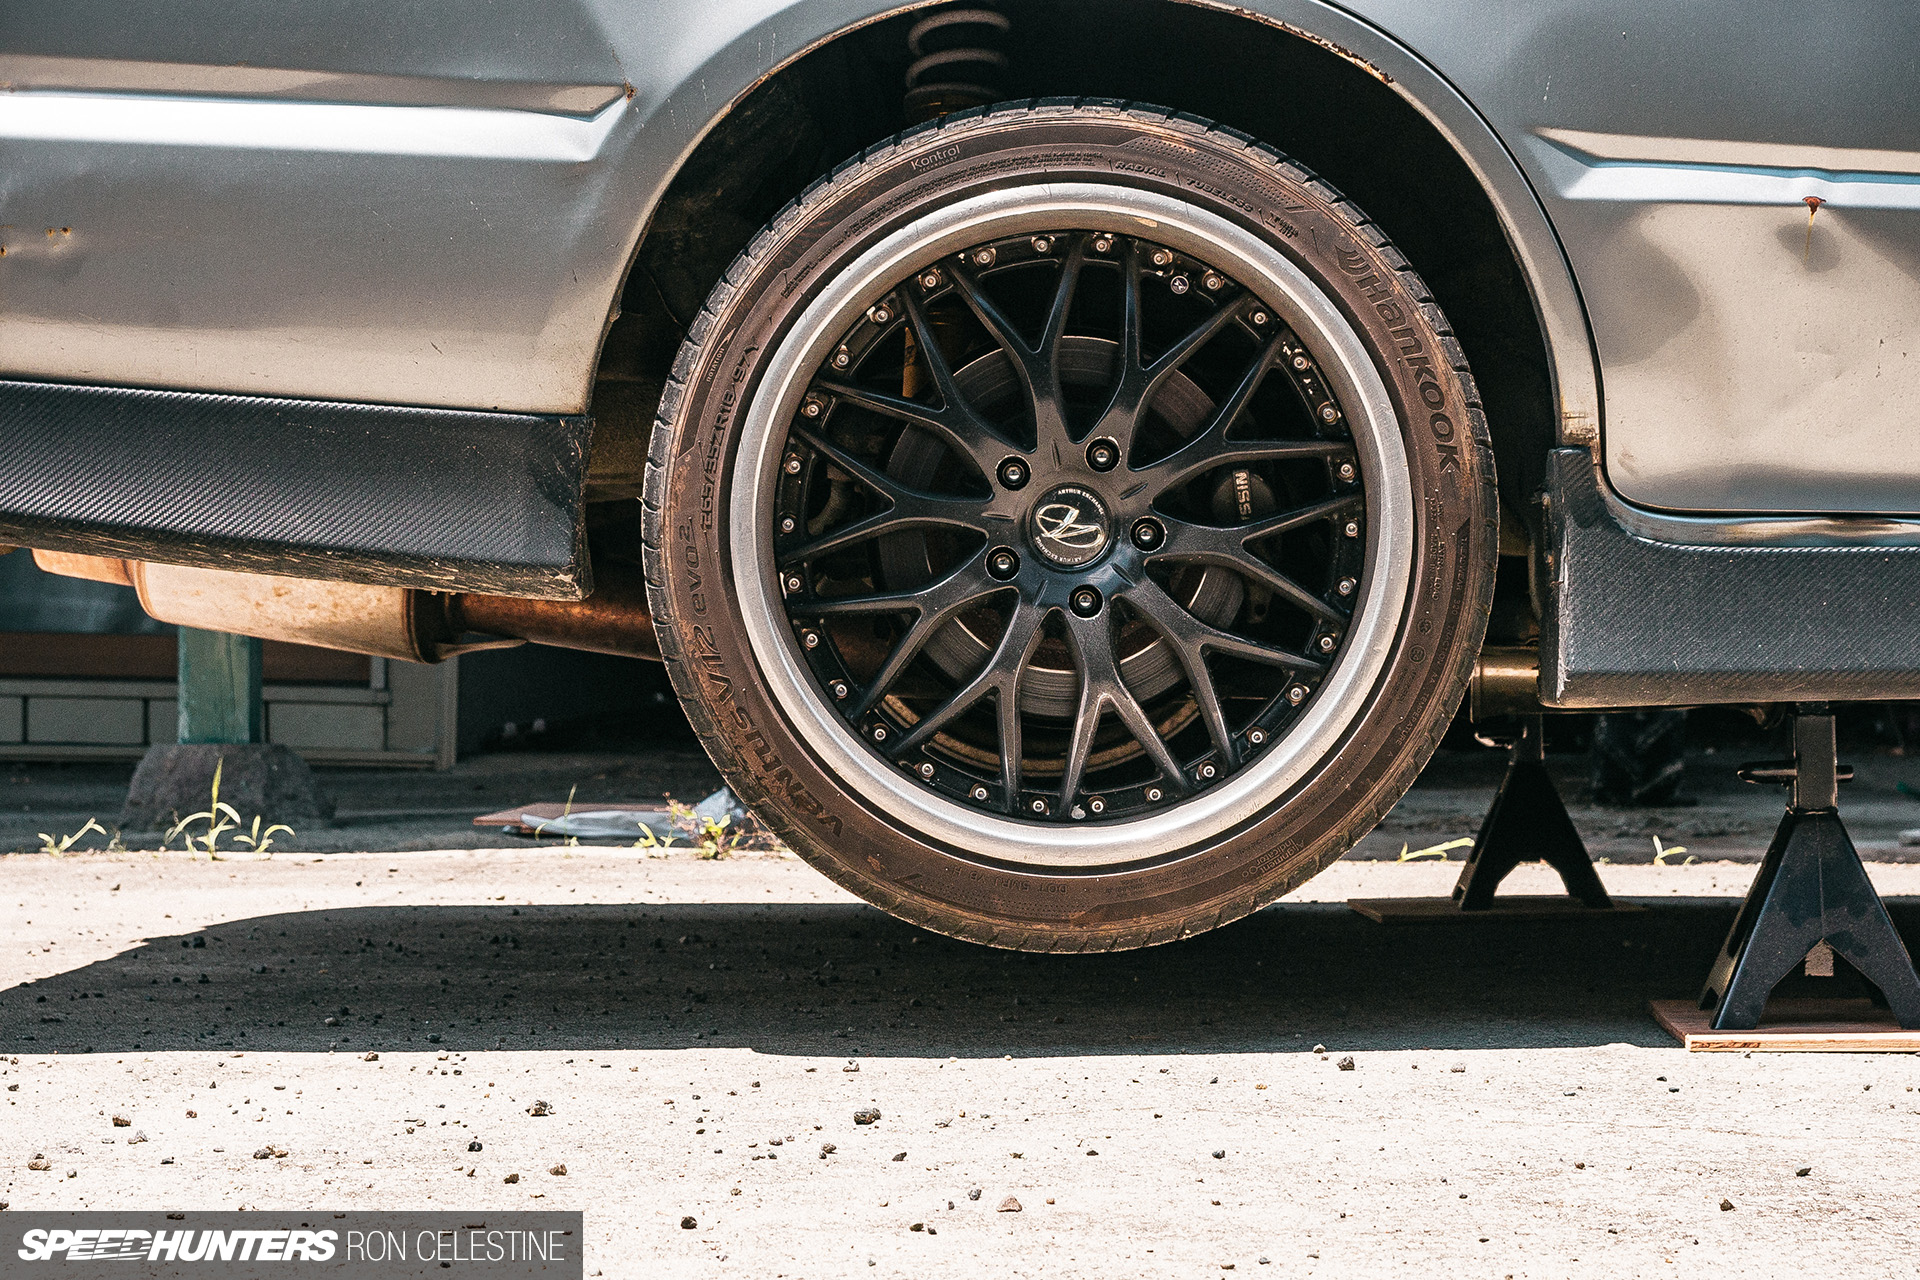
I’ve been running Hankook Ventus V12 Evo2s on my car, and don’t really have anything bad to say about them. However, a quick check with my tire gauge after a visual inspection revealed it was time for them to be replaced.
Even though the Hankooks have been great, I was curious to try something a bit more aggressive to see what kind of effect it would have on Project Rough’s driving performance.
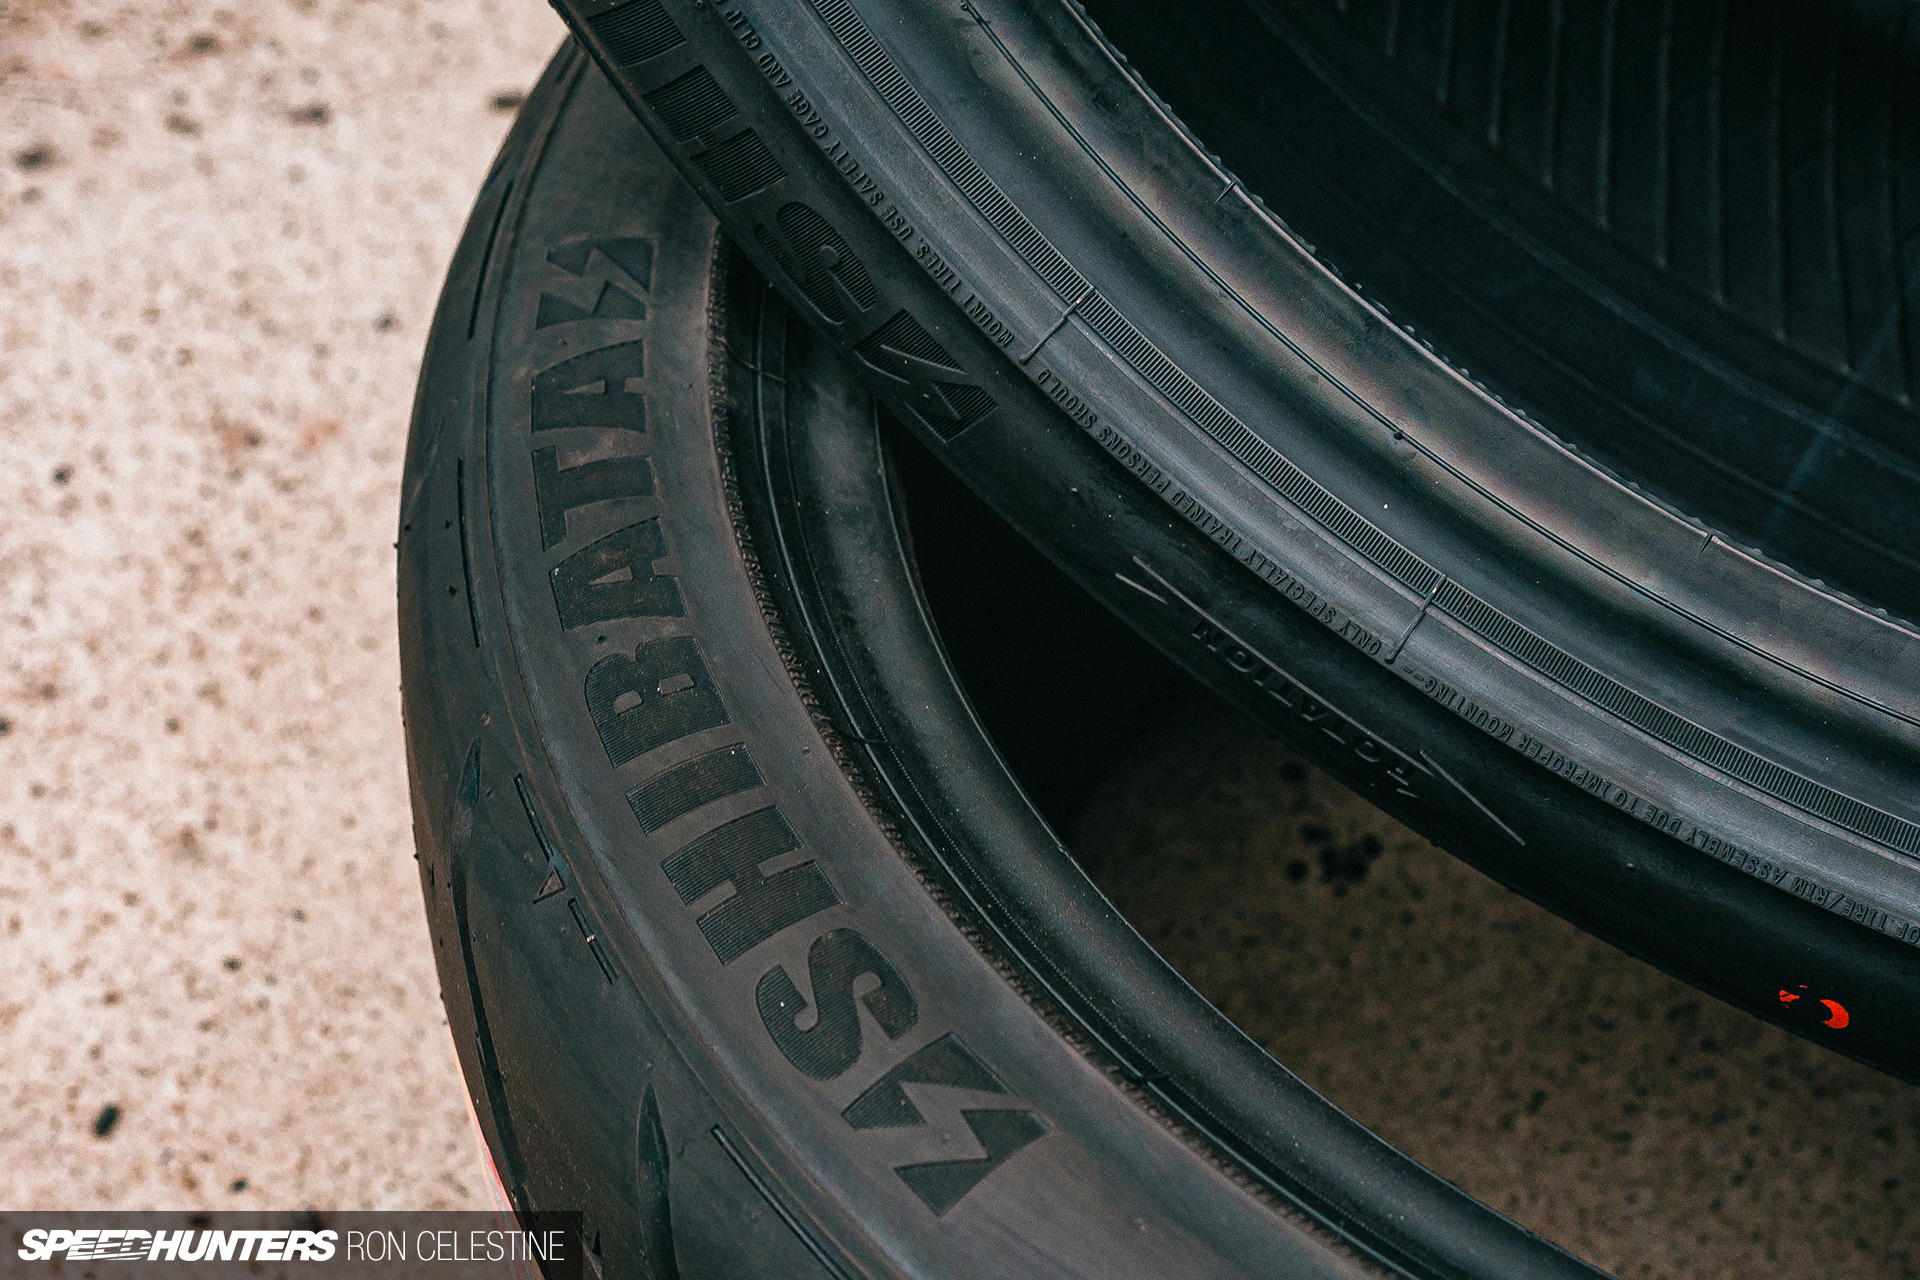
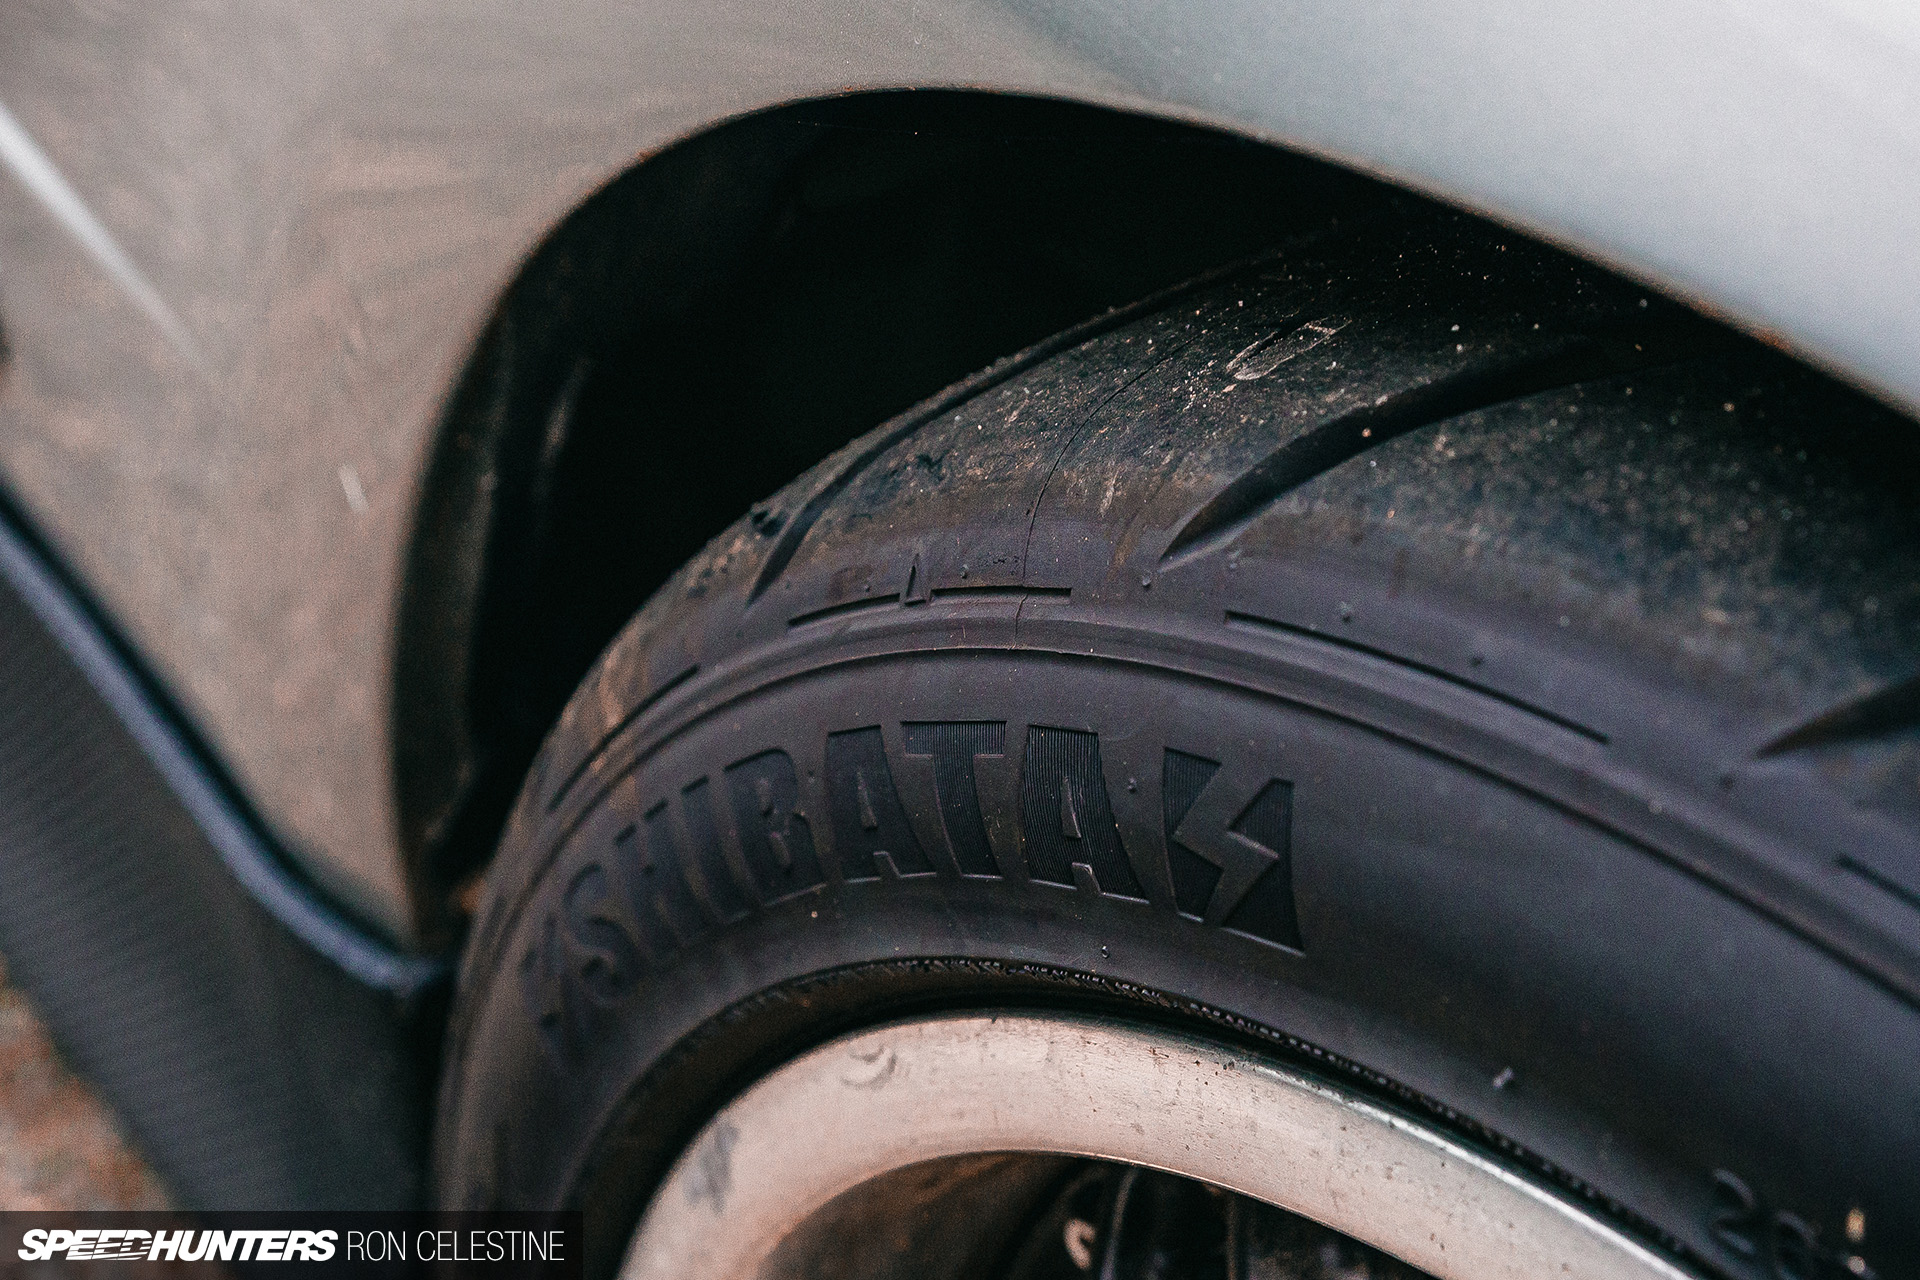
We all know that R31 House is king when it comes to the boxy san-ichi. They do everything from fabrication, painting and modifications through to full ground-up restorations, and all in-house. But R31 House’s owner, Shibata-san, has never rested on his laurels, and is always looking for new ventures. His Shiba Tire business one of those things.
Having heard good things about these tires from a couple of friends, I sent Shibata-san a message to ask him more about them, and why he decided to get into the tire business in the first place. Shibata-san’s response was that he wanted to create a tire with not only excellent performance for time attack, gymkhana, drifting and spirited driving, but one that would also “suit JDM car culture.”
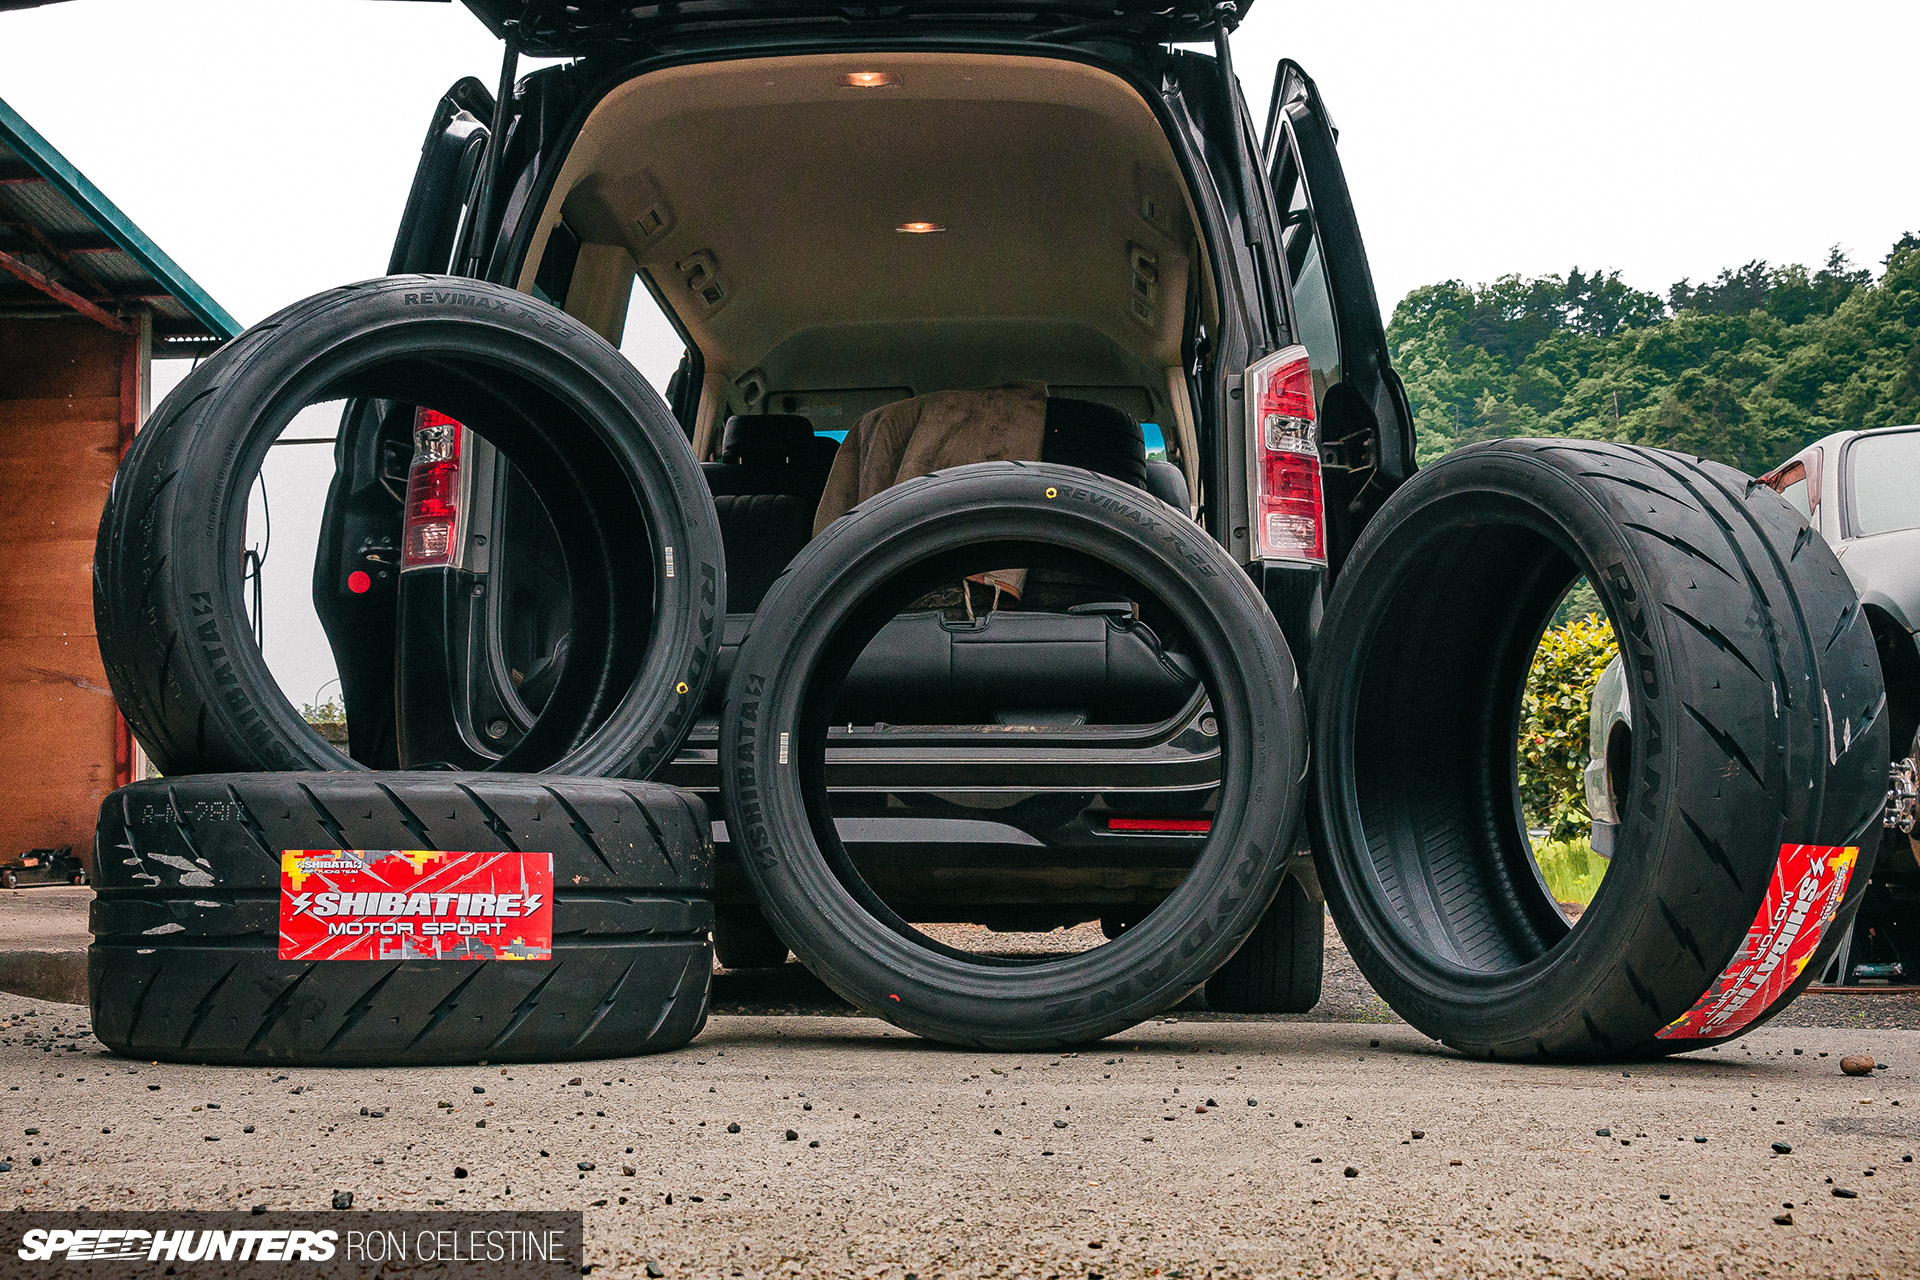
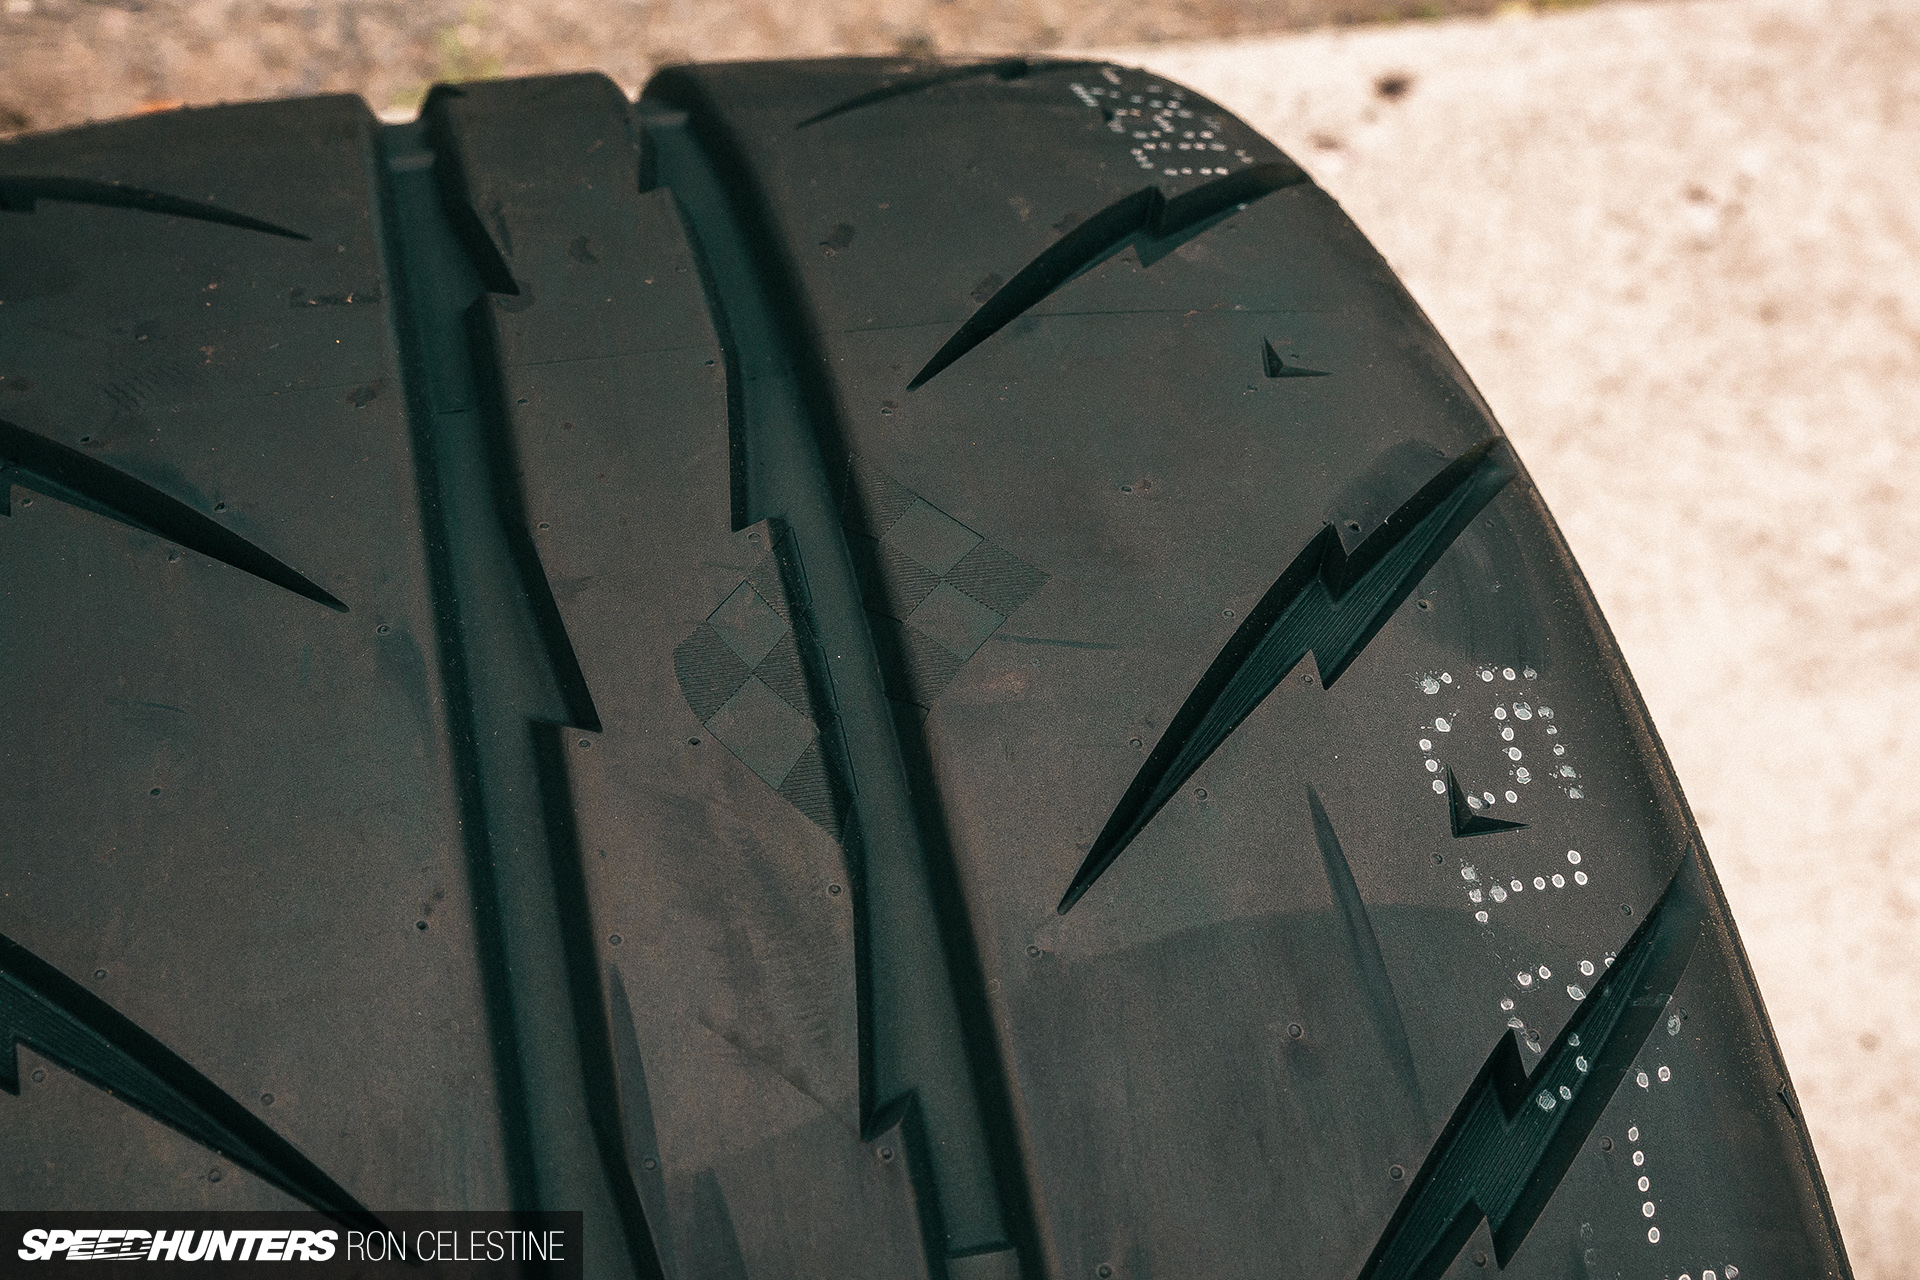
What that roughly translates to is a tire that was designed in Japan and has a unique lightning bolt tread design plus a raised rib that acts as a rim protector, all at an affordable price point. The tires are manufactured in China through a partnership with Rydanz, and are aimed at both newer cars and classic kyusha too.
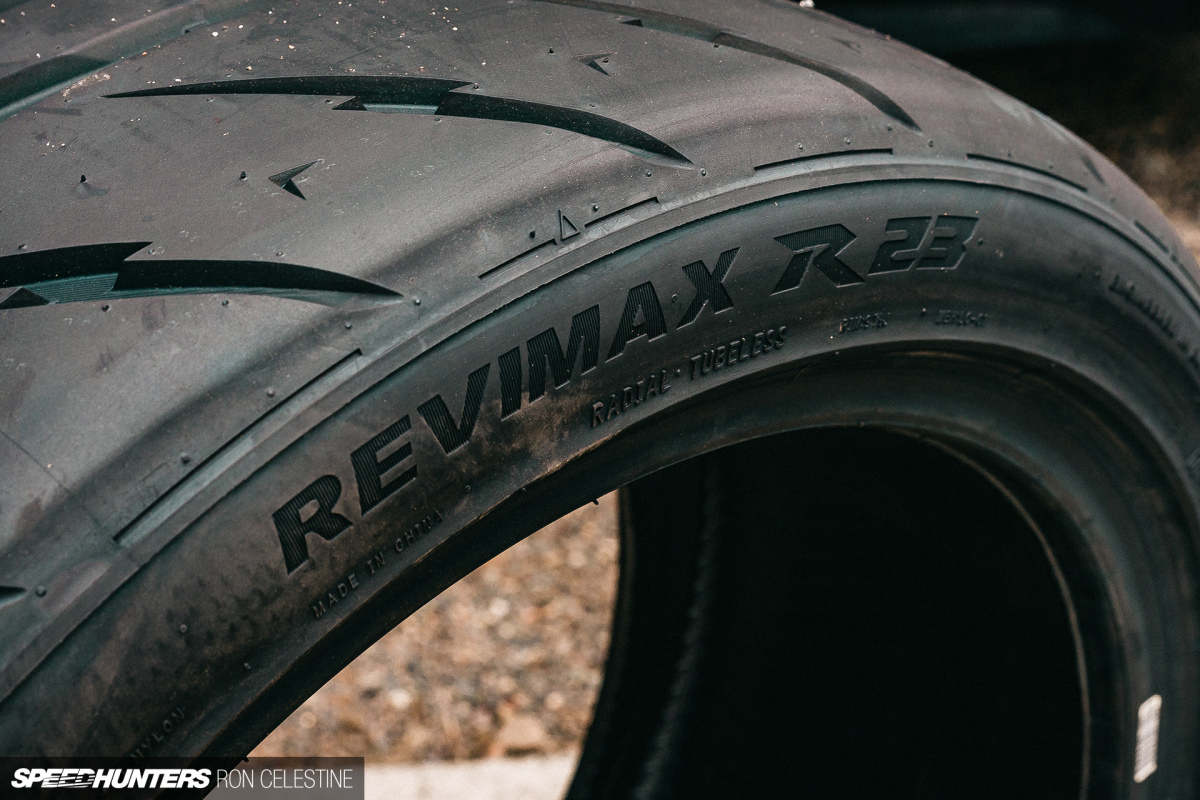
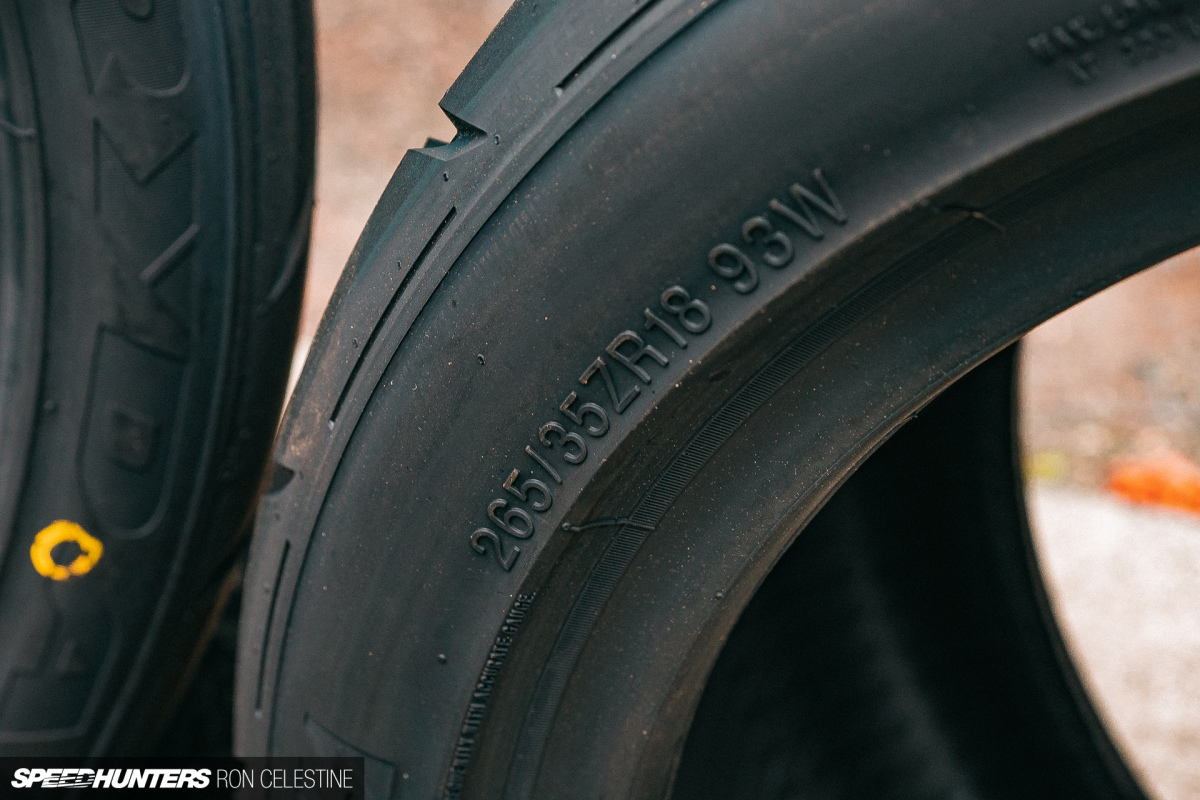

We continued to discuss tires and which model might best suit Project Rough, ending up at Shibata’s Rydanz Revmax R23 in 265/35R18 for all corners. When they first arrived, I couldn’t believe that these have a 280 treadwear rating, and that Shibata-san wanted me to try an even lower treadwear rated tire (though that might happen at a future date).
As of right now, I honestly can’t give too much feedback on the tires due to the fact that by the time I got them mounted (which was the end of last month), the car was still off the road as I completed my latest upgrade project – one I’ve being trying to get my head around off and on for the past year.
The Unglamorous Side Of Project Rough, Part II
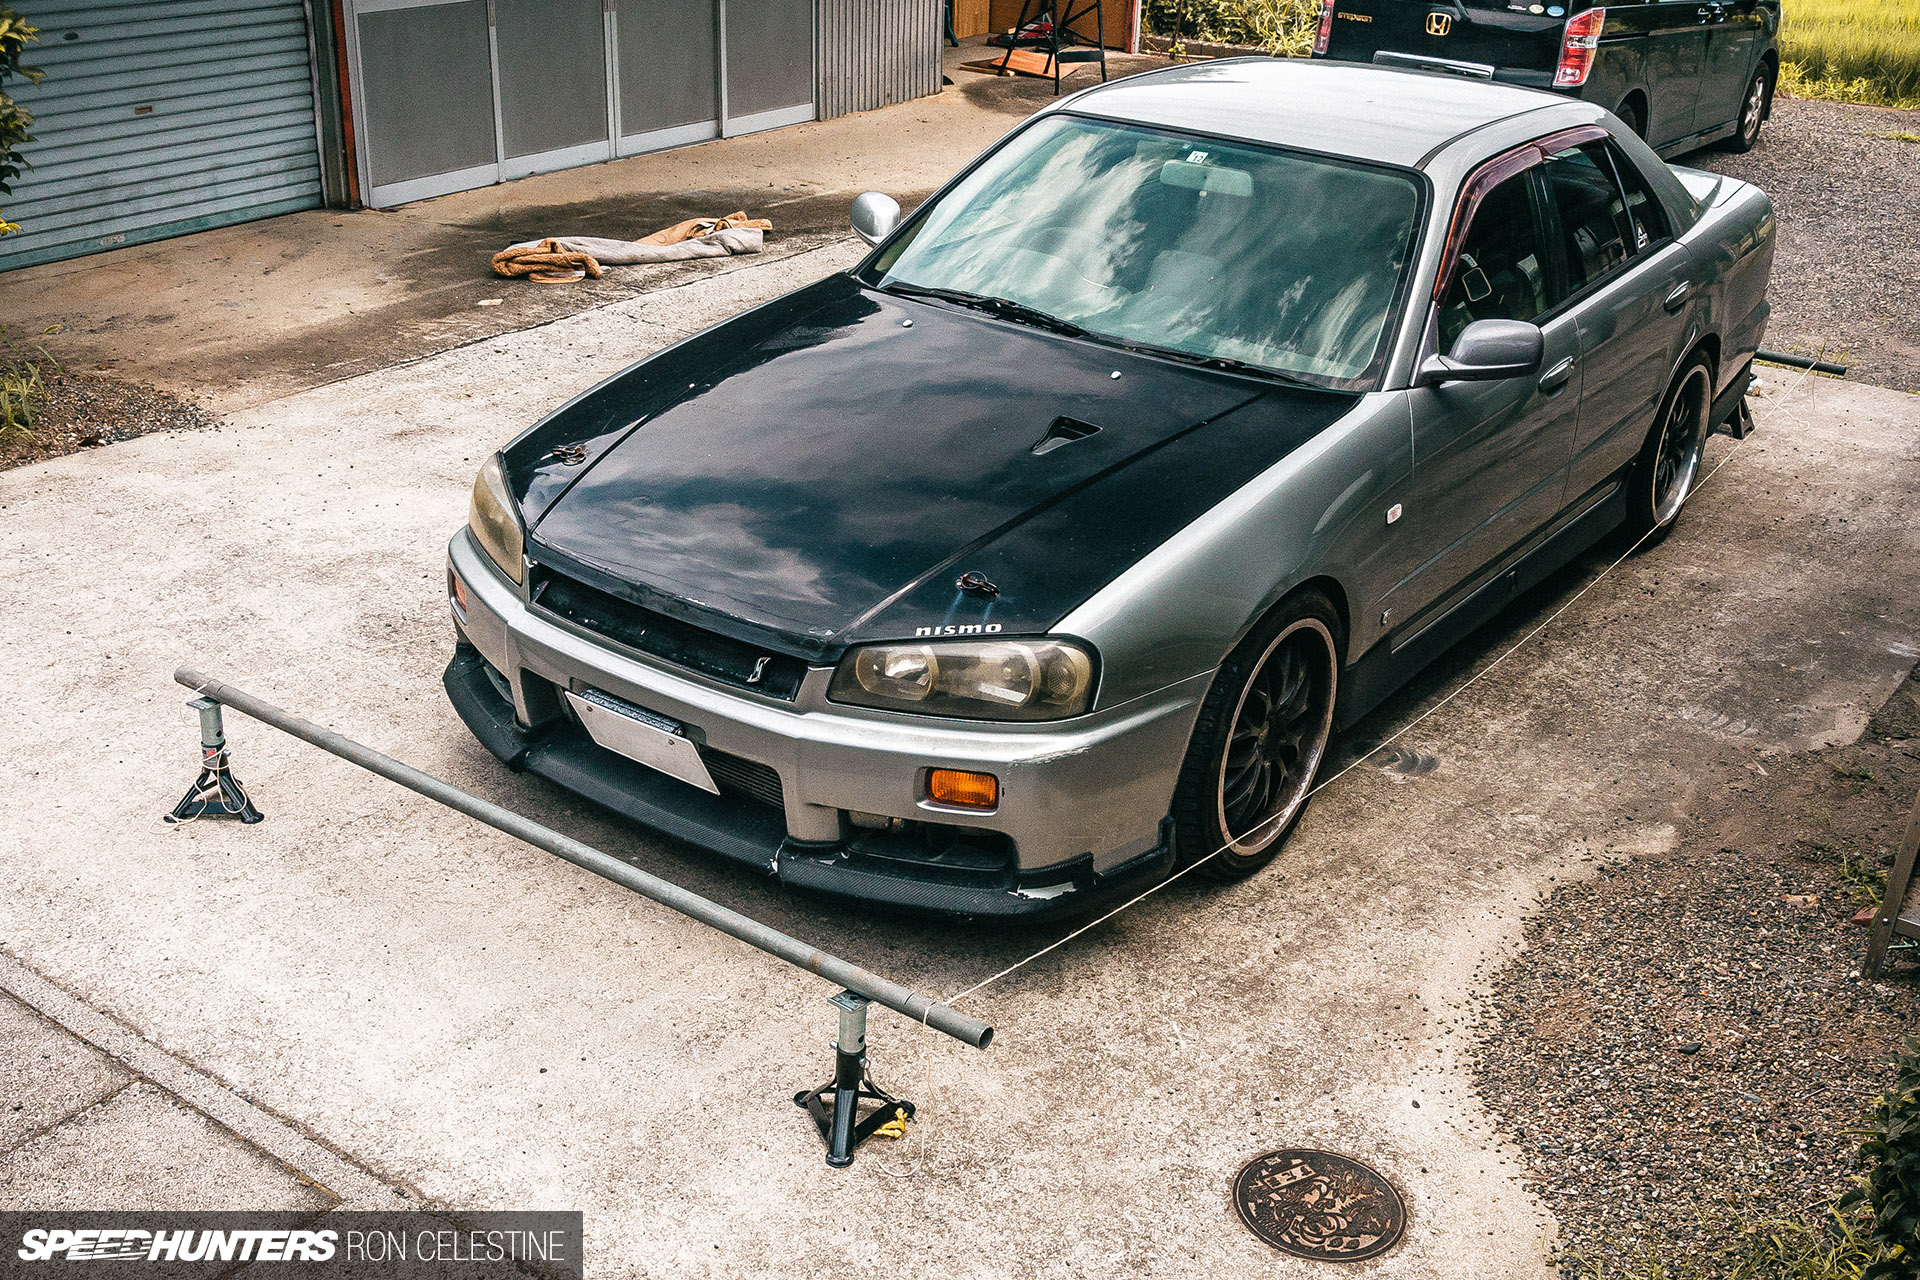
That is, doing a wheel alignment at home.
I’ve always been curious to see how wheel alignment setting changes translate to real-world driving. If I could figure out how things work, and break down changes in caster, camber, and toe to their individual elements, I felt like I’d be able understand why Project Rough (or any car for that matter) behaves the way it does, and then make necessary tweaks when required.

If I could create a DIY method that was repeatable and made sense, I would be able to get closer to maximizing the available grip at hand. That was my theory at least.
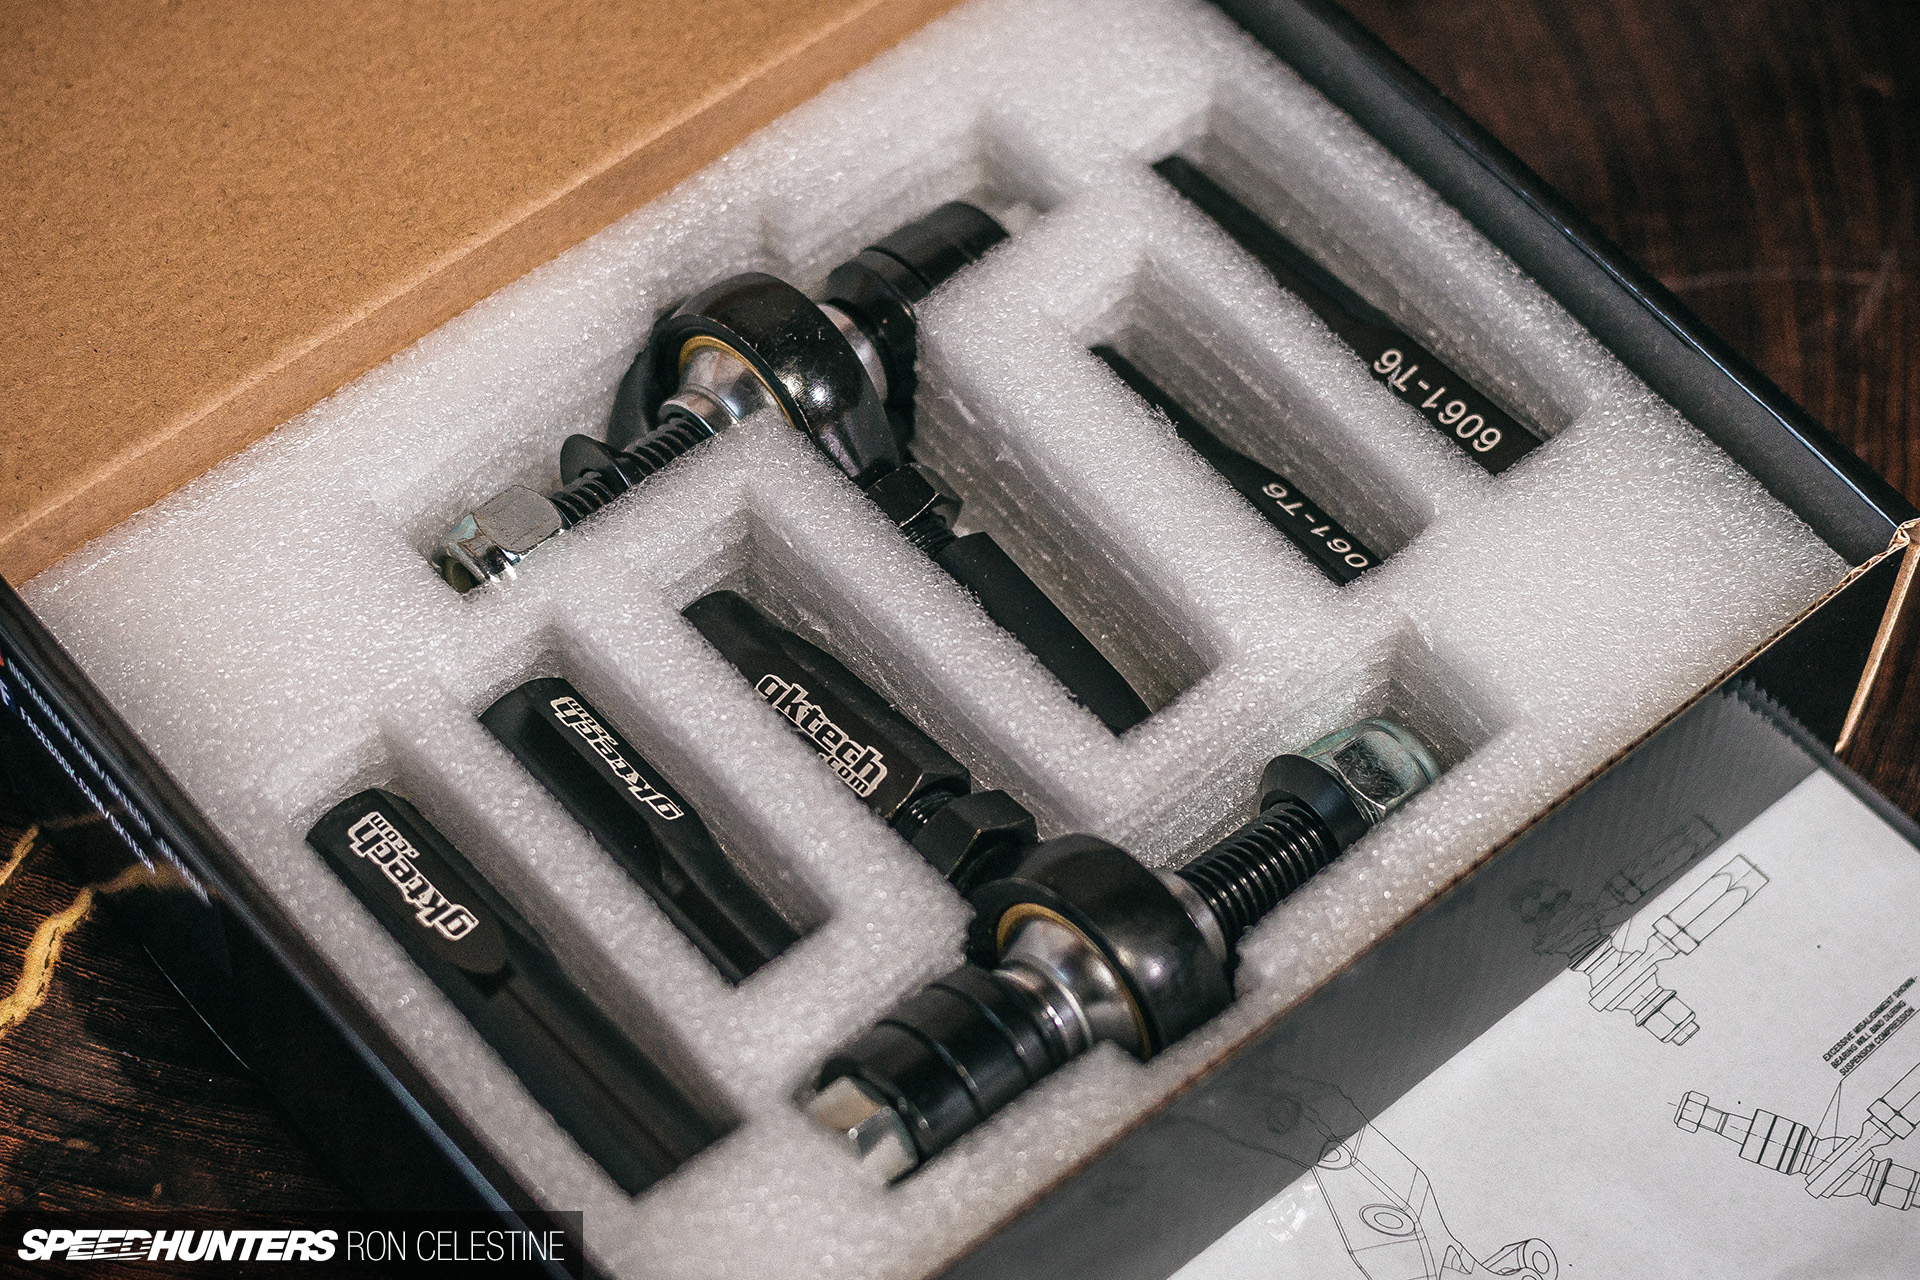
However, before I could get to this point, or install these GKTech goodies (which I’ll save for the next story), there was a bit more maintenance and a bit more of Murphy’s law to deal with. So, following on from my last project update, let’s call this ‘The Unglamorous Side Of Project Rough, Part II’.
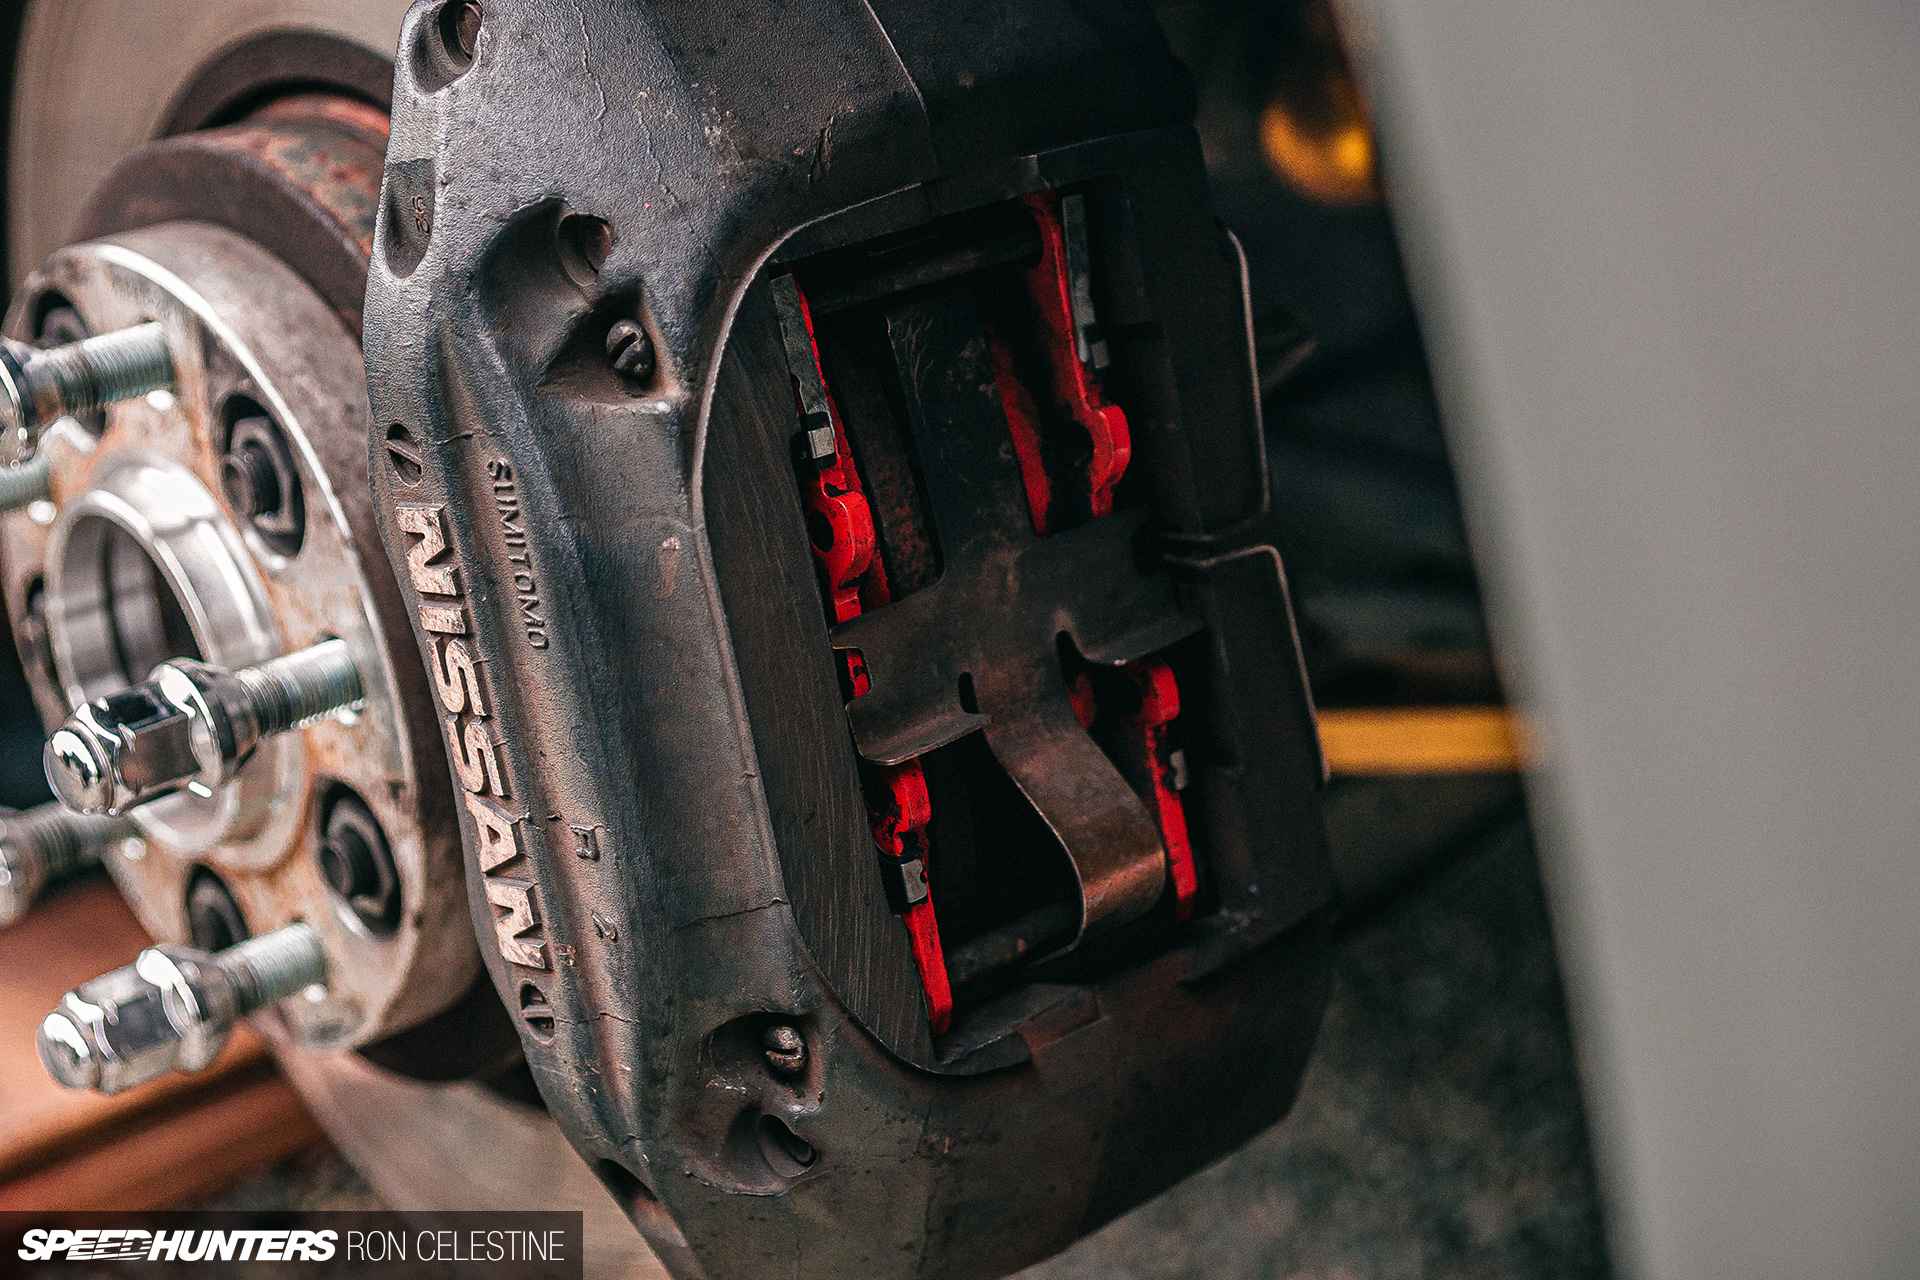
Starting with the brakes, in that previous update I talked about changing over to Winmax Arma AT3 pads and the stock shims turning to dust. I ran the car without shims for a while, as I was doing a bit of myth-busting; I wanted to see if the brake feel would improve without shims in play.
By the time I made it to my local Nissan dealership to pick up some new shims and get them fitted, the little vibration noise I mentioned had developed into a rather embarrassing, ear-piercing shriek every time I touched the brake pedal.
I can conclude from my little experiment, that if you’re going after improved brake feeling, you’re better off spending the money on braided lines. There was no improvement to me in brake feeling without shims, and it might have even improved when I fitted the new ones as the pads stopped wandering around. Just make sure to properly lubricate the shims or your pads might shriek still. Ask me how I know…

Since I was working on the brakes, I decided to bleed the system as well. The last time I did this was after I fully boiled the brake fluid during a track day at Tsukuba Circuit a few years ago that Blake also attended with Project NSX, so it was probably due anyway.
Having just flushed out and bled the clutch’s hydraulic system, I thought the brakes would be a piece of cake. But this is Project Rough, and rarely anything happens without some sort of hassle.
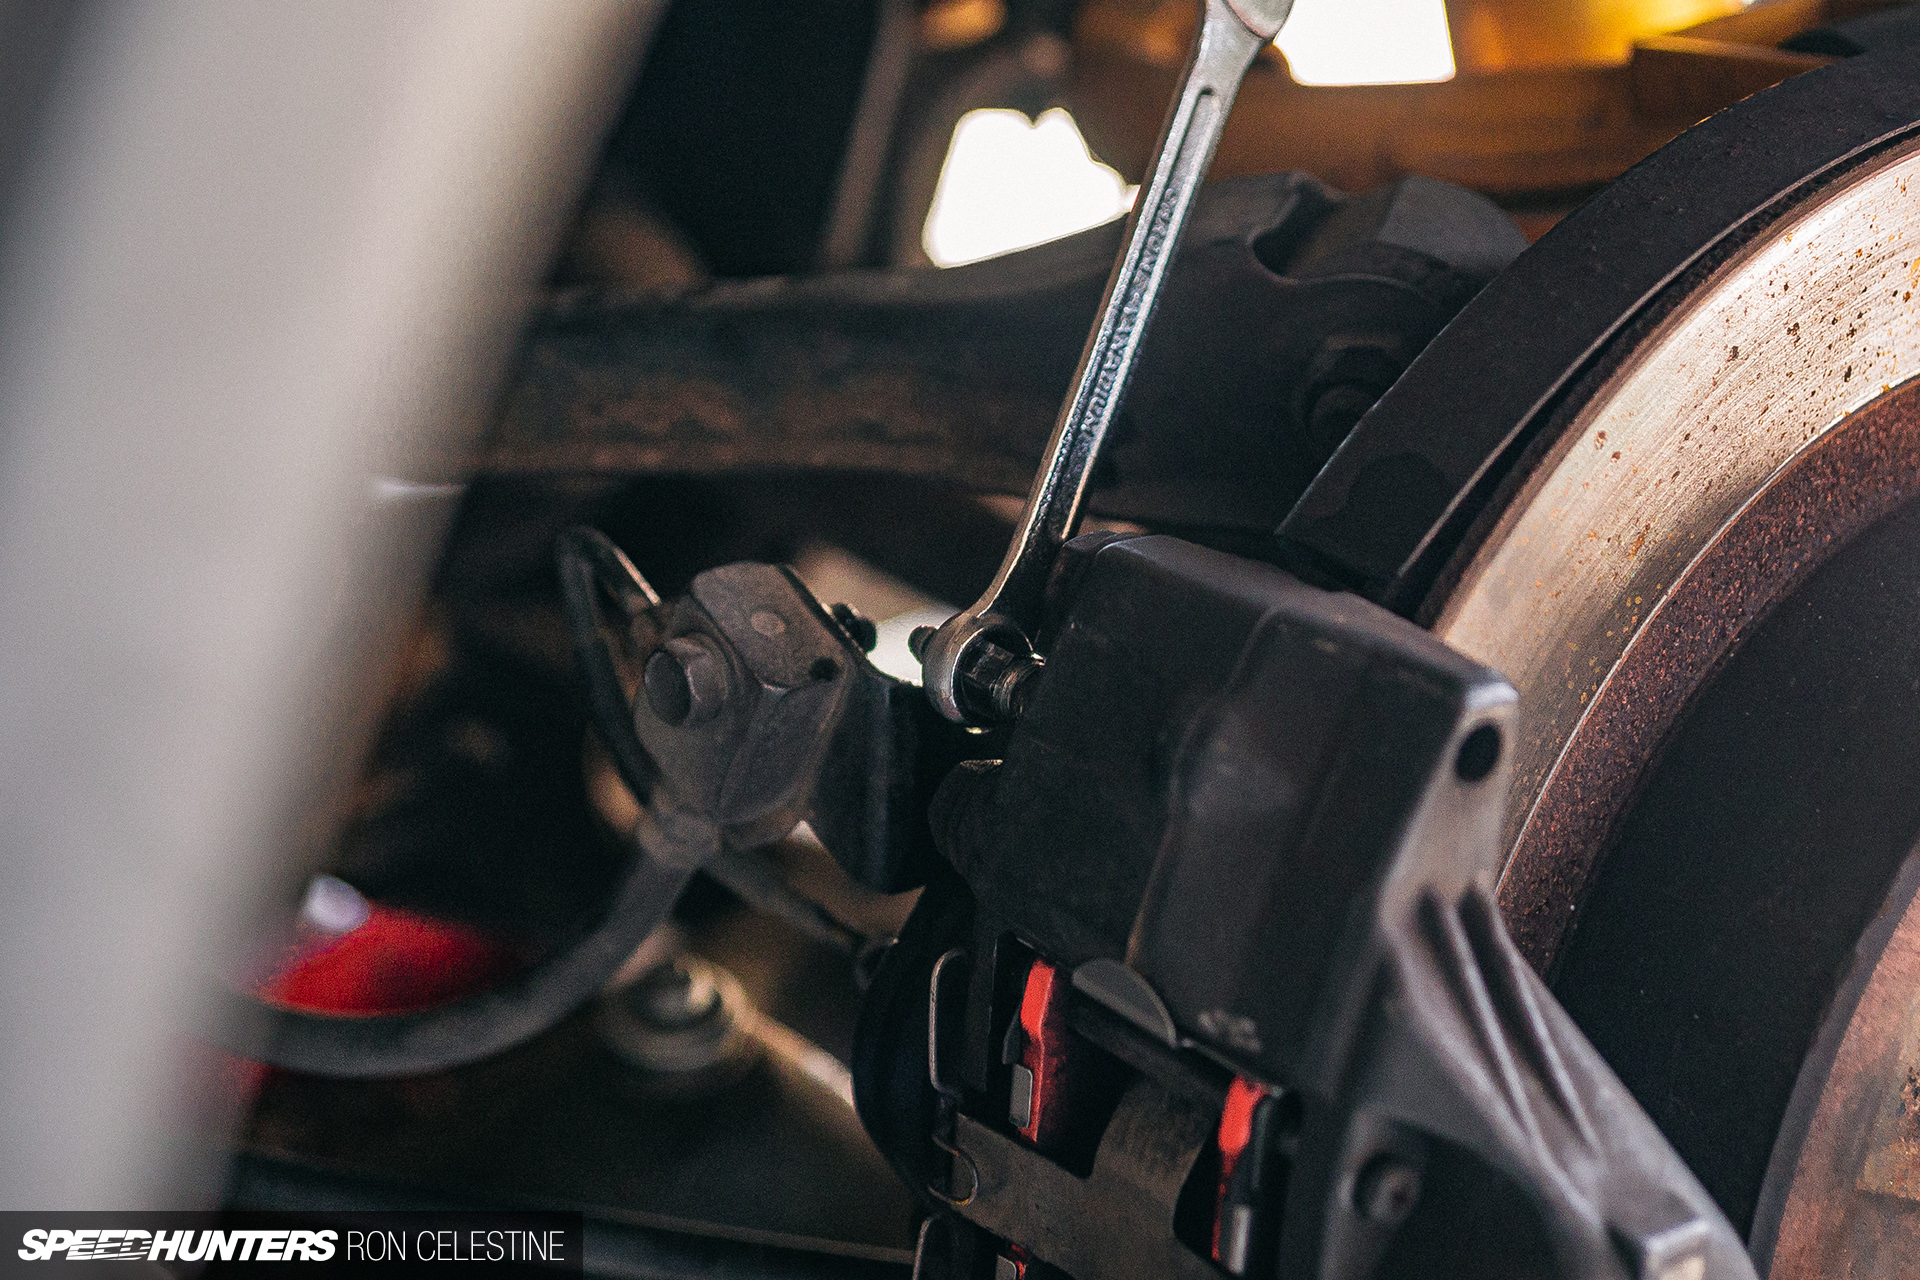
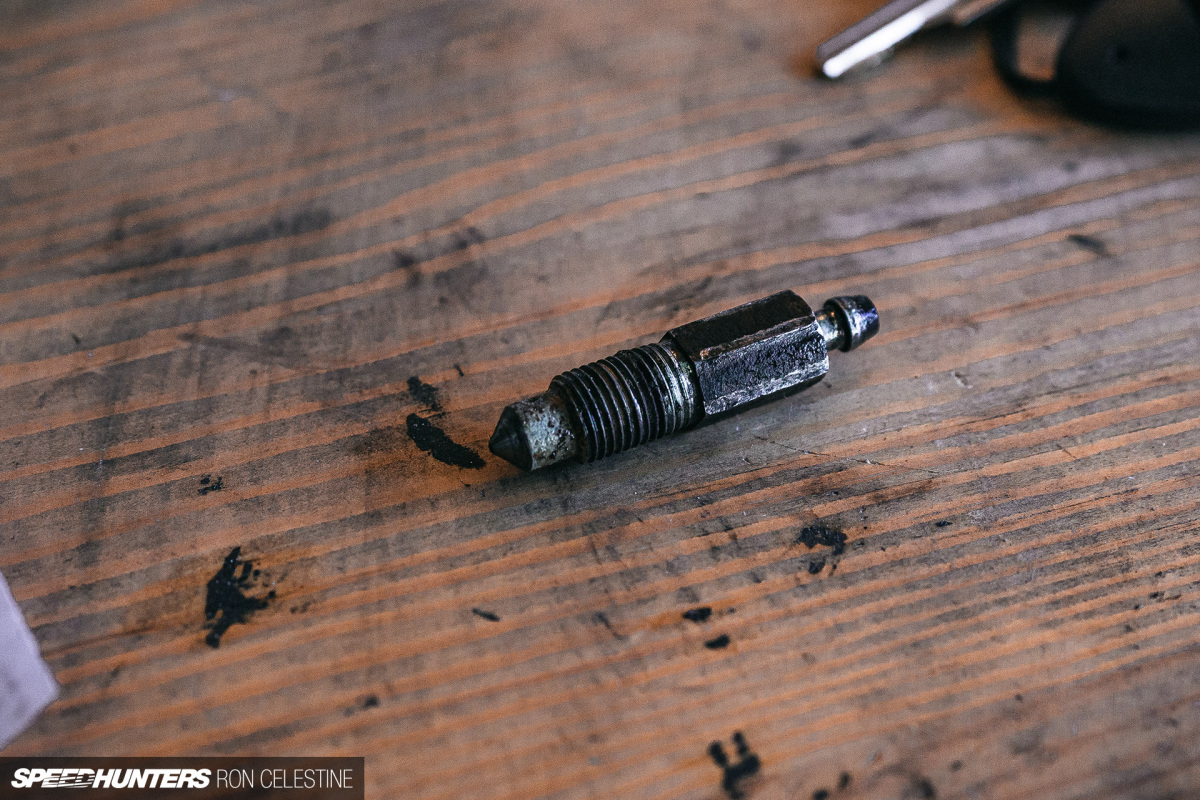
I tried to crack open the first valve, but it didn’t budge. I tried a little harder, but the result was the same. So I tried hitting the wrench with a hammer. Still nothing.
It was at this point that I decided it was best to stop. Yes, I could have gone full ham on the bleeder, but I knew if I snapped it or ruined the threads inside the caliper, a simple and inexpensive repair could quickly become a massive headache. Instead, I spent the next few days researching the best way to loosen a rusted brake bleed valve.
I found that many people use a blow torch to heat the area so the metal expands enough that the rust inside comes loose. If the caliper was off the car I might have tried this, but the brake lines were a bit too close for my liking. I was also worried about damaging the seals inside the caliper itself.
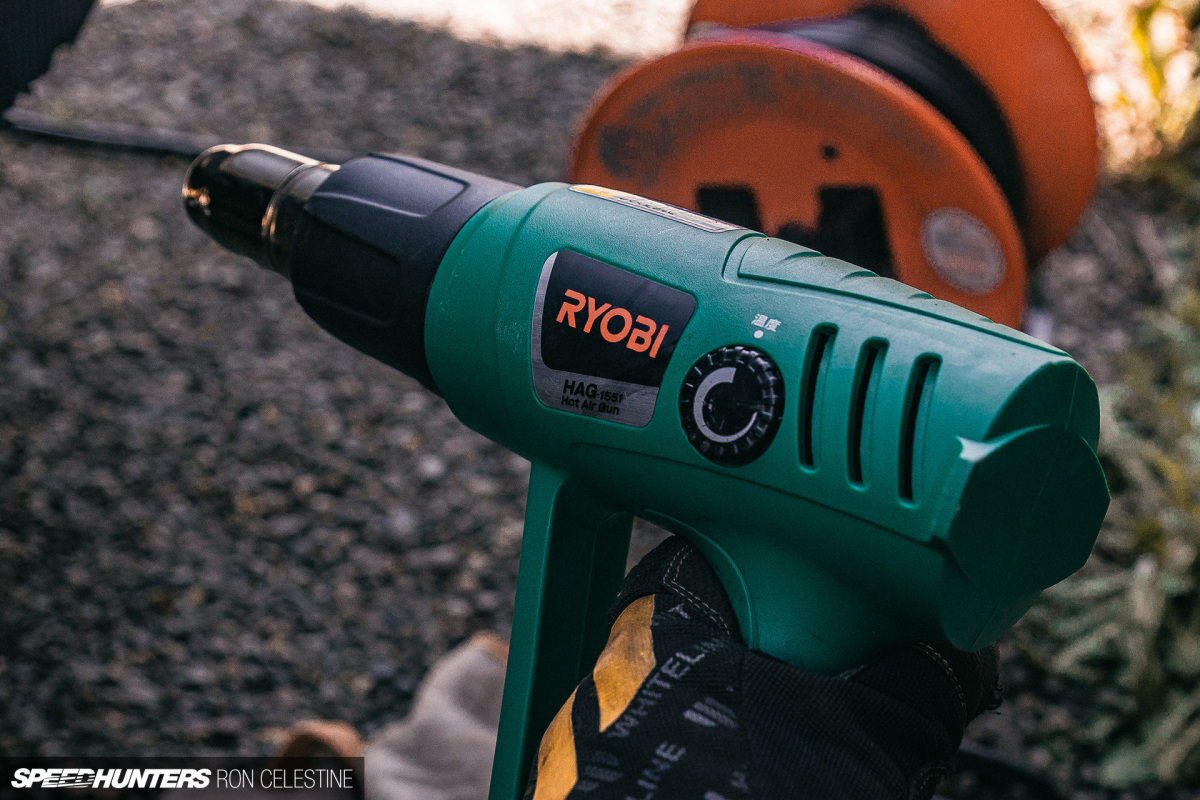
What worked for me was rust-penetrating spray (which I left to soak in for few hours), a heat gun, and working the bleeder back and forth with the wrench and hammer combo until I could move it easily.
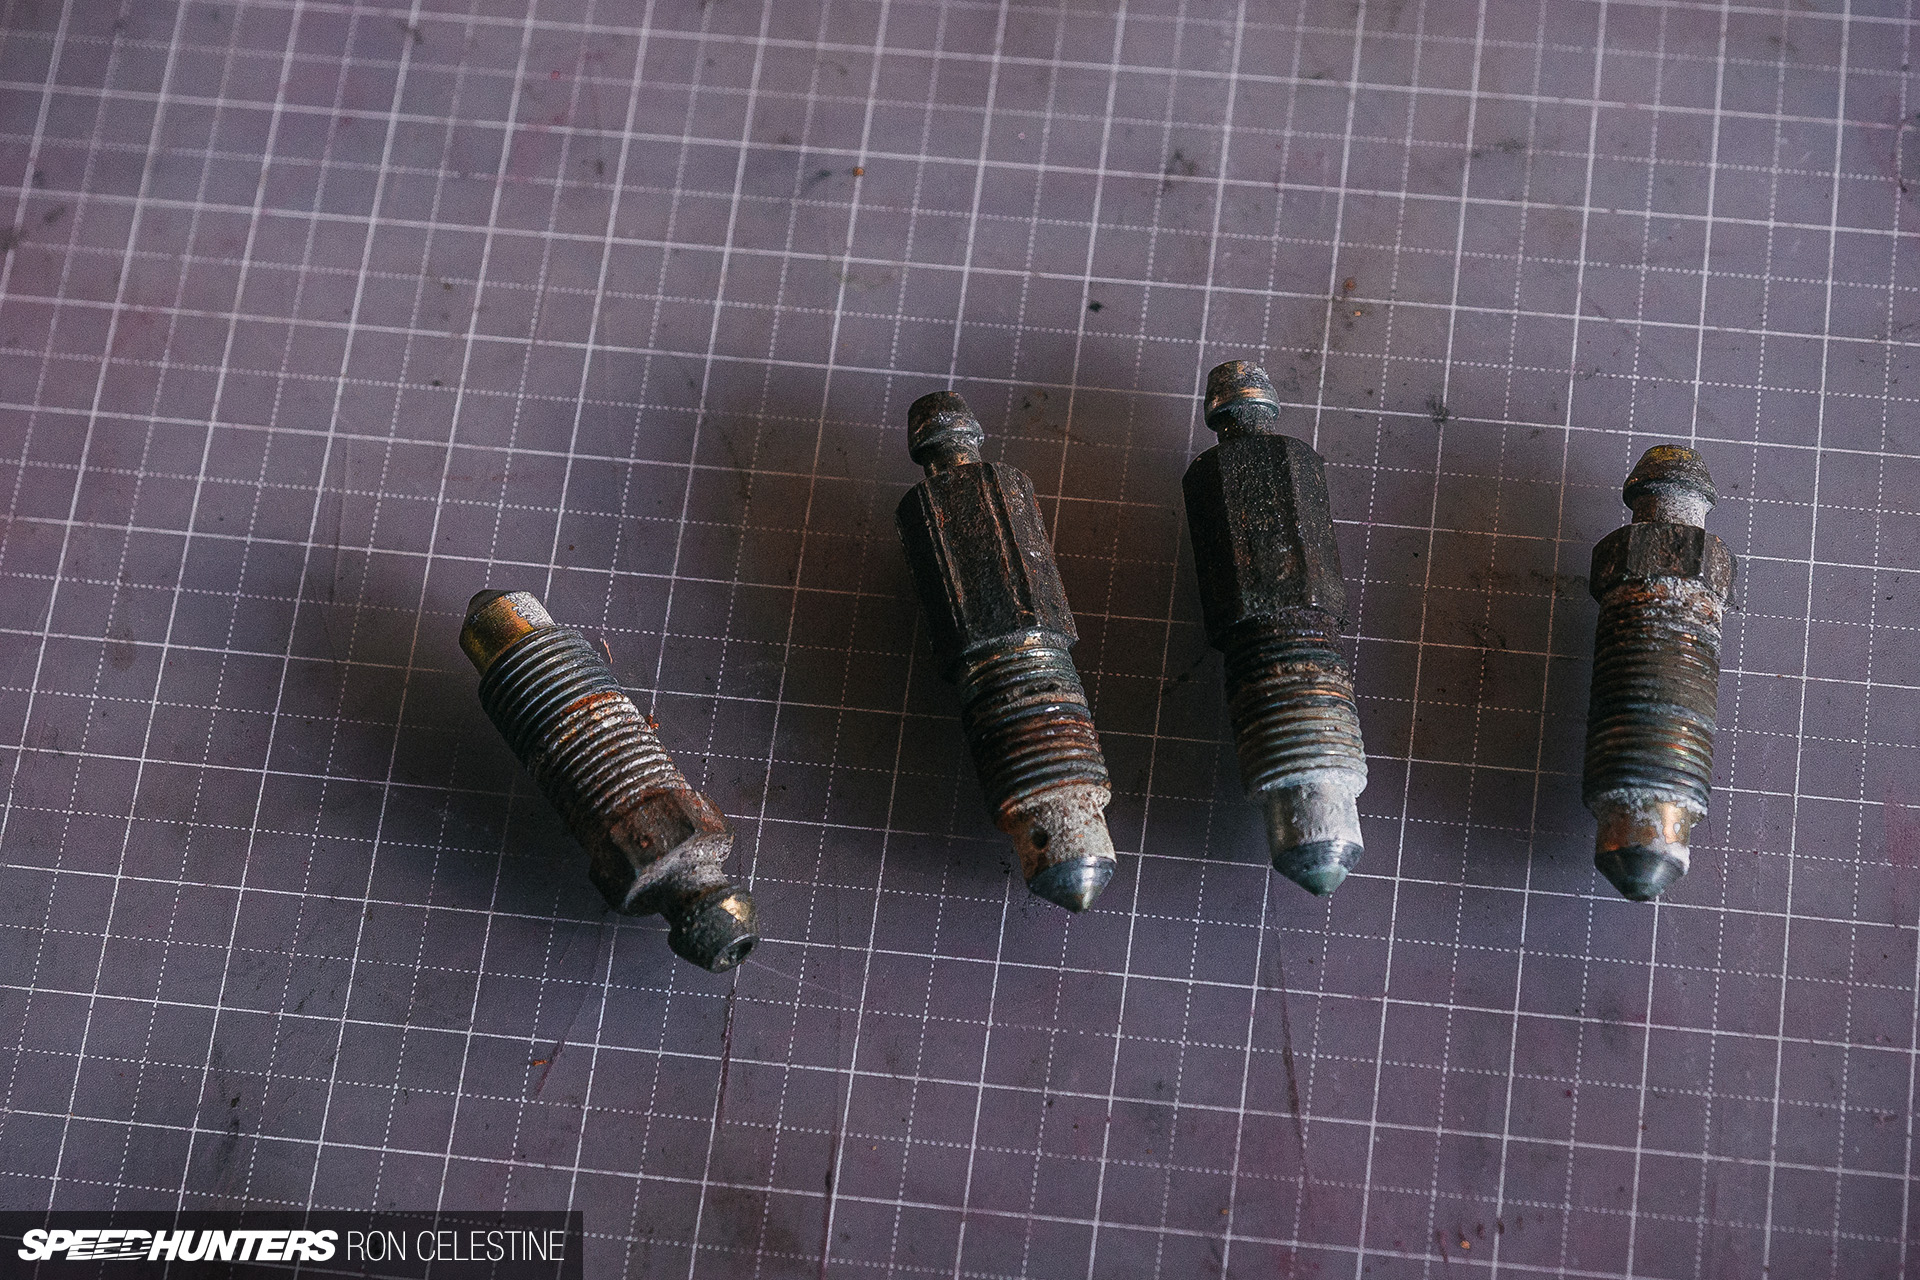
Miraculously, the other three came out with relative ease despite the heavy oxidation present. Perhaps it was Project Rough’s way of saying thank you?
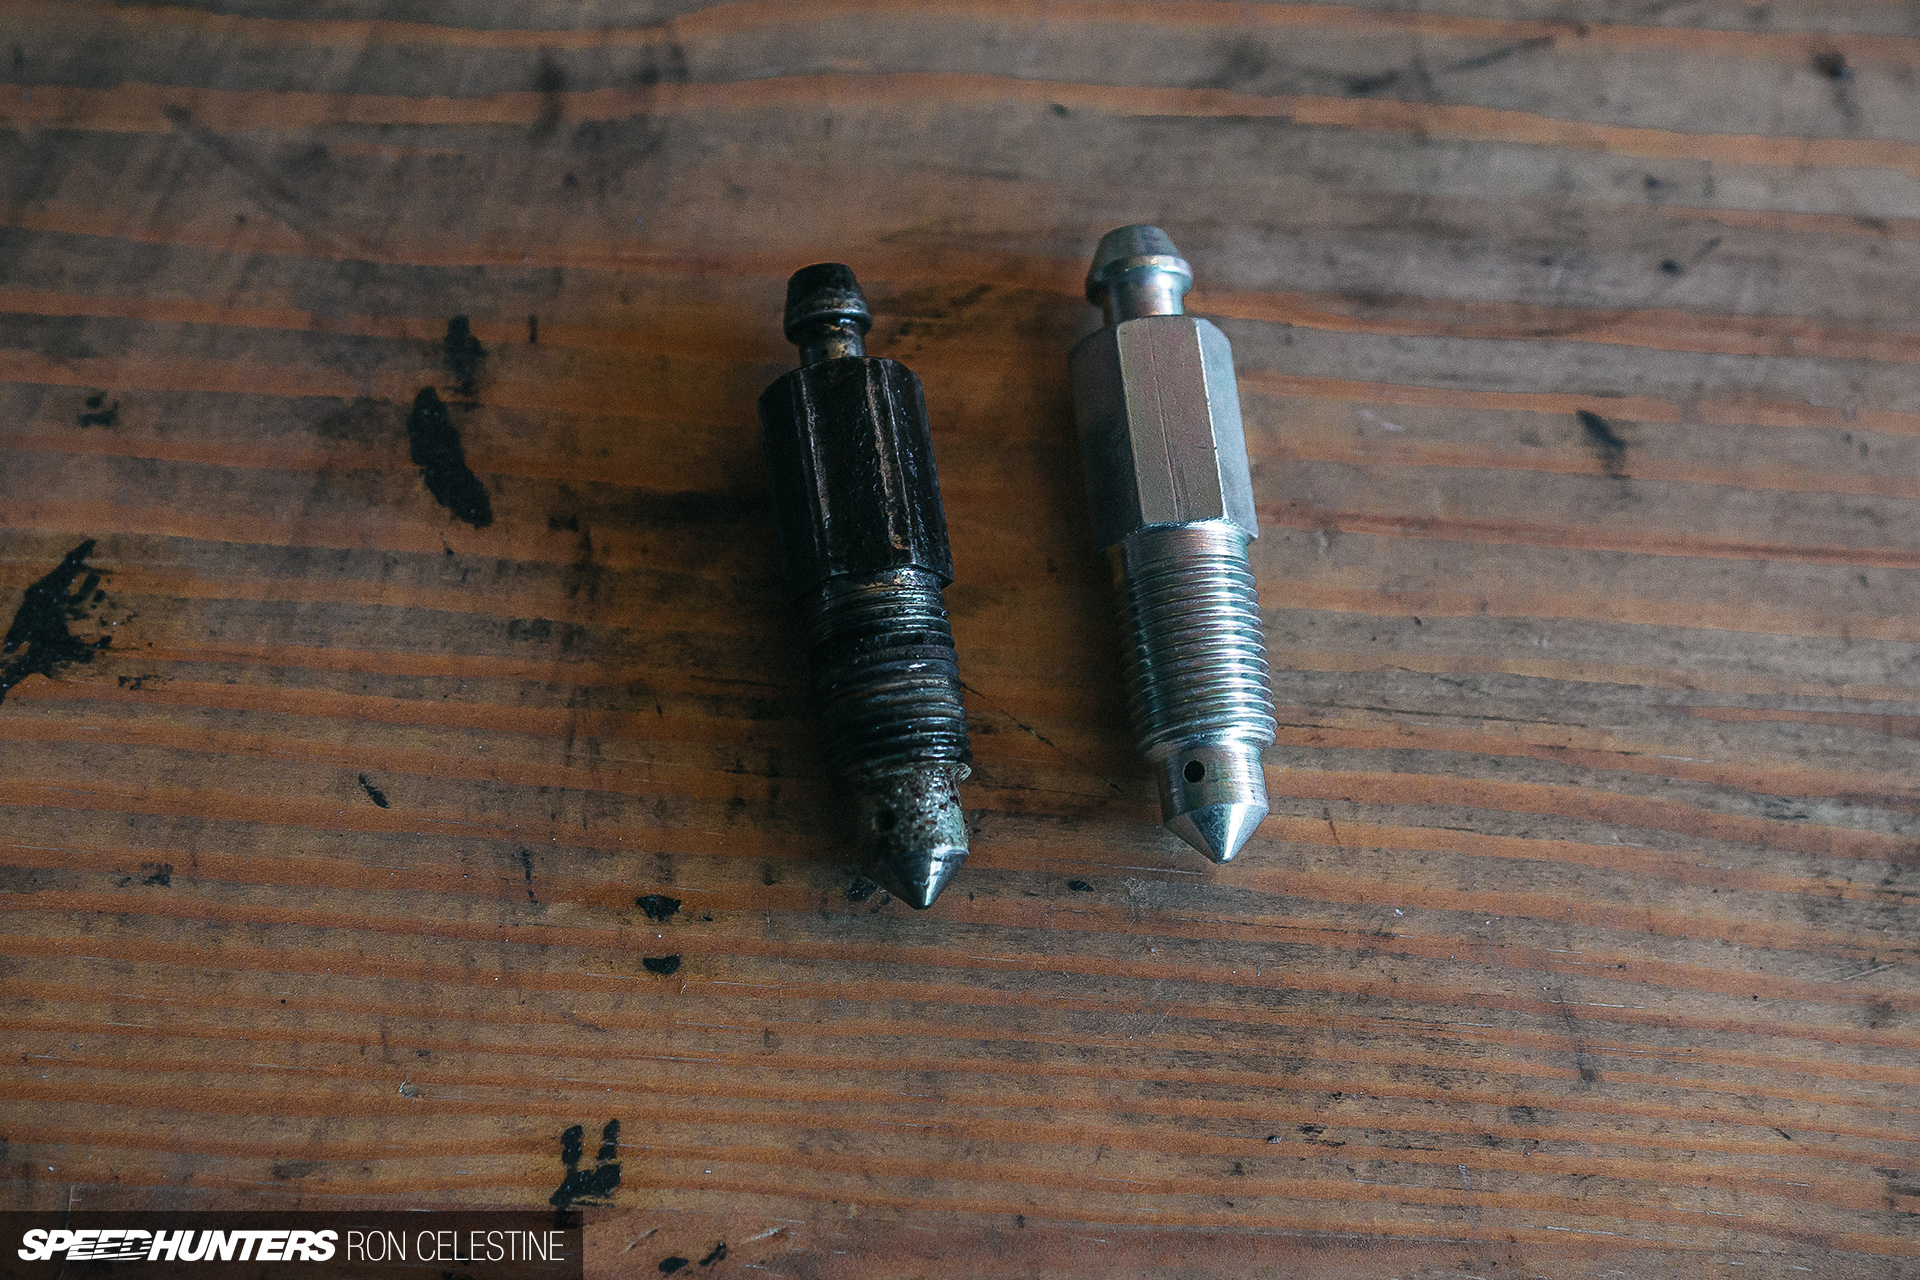
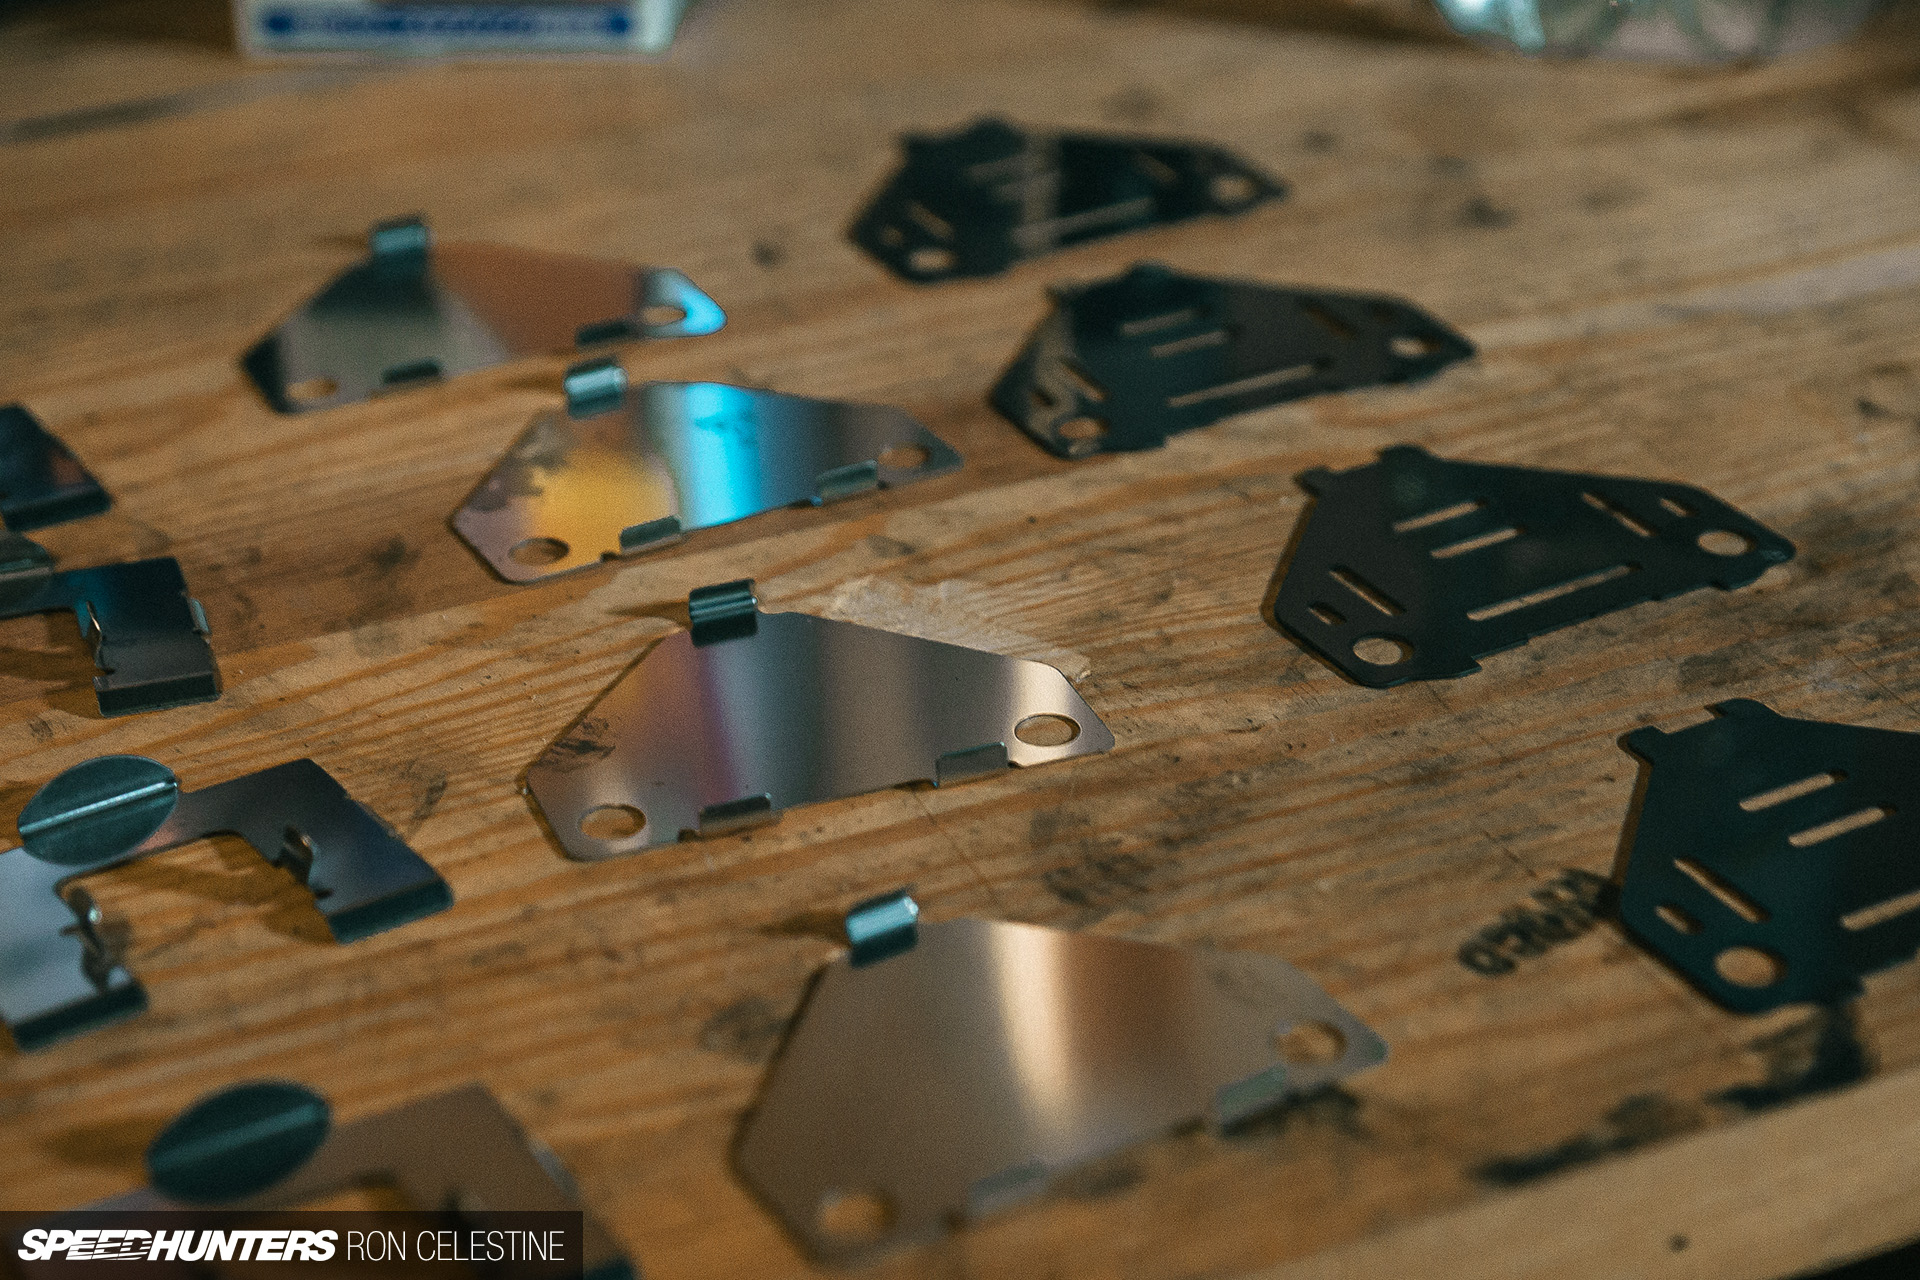
Just look at the difference between the old valves ones the new ones. Since I was replacing all four bleeders, I decided to flush the brake fluid just to be safe.
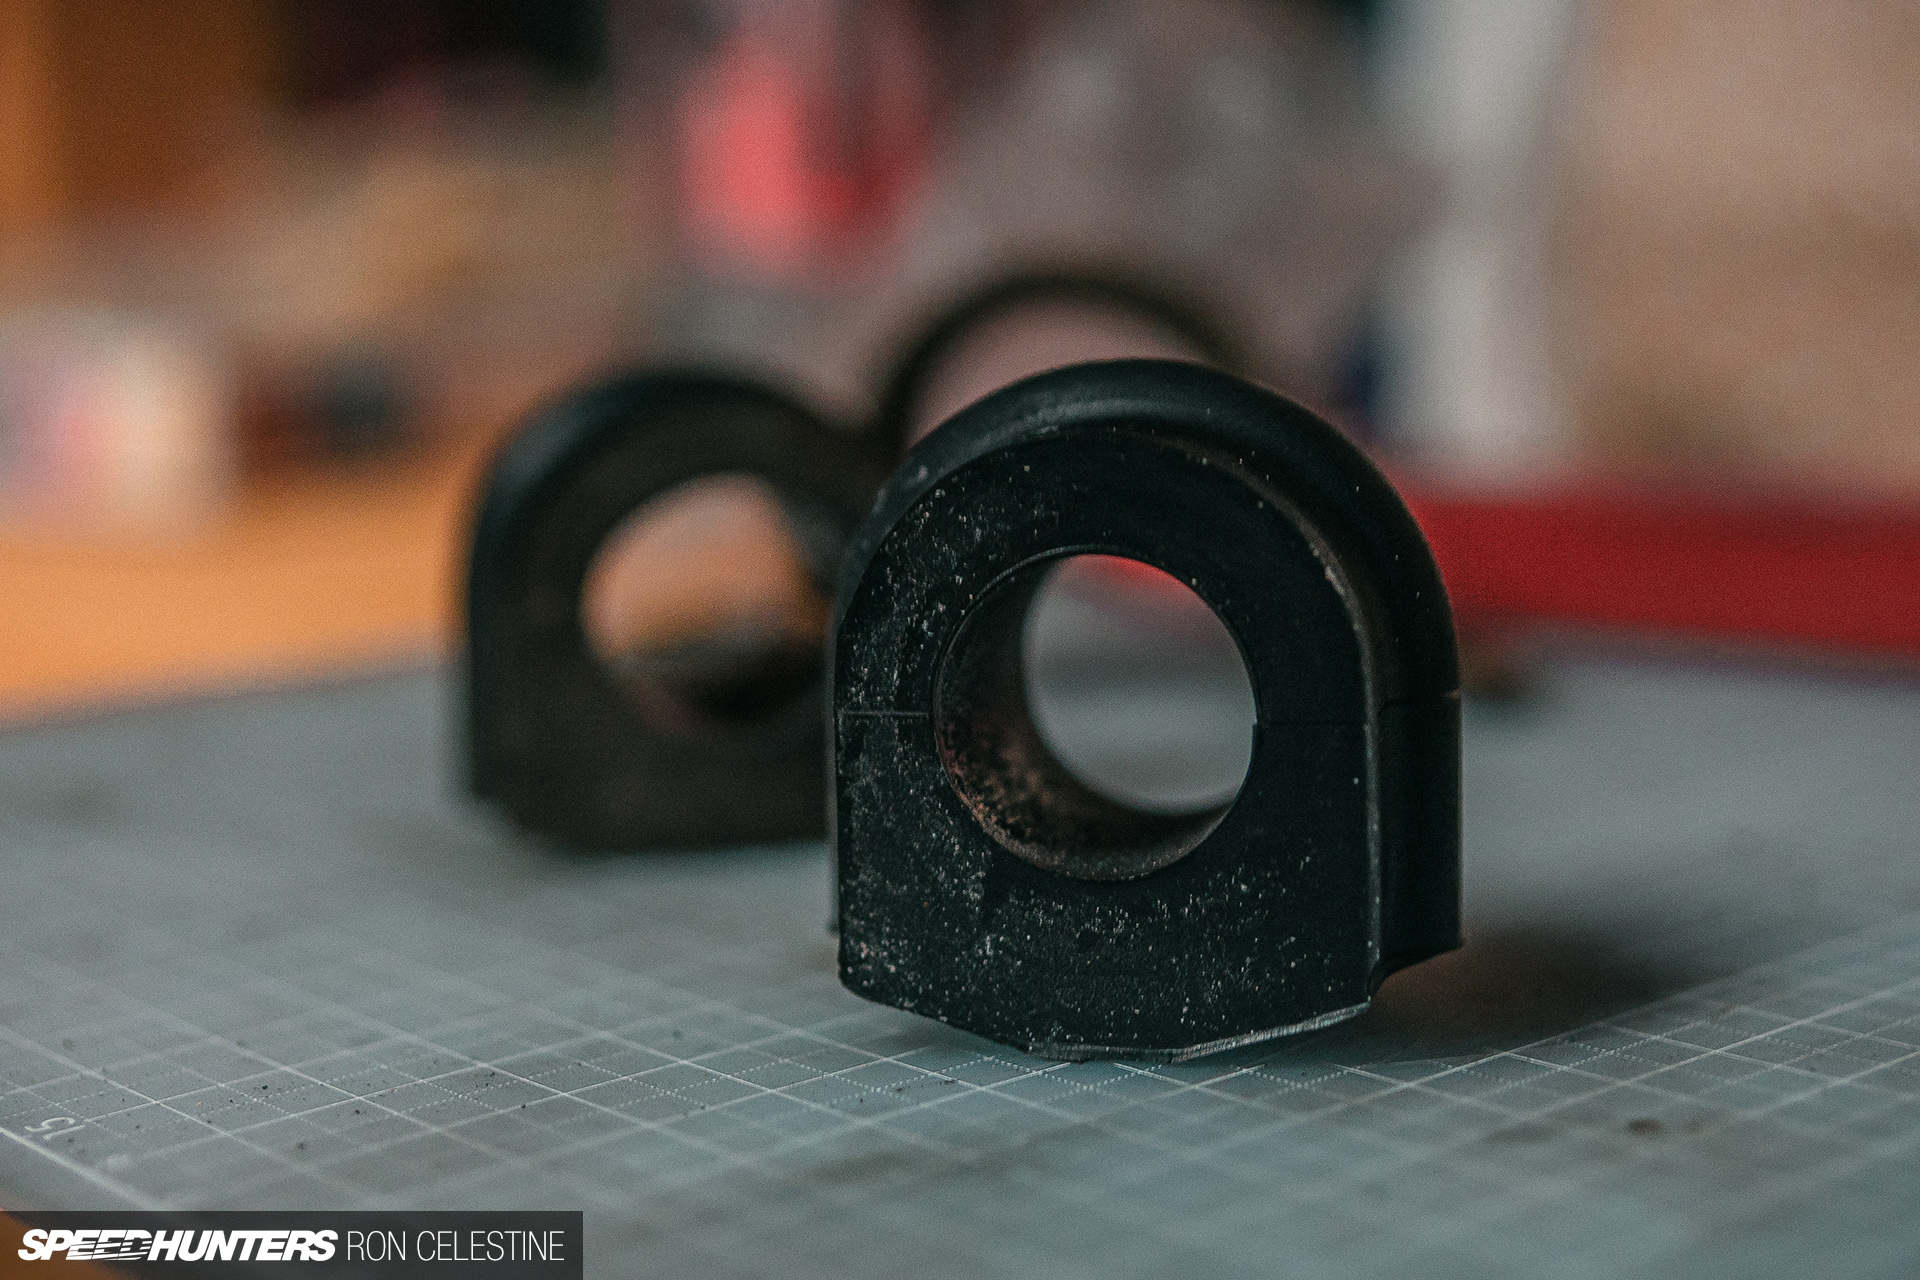
Next in need of attention were the front sway bar bushings. There were so many other things squeaking and rattling that I never thought my sway bar bushings could be a culprit as well.
The rock hard, cracked bushings said otherwise, thus yet another trip to Nissan for replacements was in order.

These I must admit were pretty straightforward to replace. On the R34 Skyline, you have to remove the caster arms to create space for the bolts to drop down. With the arms out, it’s a simple out with the old and in with the new, with a bit of grease.
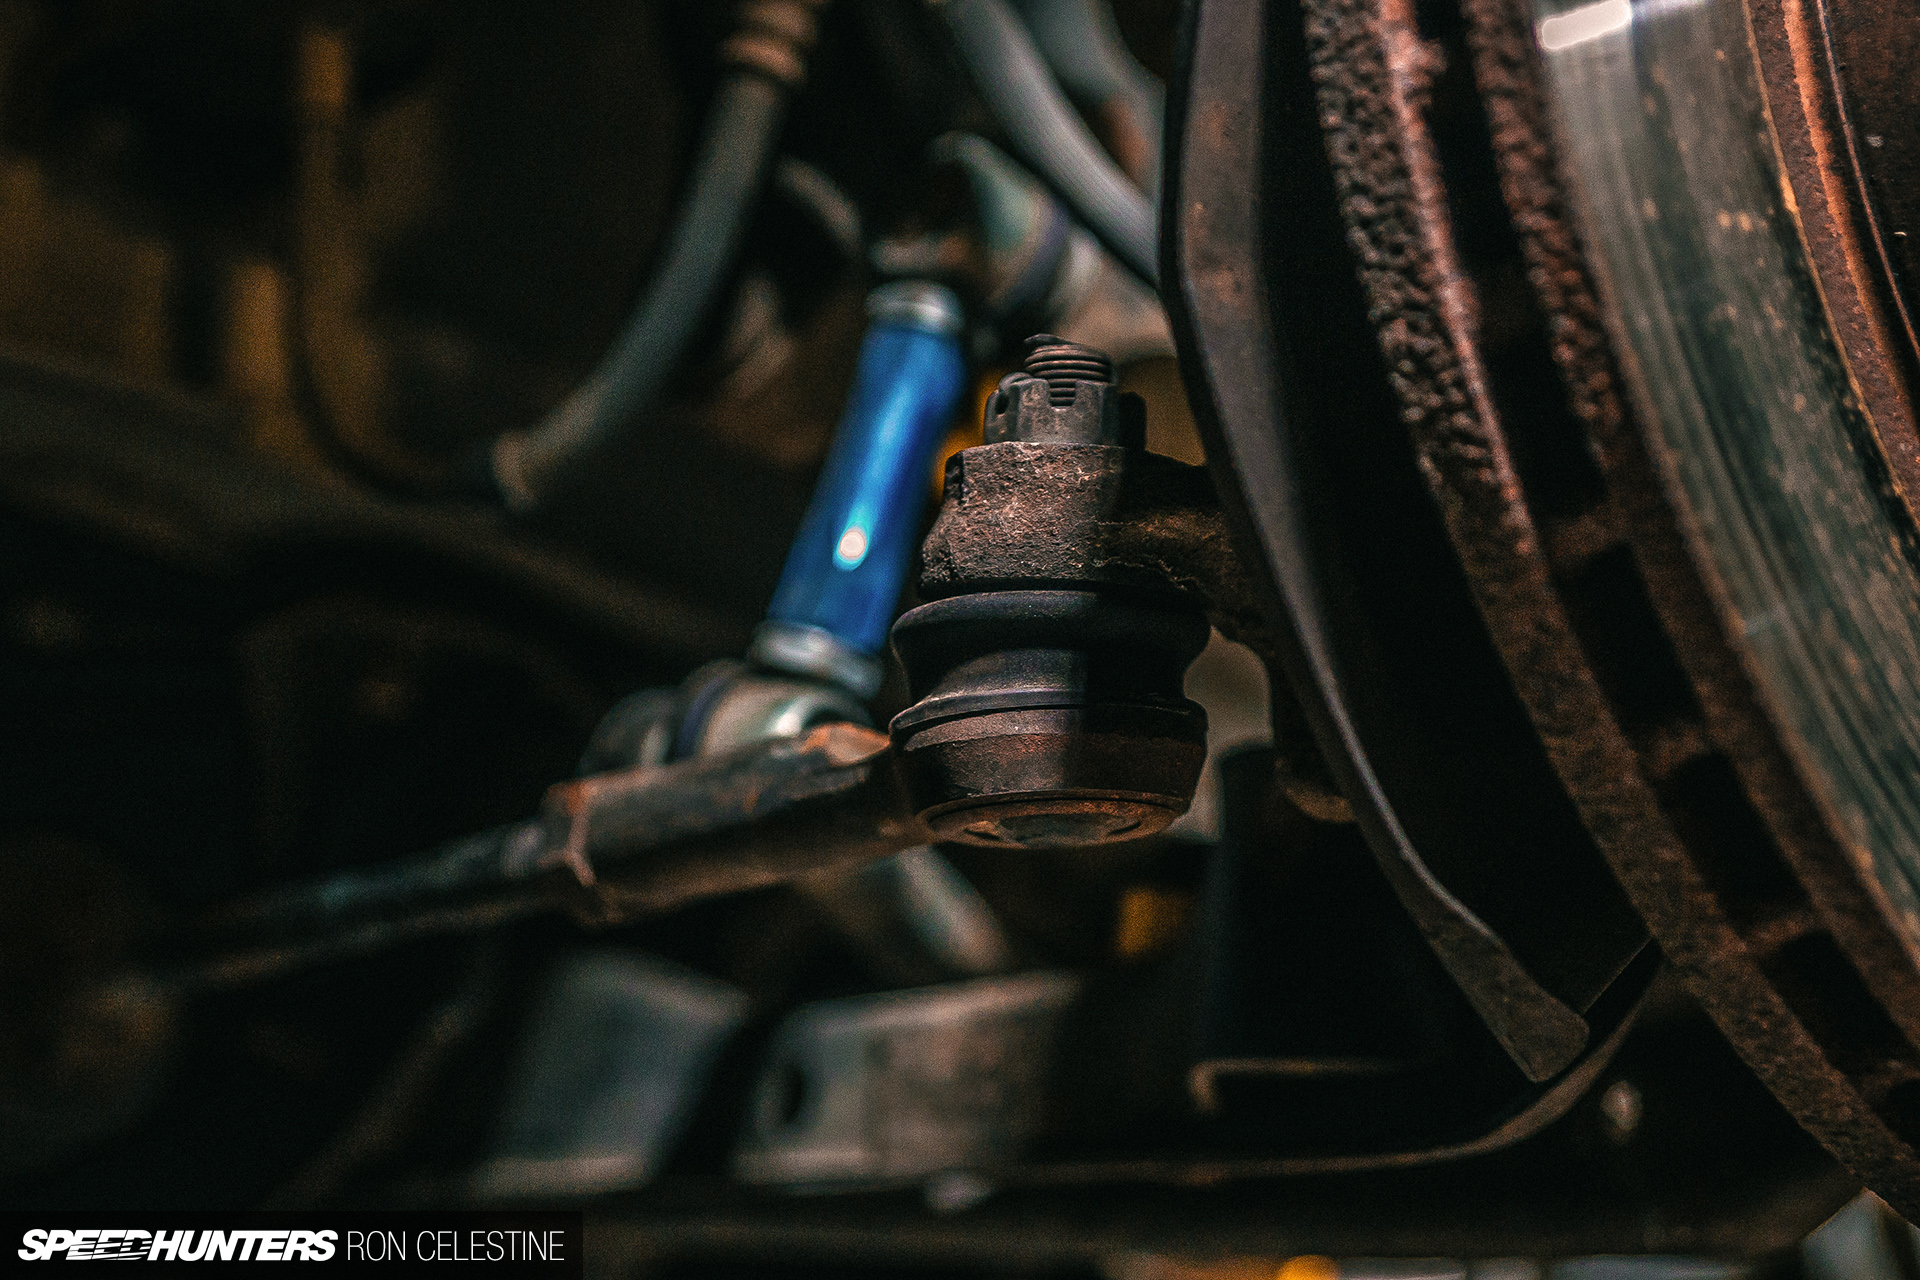
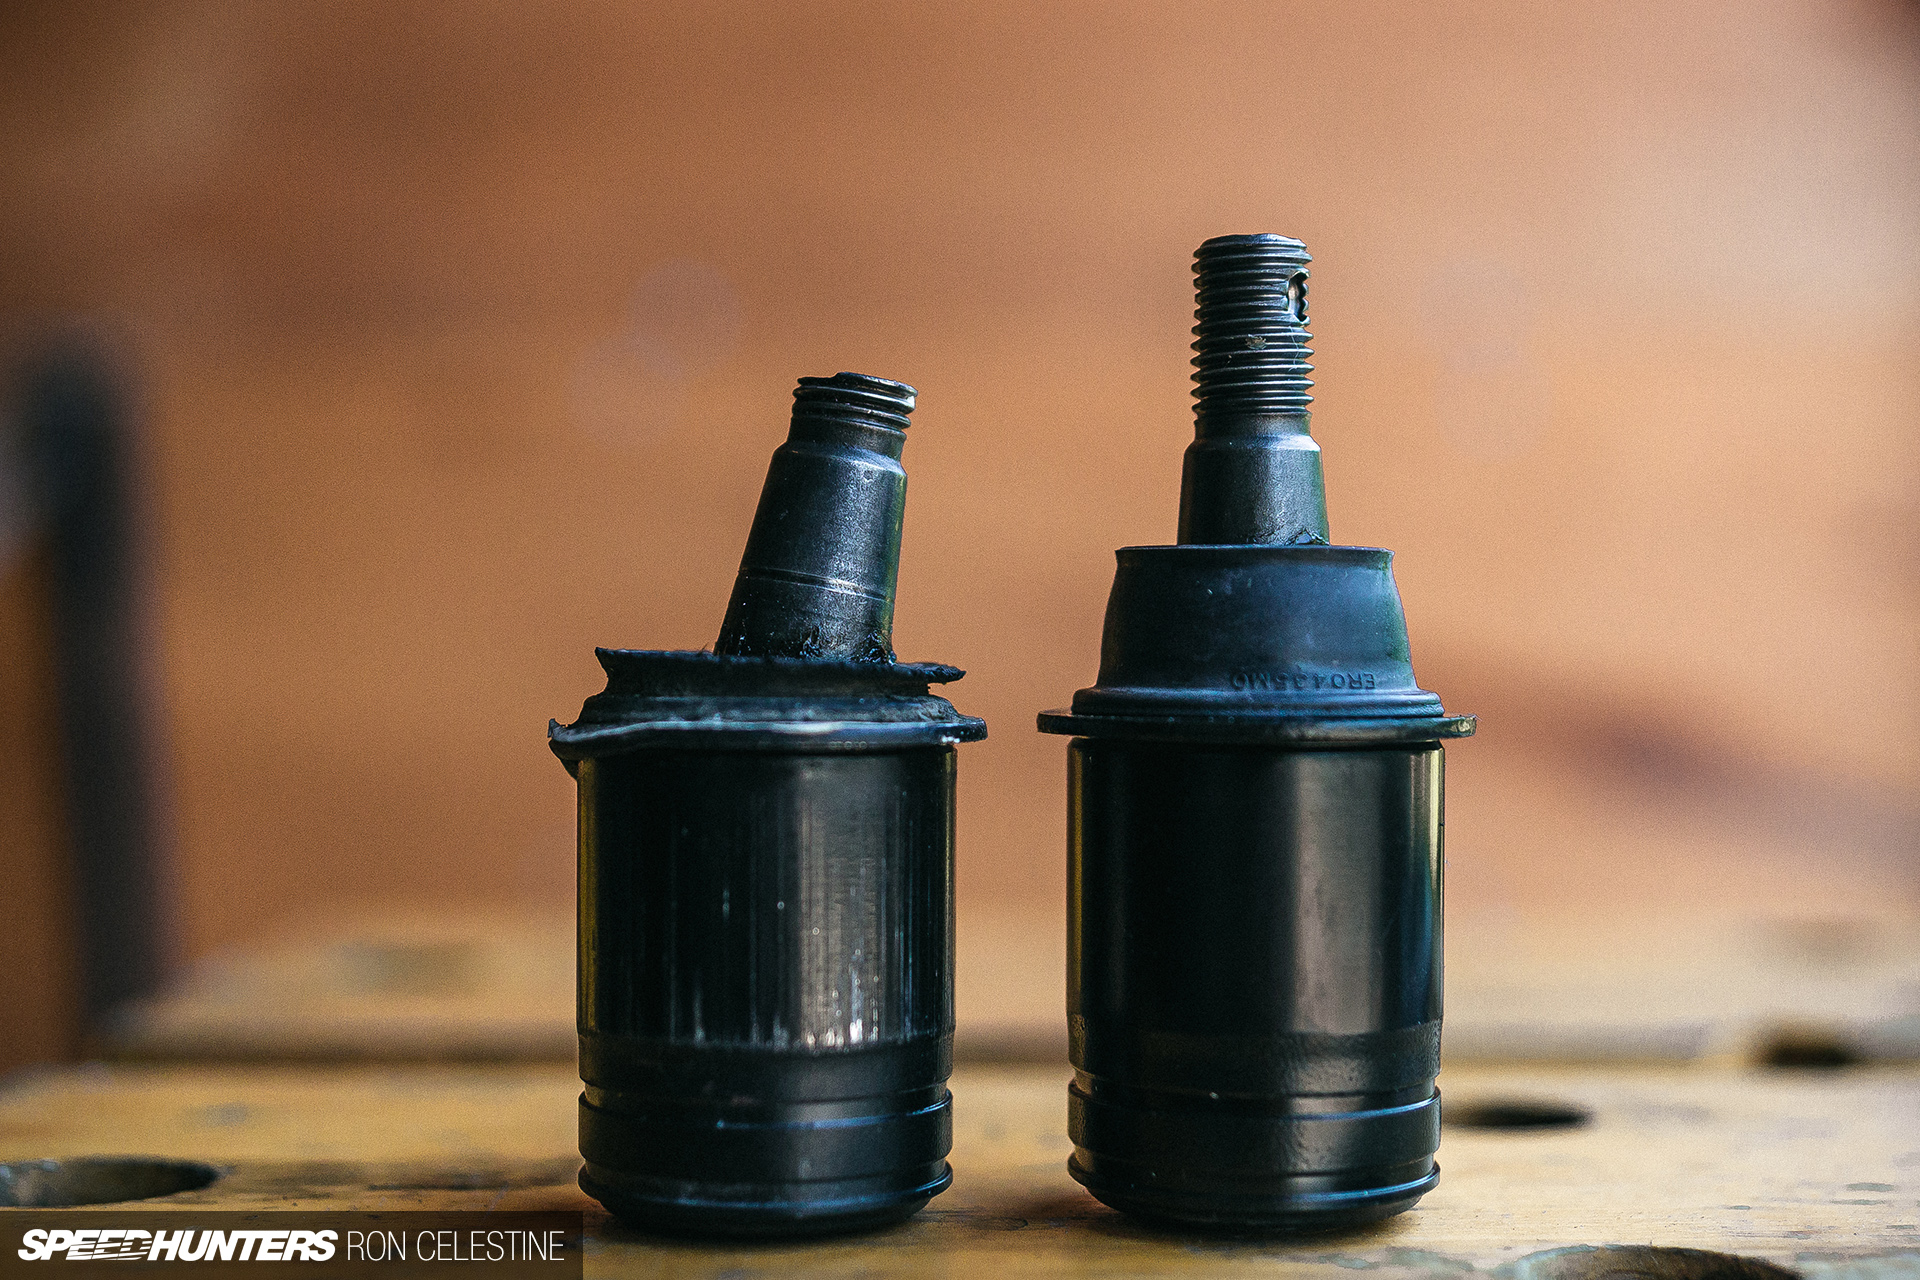
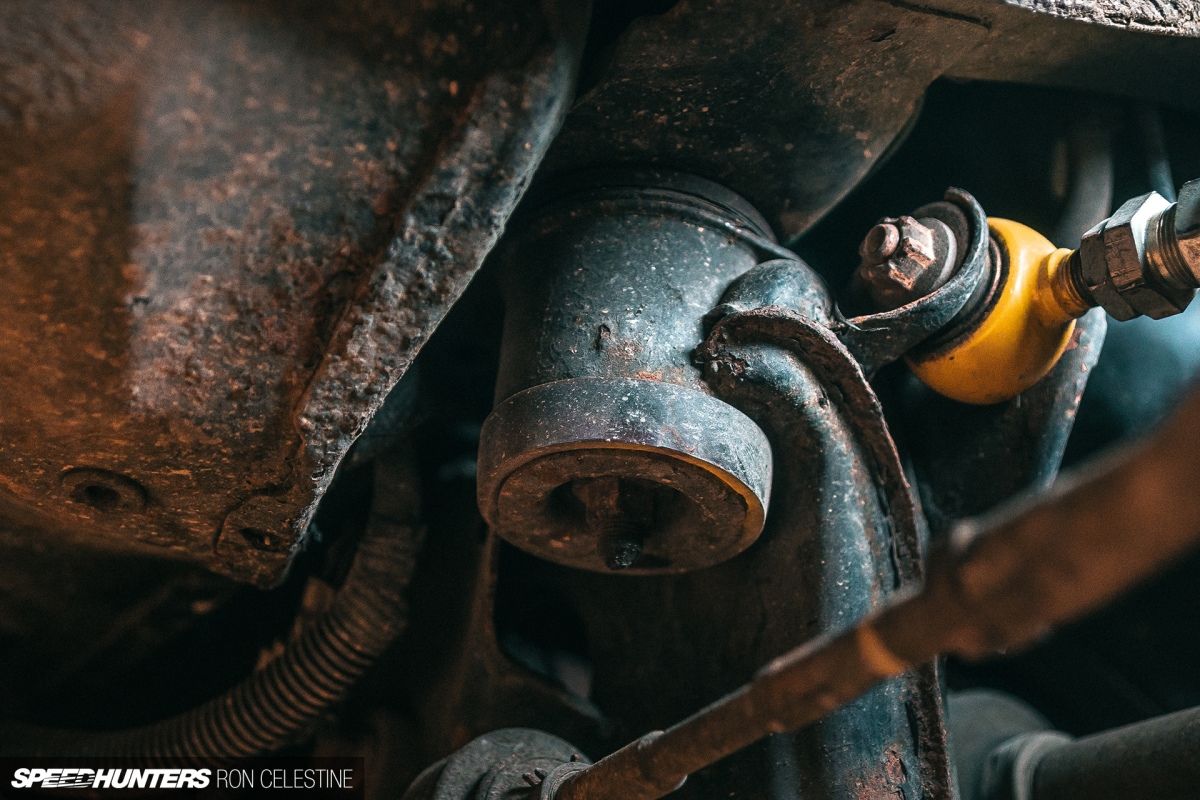
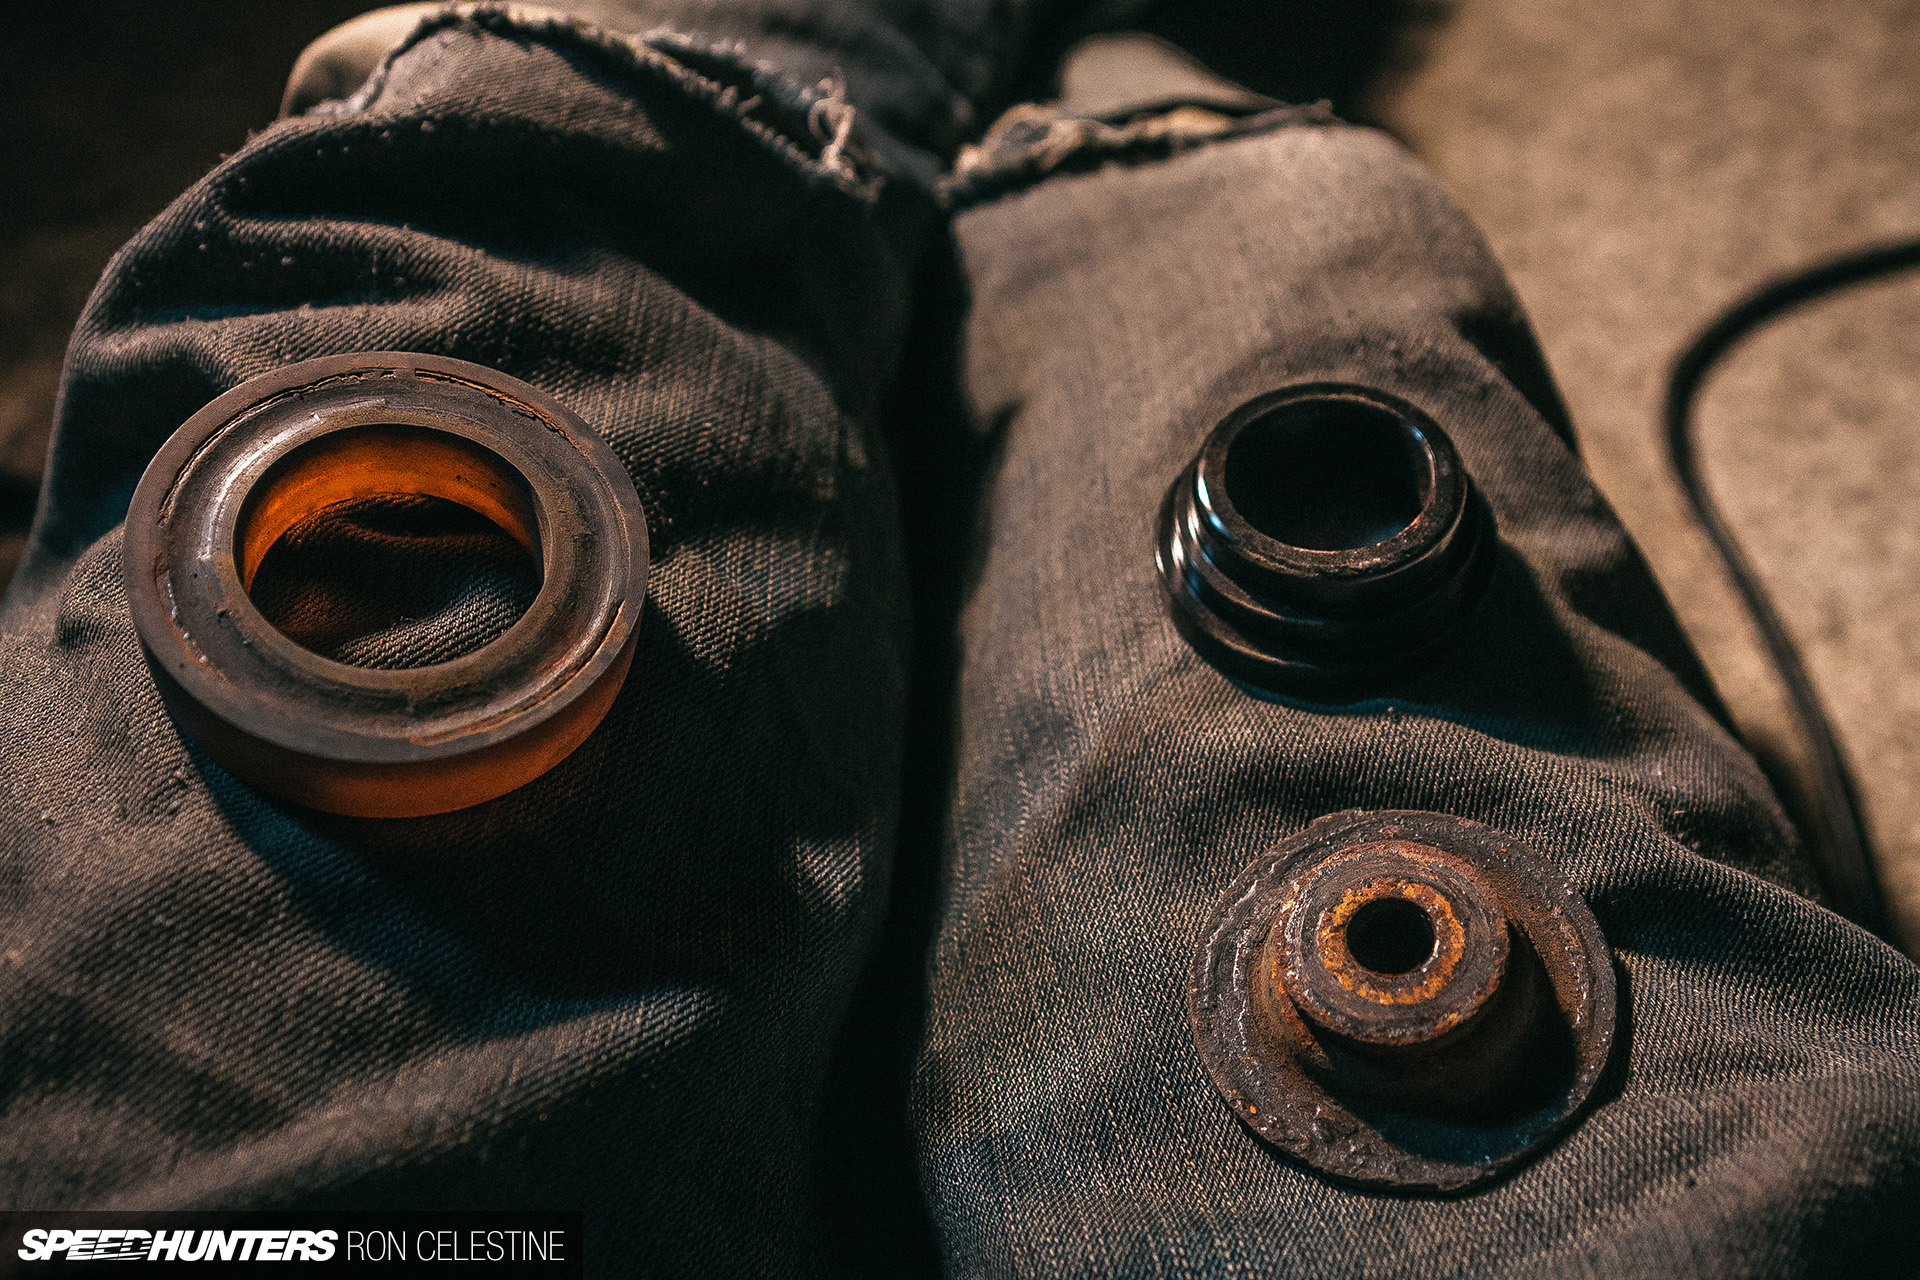
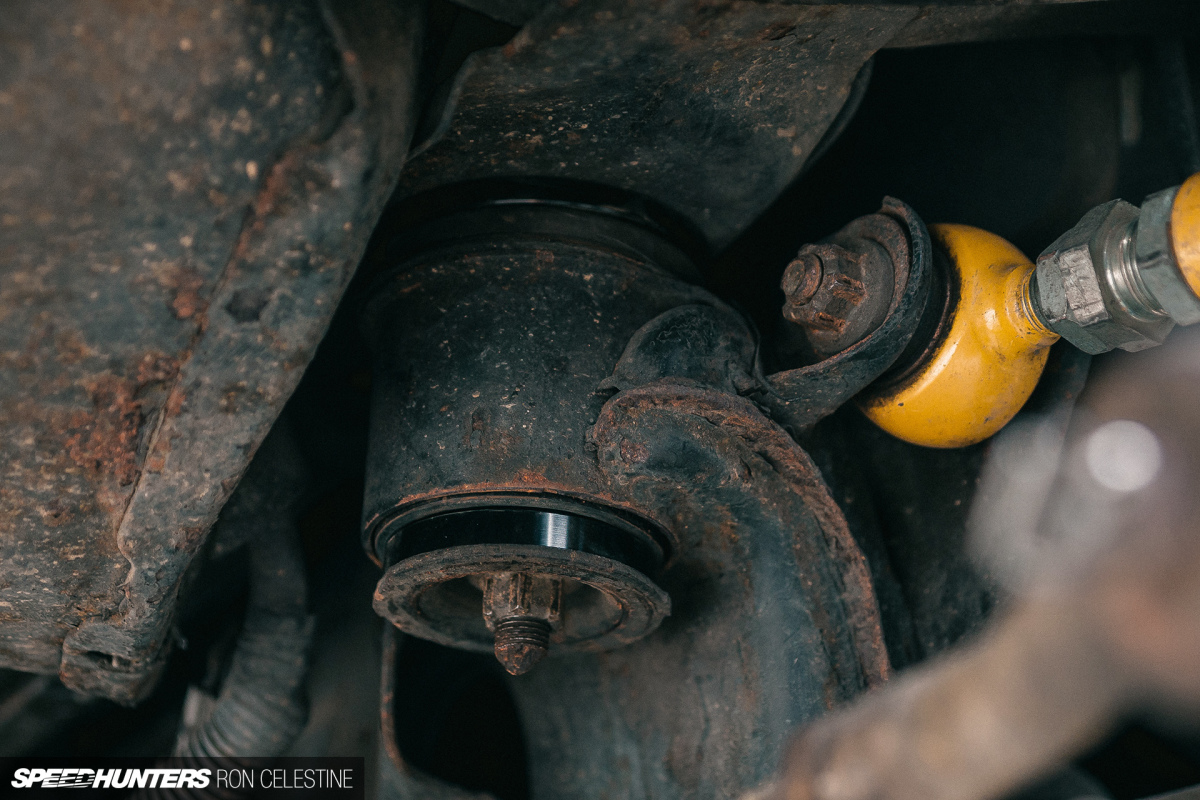
The last thing that needed to be taken care of was the dreaded Super HICAS ball joints. These were so worn that I could easily move the rear tie rods up and down by hand.

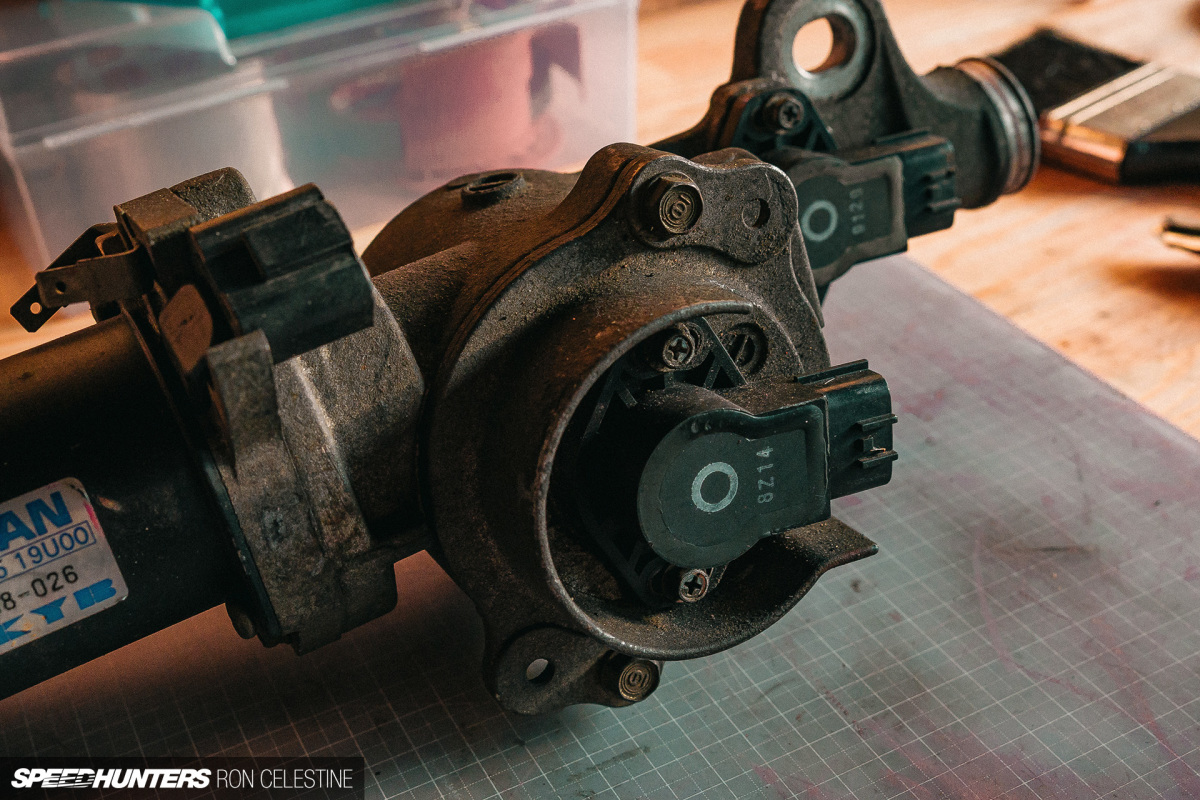
Now, most sane people install a HICAS delete bar or some other form of eliminator kit. I’m actually really curious about the system and would like to understand it and try to tune it before deciding to simply bin it. So, I bought this used unit from Yahoo! Auctions, with the idea to pull it apart and get a better insight on how the mechanisms work.
I do know that living in Japan provides me with easy access to parts that are harder to obtain outside the country, so a HICAS elimination kit would definitely be a more cost-effective option for many. Amazingly though, the HICAS system is one of the few things that still functions properly in my ER34. You can see it in the quick video I took here.

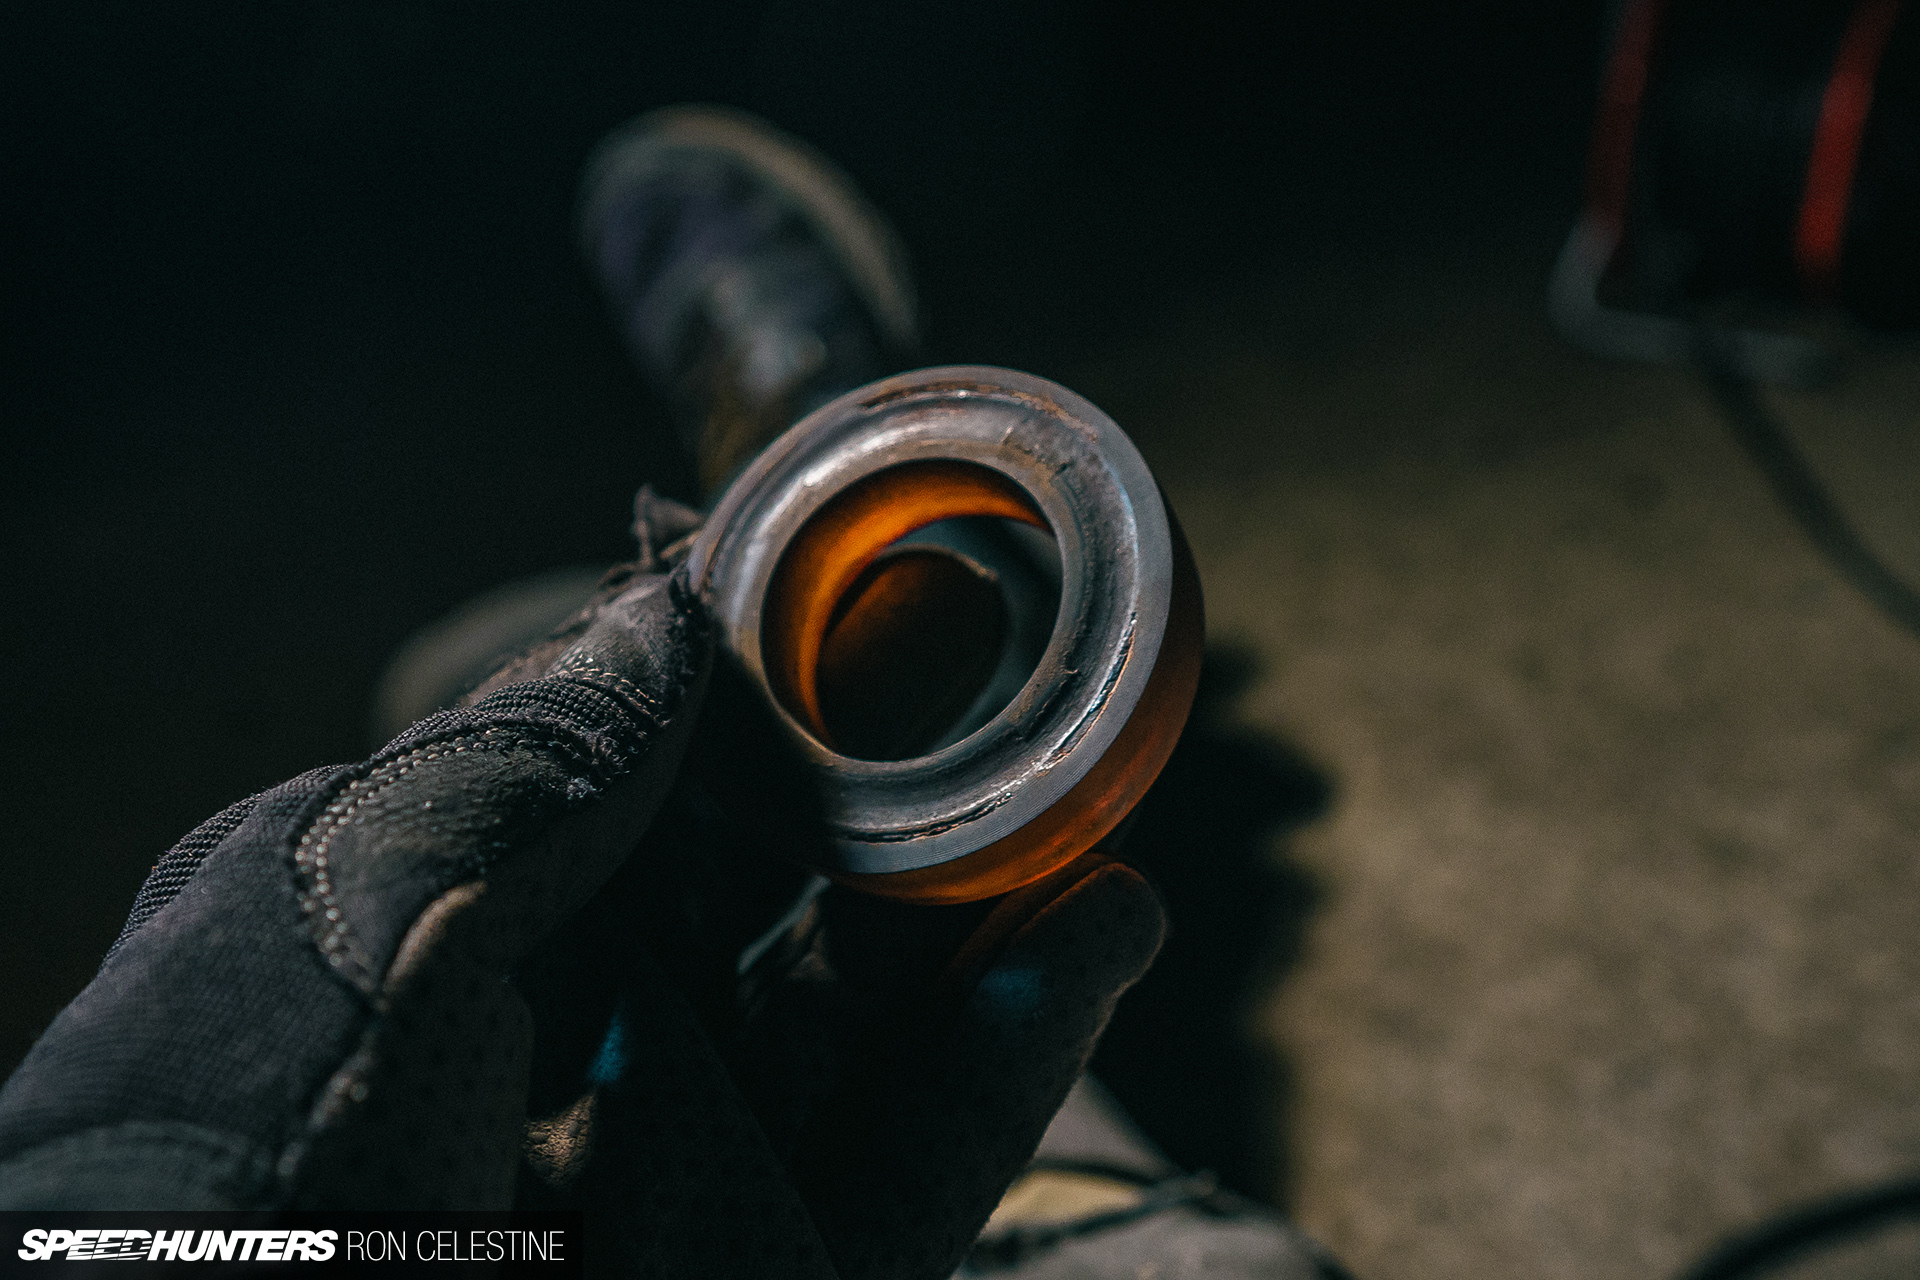
When it comes to replacing a HICAS ball joint, you can remove the entire hub and press the bush out with a hydraulic press, or buy a kit that allows you to remove the ball joint while the assembly is still attached to the car. Then there’s the third option, which is to remove the ball joint on the car while making your own extracting kit. Take a wild guess which route I took…
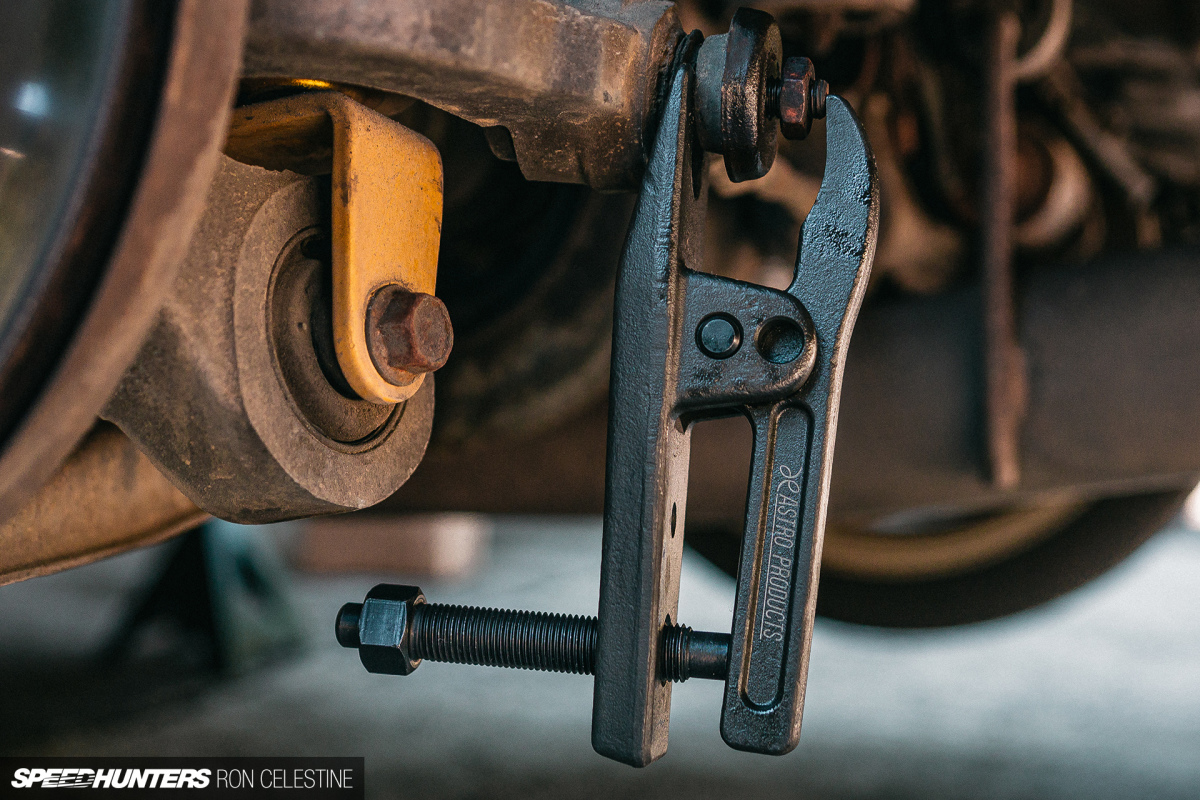

You first need to use a ball joint separator to, well, separate the joint. However, you must ensure the nut is basically at the last thread or off completely before you break the joint, or it will never come off. Ask me how I know that as well.
In hindsight, I would have cut the bolt off to give myself some extra clearance for the next bit of the process. You need a ball joint press kit or a very stout, large c-clamp, as there’s a fair amount of force needed to press the ball joint out.
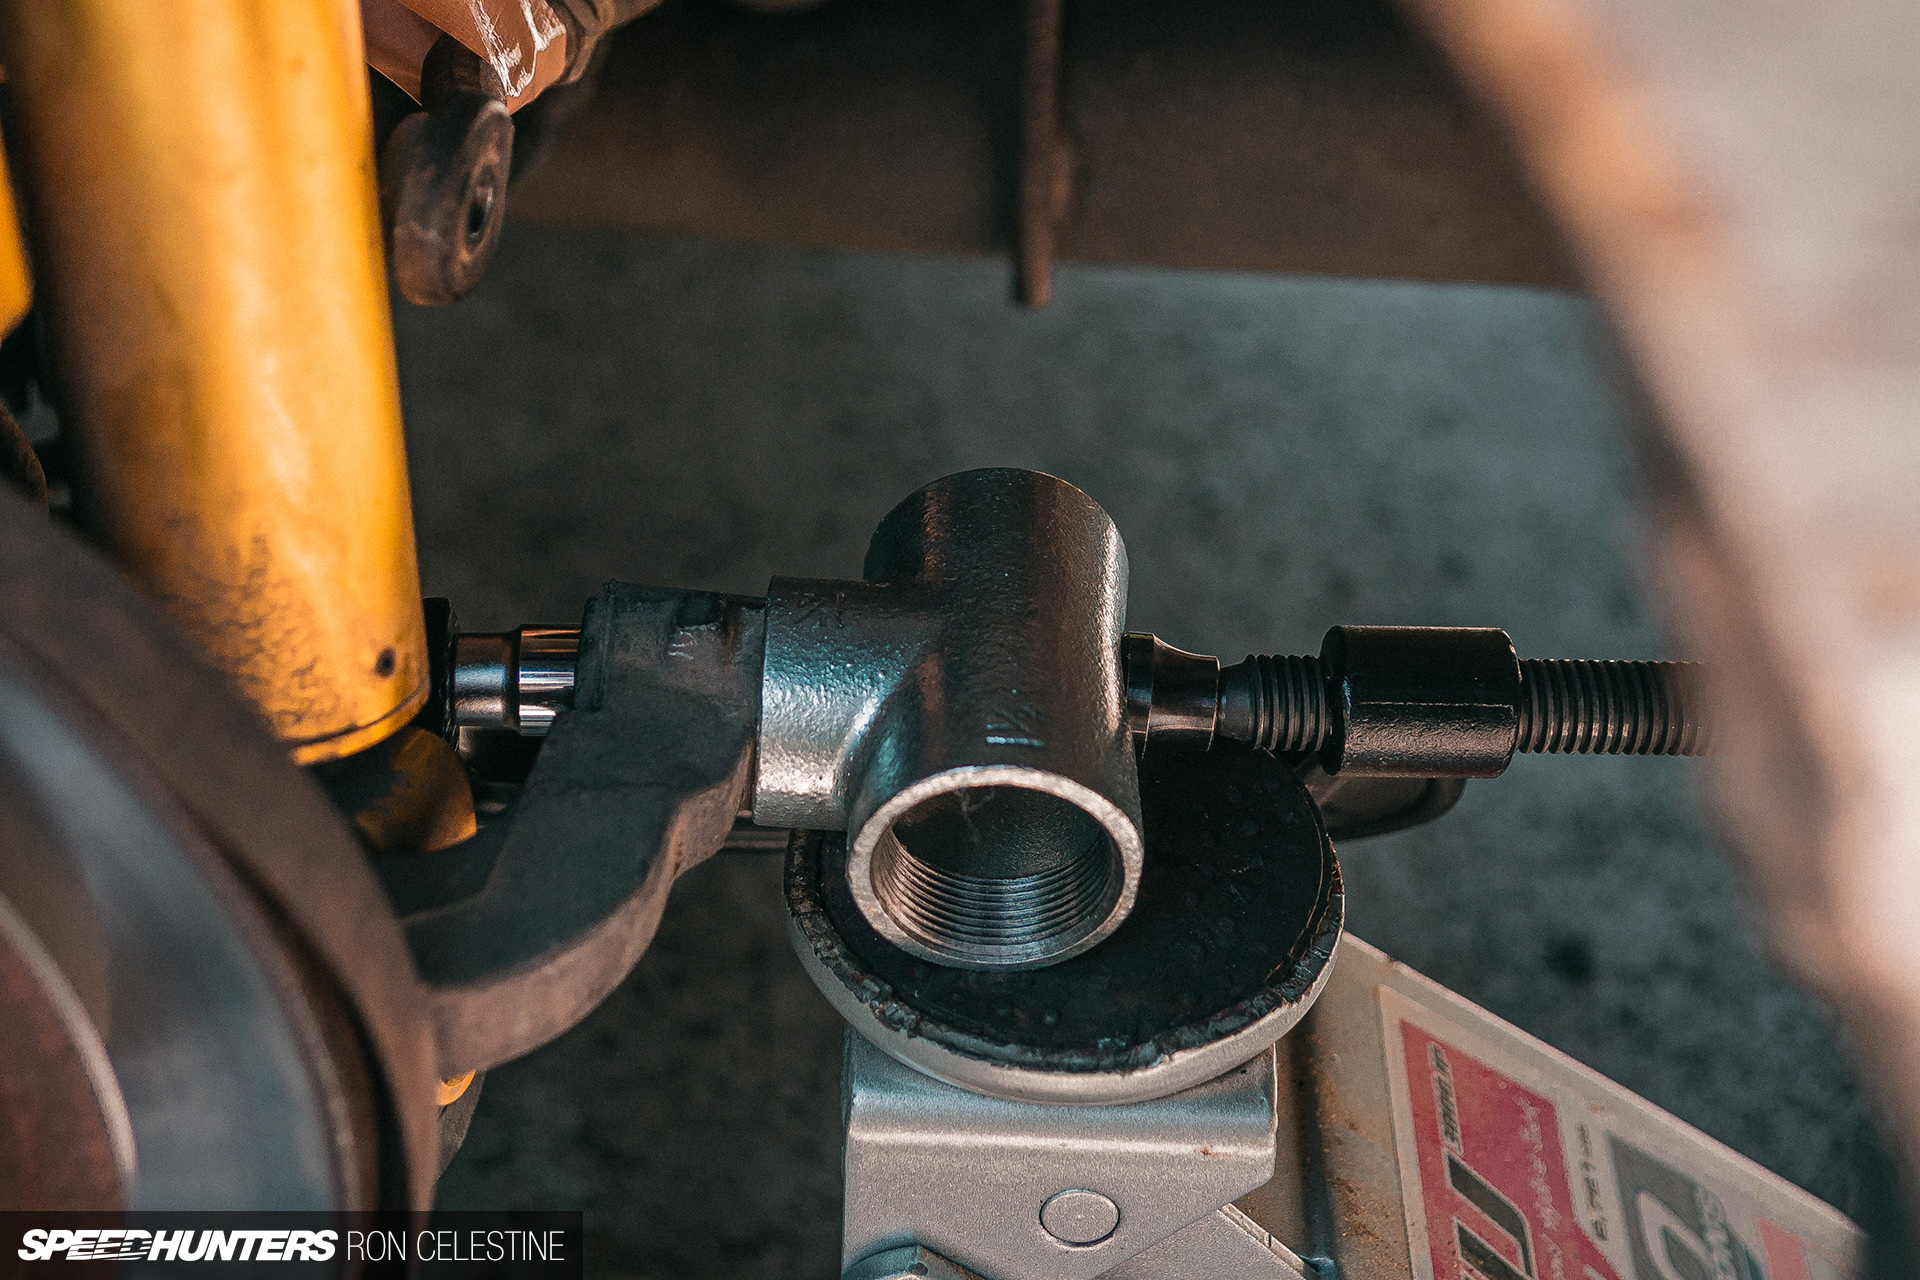
For my first attempt, I used a socket at rear and a t-joint pipe to press the ball joint into. Not only was the t-joint not strong enough, but since I positioned the jack to help act as an extra hand to hold everything in place, the c-clamp wandered, thus not delivering the force exactly straight. I was able to press the bushing out, but it was a mess.
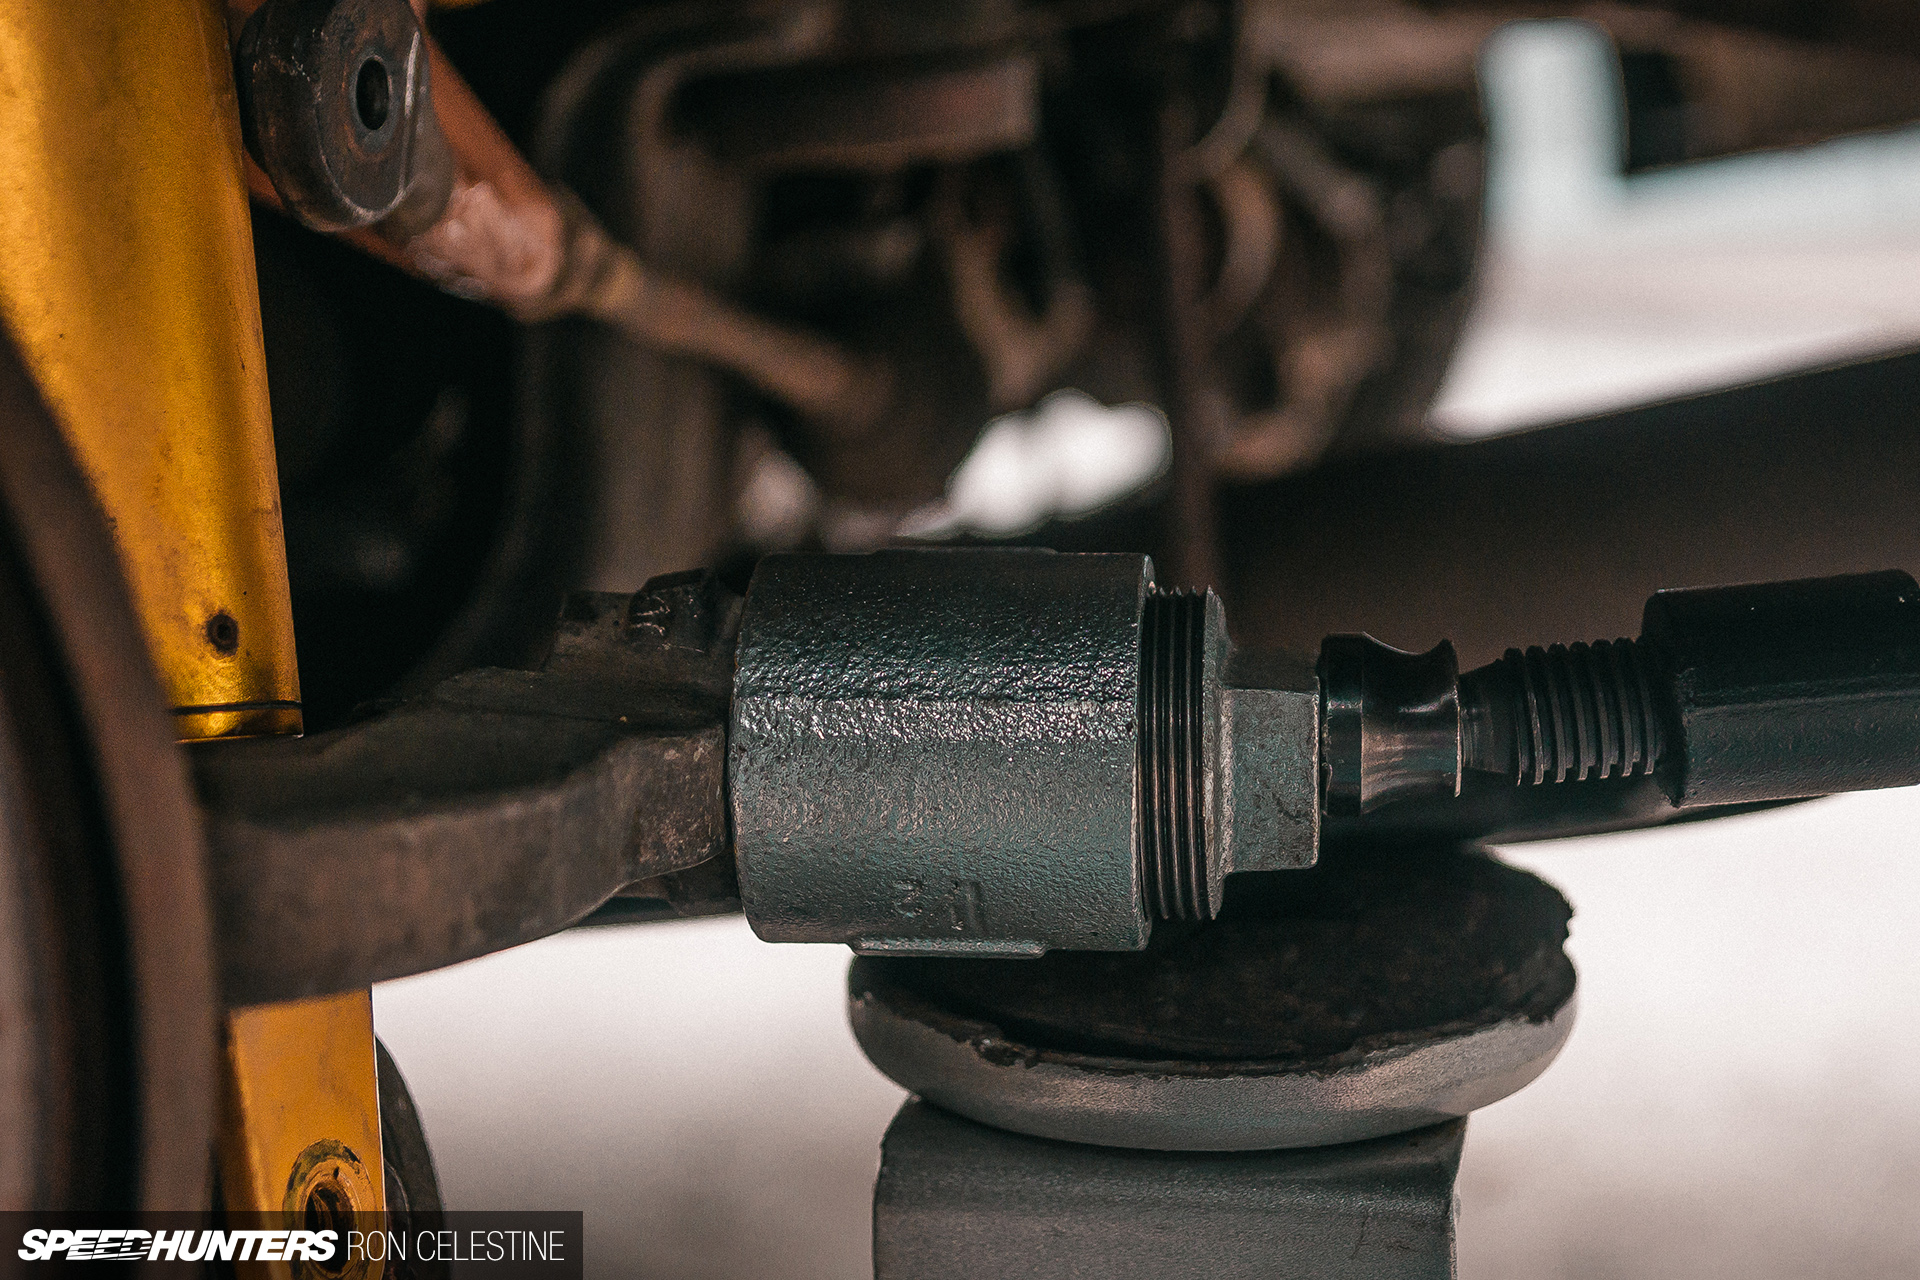
On my second go, I positioned the jack to counter the torque movement of the c-clamp (this does mean you have to hold everything in place by yourself, so use another jack if you have one, a friend, or don’t skip arm day), a thicker pipe with a flat cap, and heat. If you have a blow torch, heat the outside of the bushing for about one to two minutes, as that makes pressing the bushing out much easier. Cursing is still required, but this second attempt was far more successful than my first.
Installing the new bushing it a bit harder as you can only press the ball joint in one direction due to a flange. A 32mm socket fits perfectly on that flange and a 27mm socket fits on the backside – just.
The whole operation is then done in reverse, but know that when the ball joint isn’t moving anymore, stop. Something has gone wrong and you either need to realign the clamp, or reheat the metal again as there is too much friction. A little grease can help, but then you need to take extra caution when heating the metal up. Yes, I did have to do one ball joint all over because I didn’t stop.
One Last Surprise
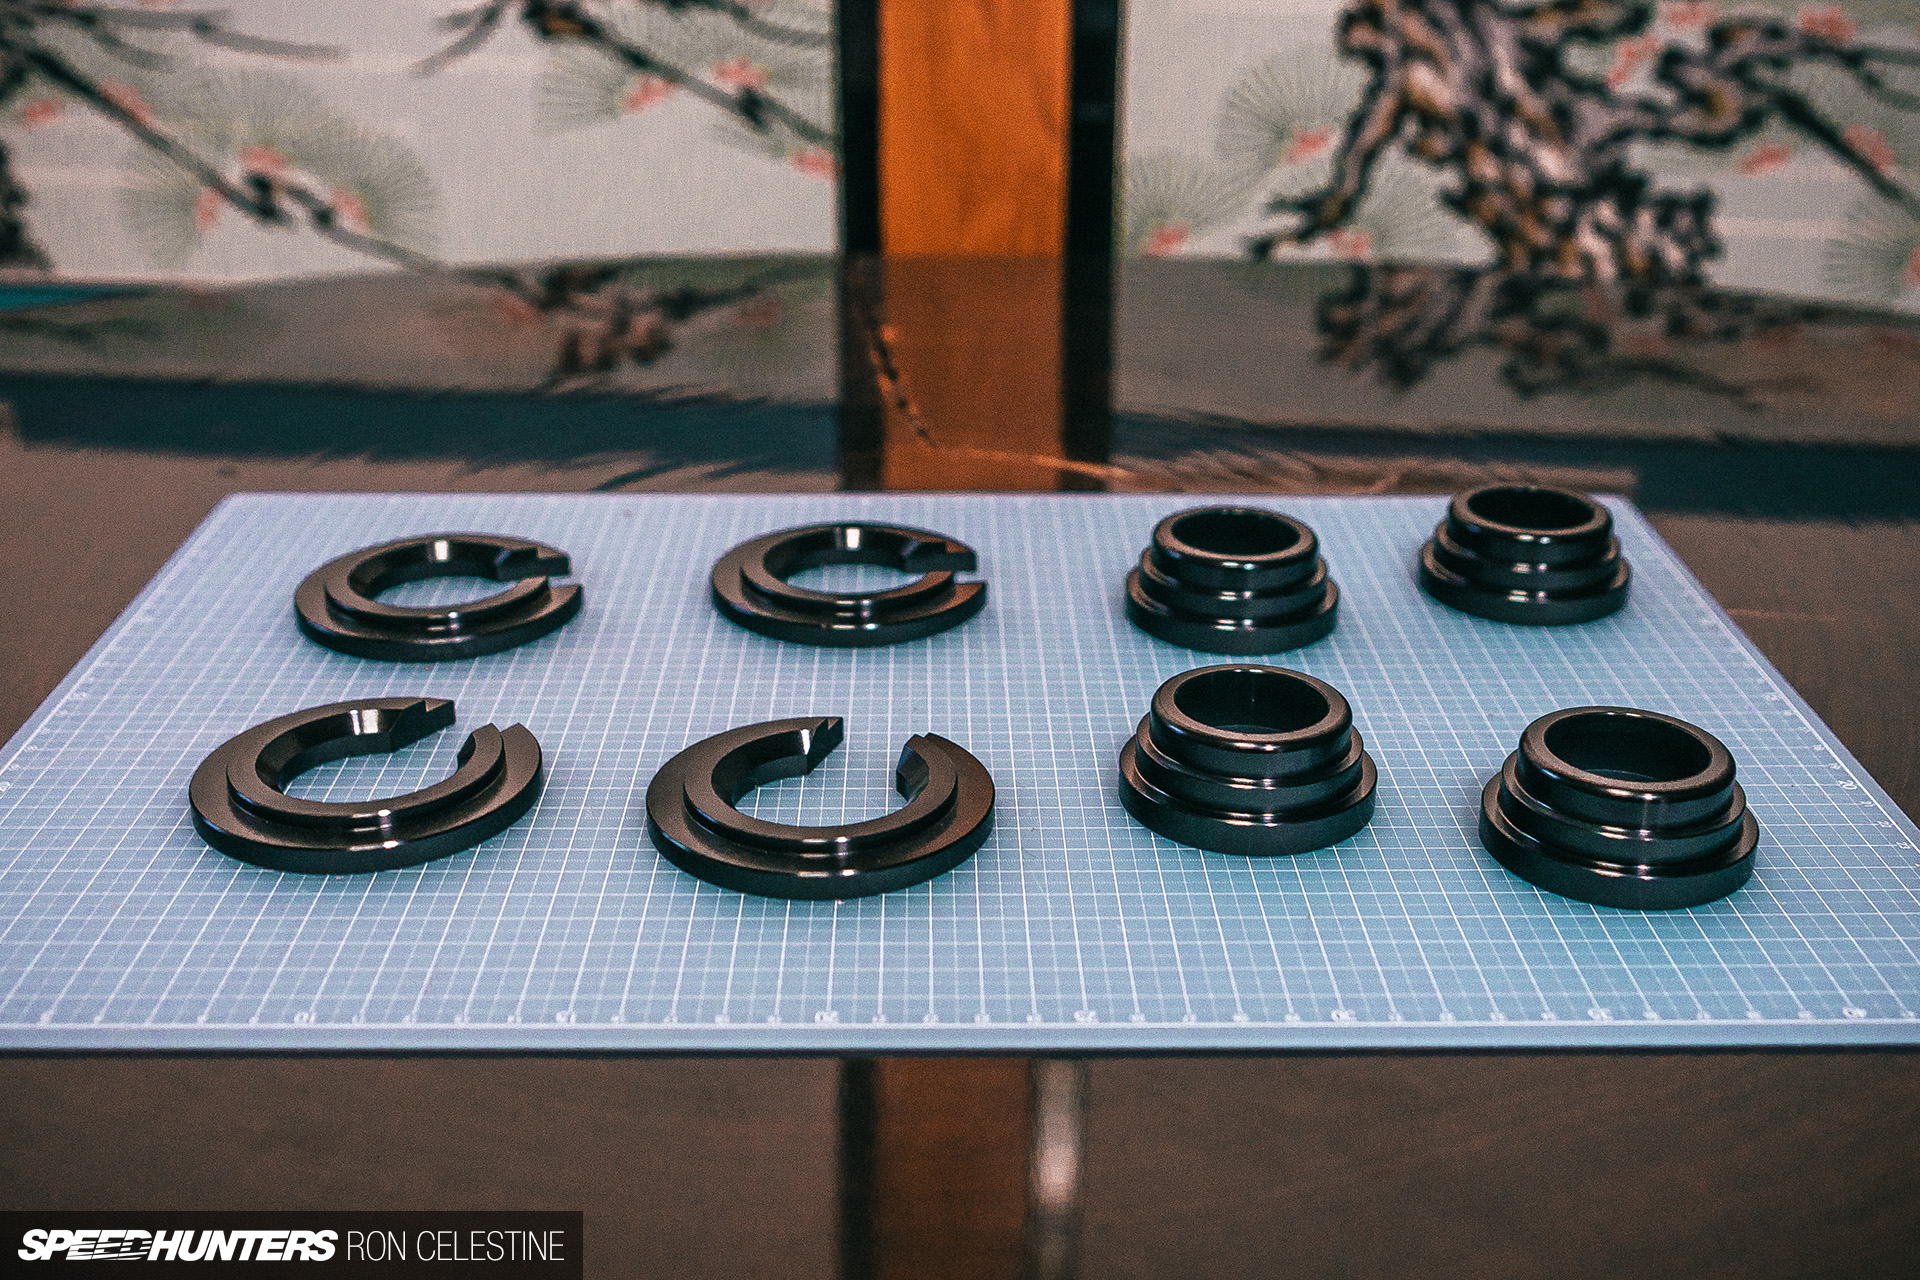
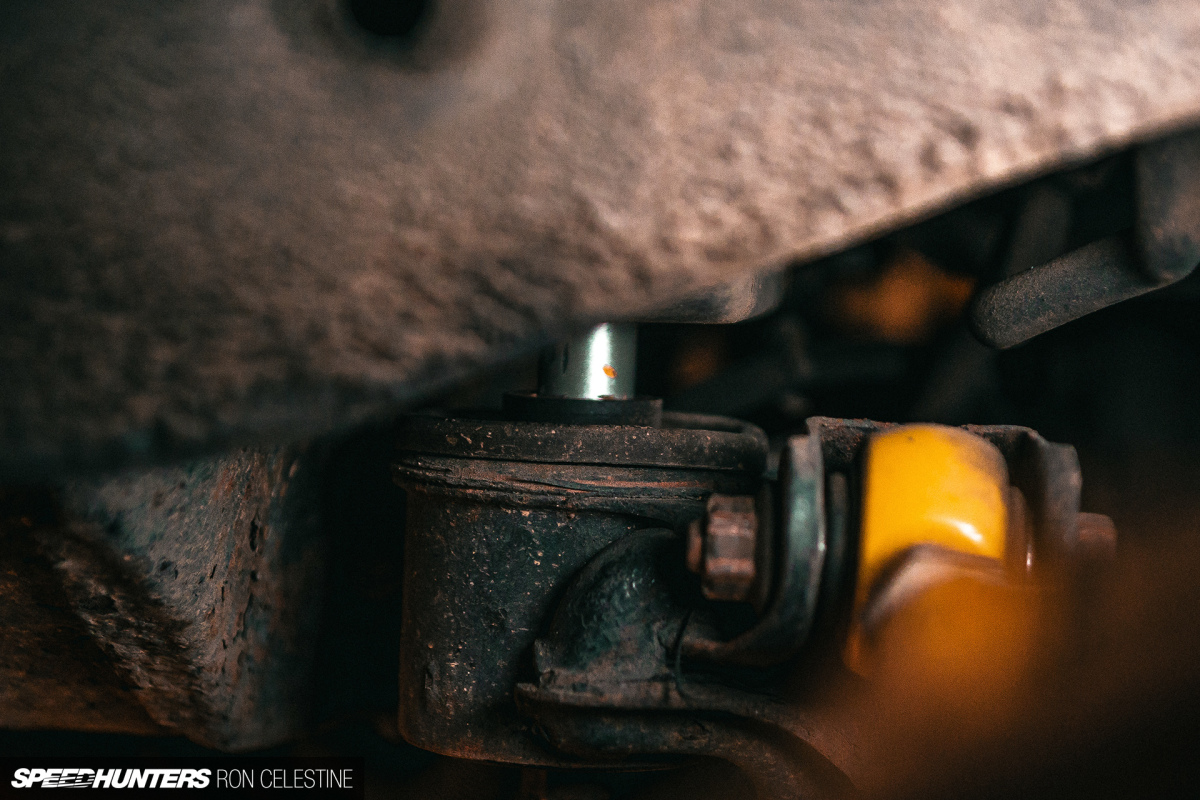
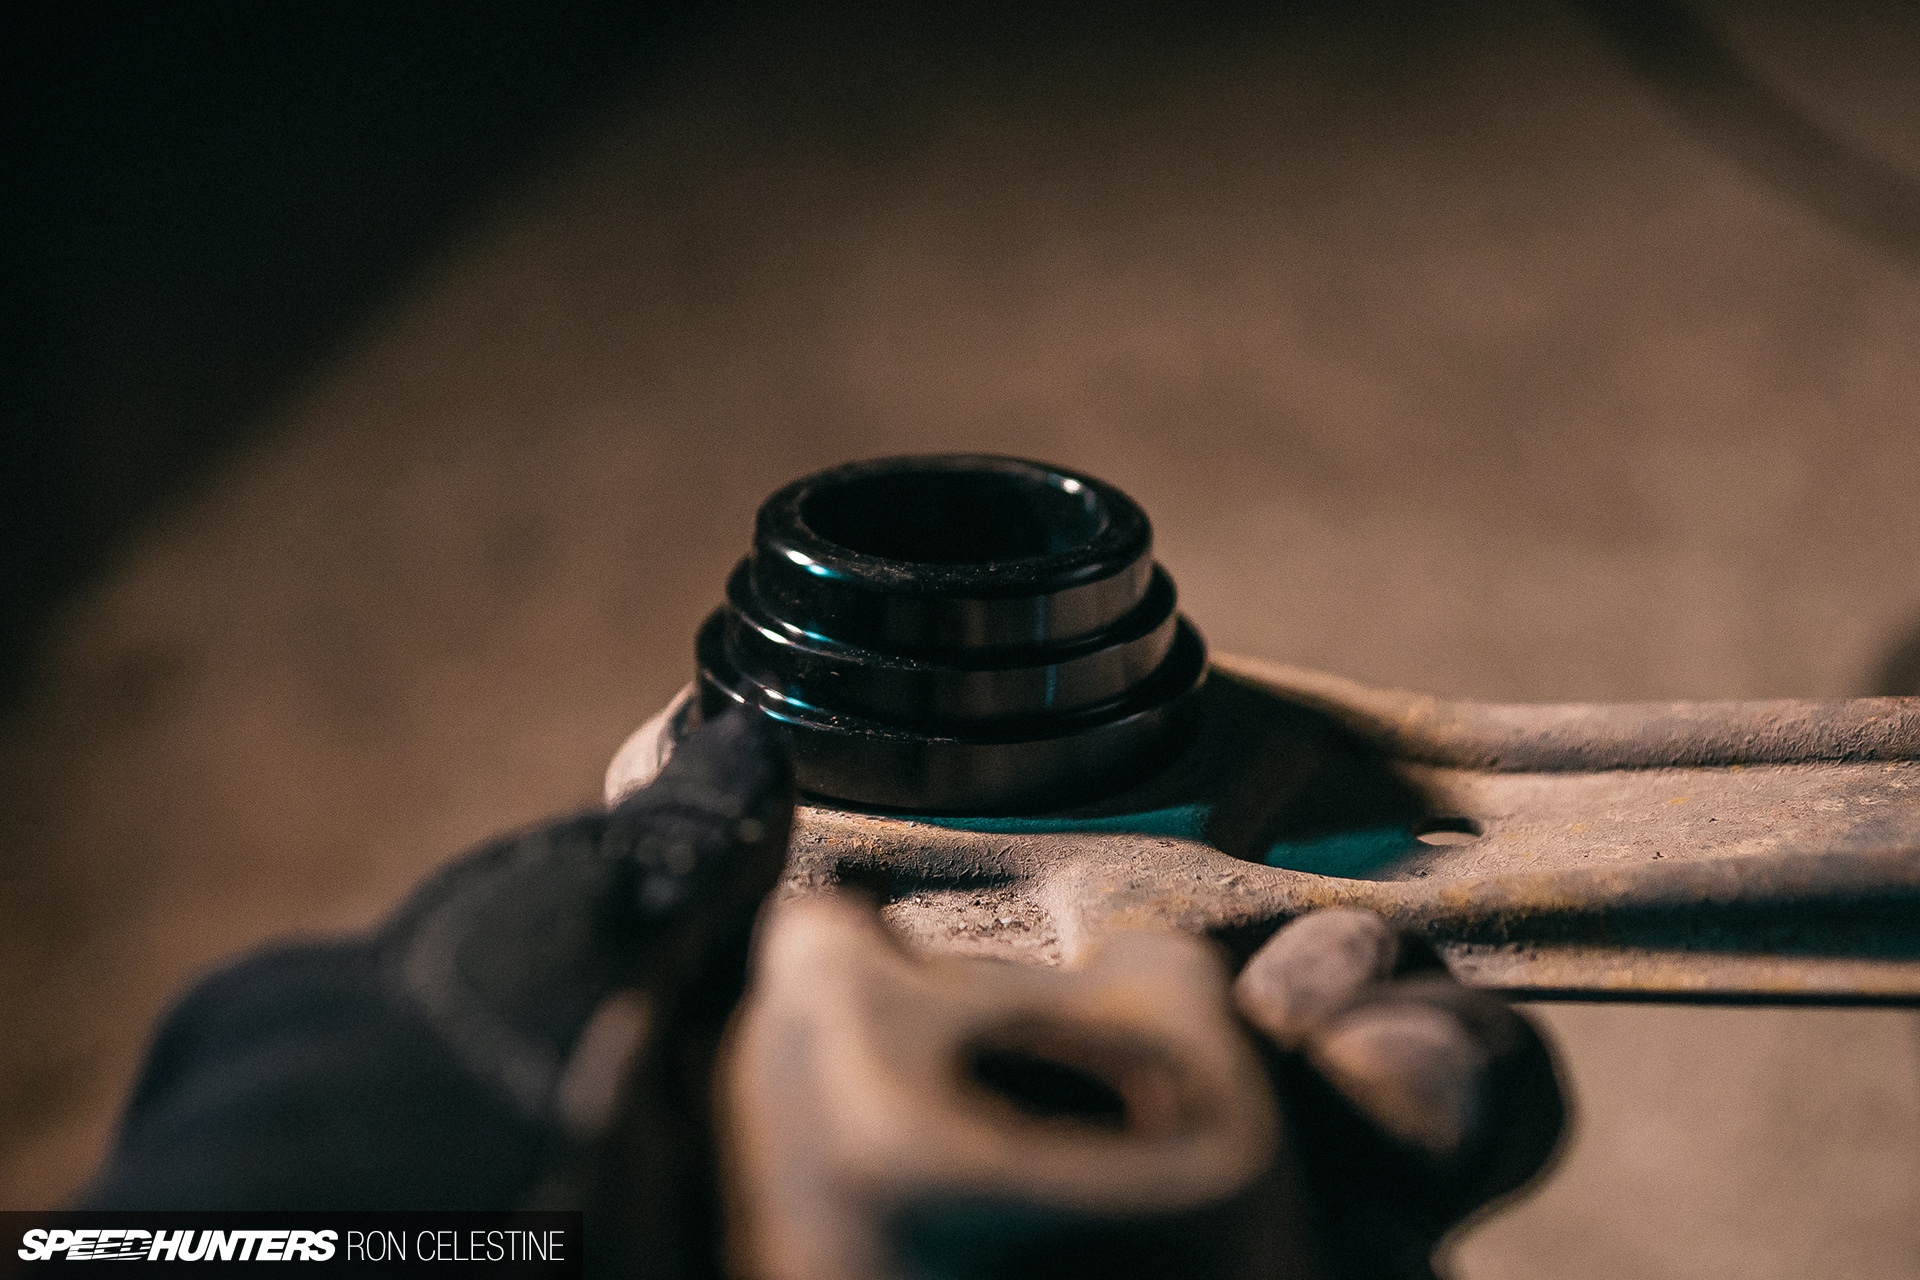
Since I was working on the Skyline’s rear end, there was one bit of kit from GKTech I wanted to install before moving on – rear subframe collars. There was still a lot of movement in the car’s back end which concerned me when driving it hard, and I wasn’t sure if it was the HICAS unit, the worn HICAS ball joints, or something completely unrelated. The ball joint replacement did remedy the ‘slop’, but the car still felt a bit off.


I consulted with Zac at GKTech and he suggested the collars, which would help tighten the rear up. To fit them, all you need to do is support your rear subframe with a jack on the diff, loosen the subframe bolts so that you can remove the washers, brackets, and thread the nut just enough to allow the subframe to drop to the point where you can slip on the collars above and below.
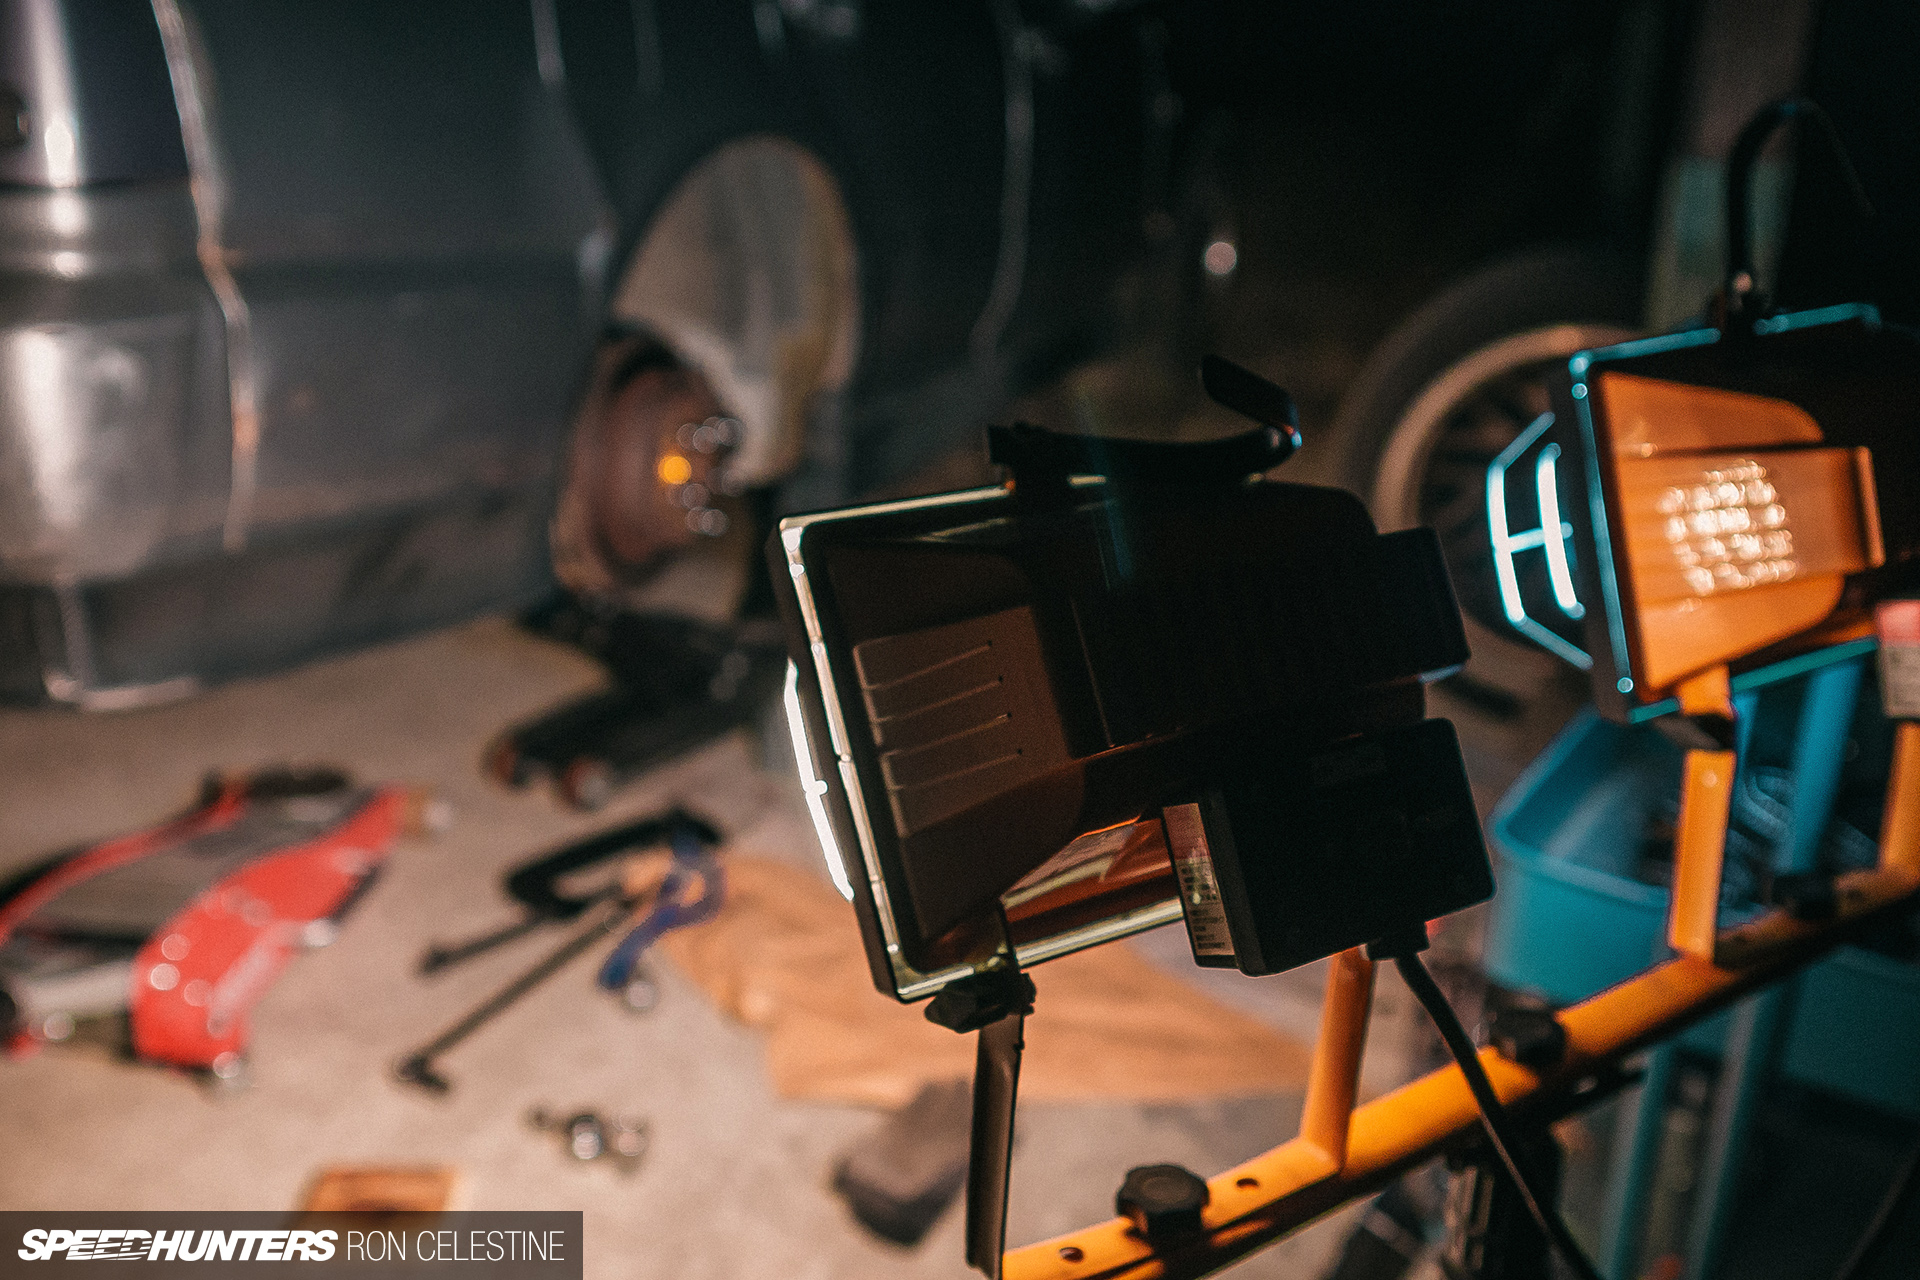
I whipped out the lights and got to work fitting the collars, with GKTech’s install video ready to go on my phone just in case I found a way to mess it up.

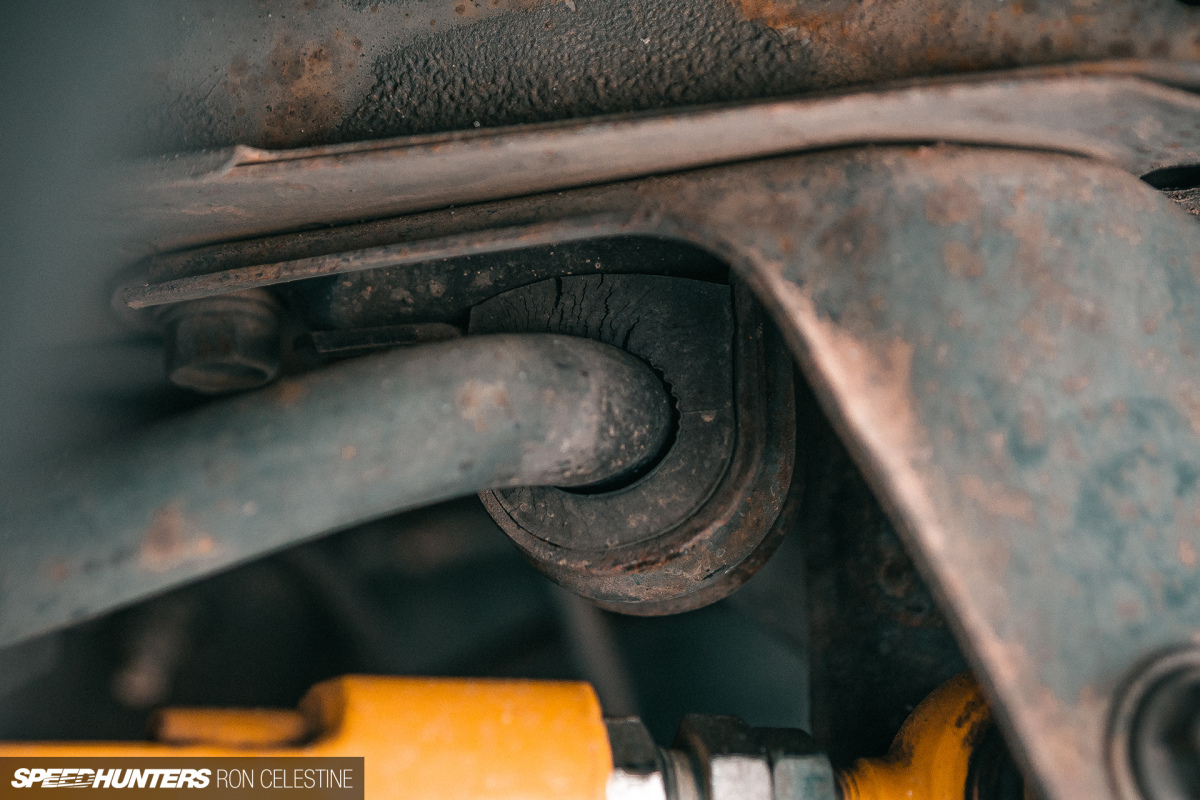
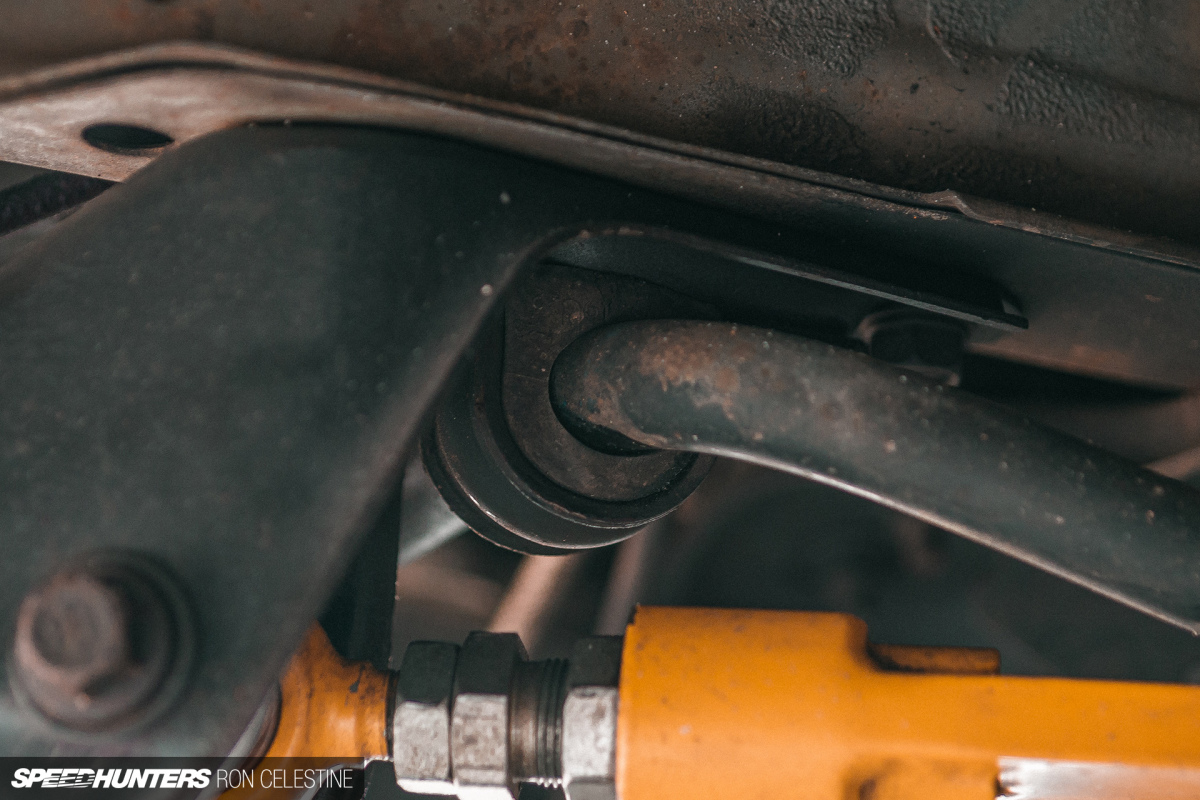
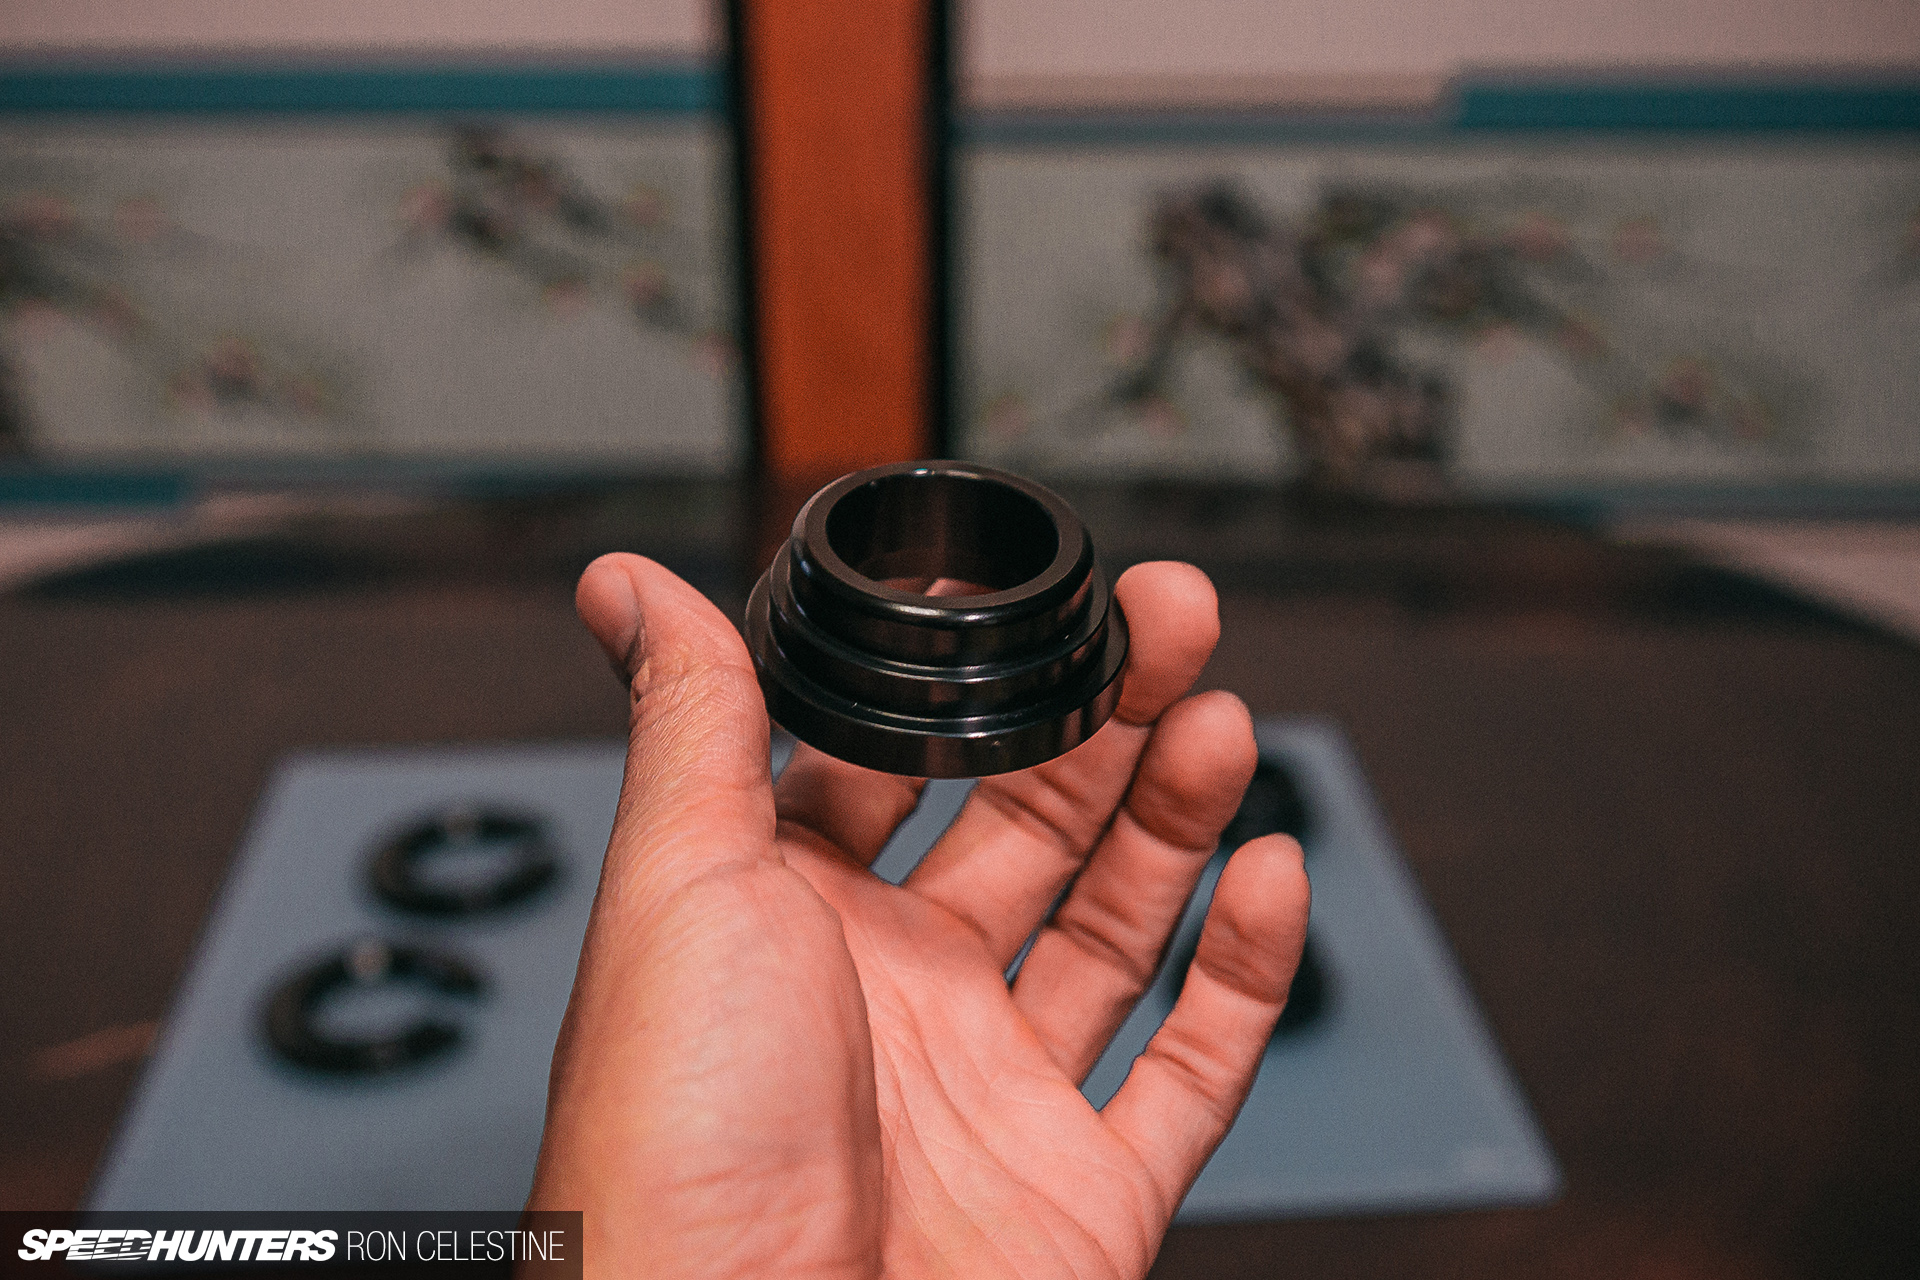
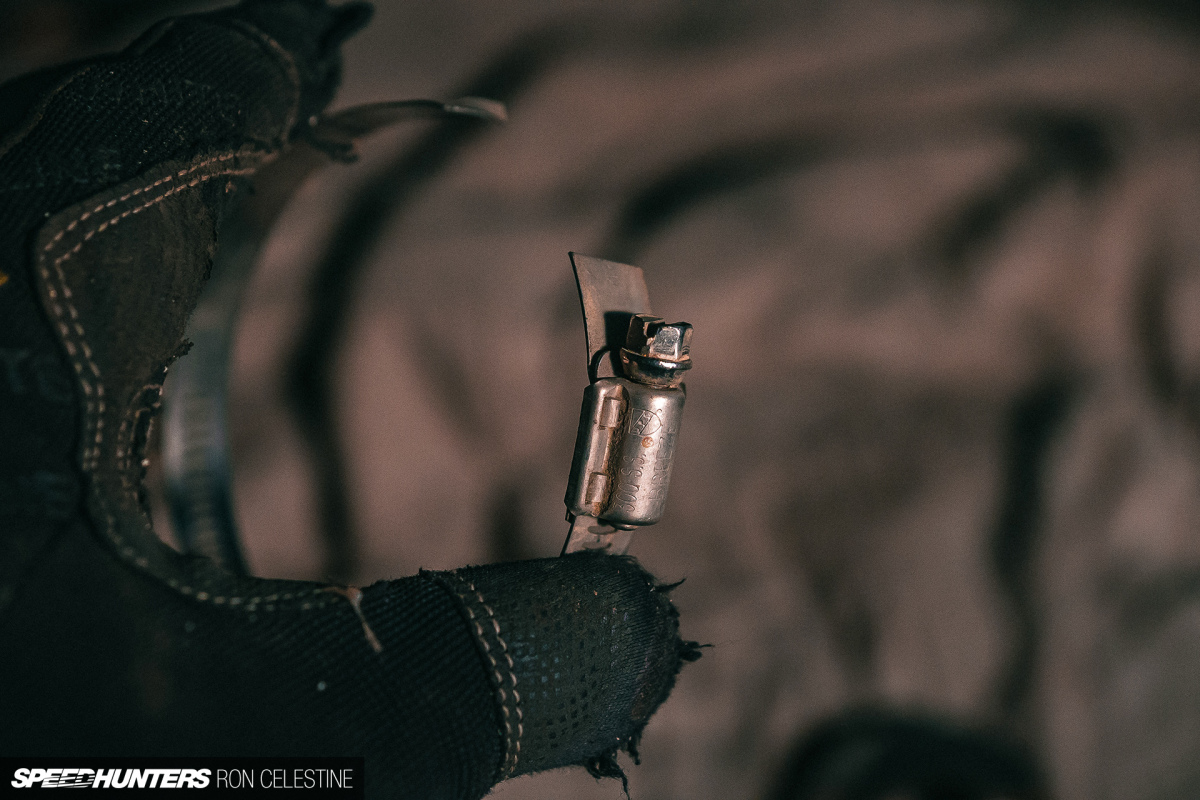
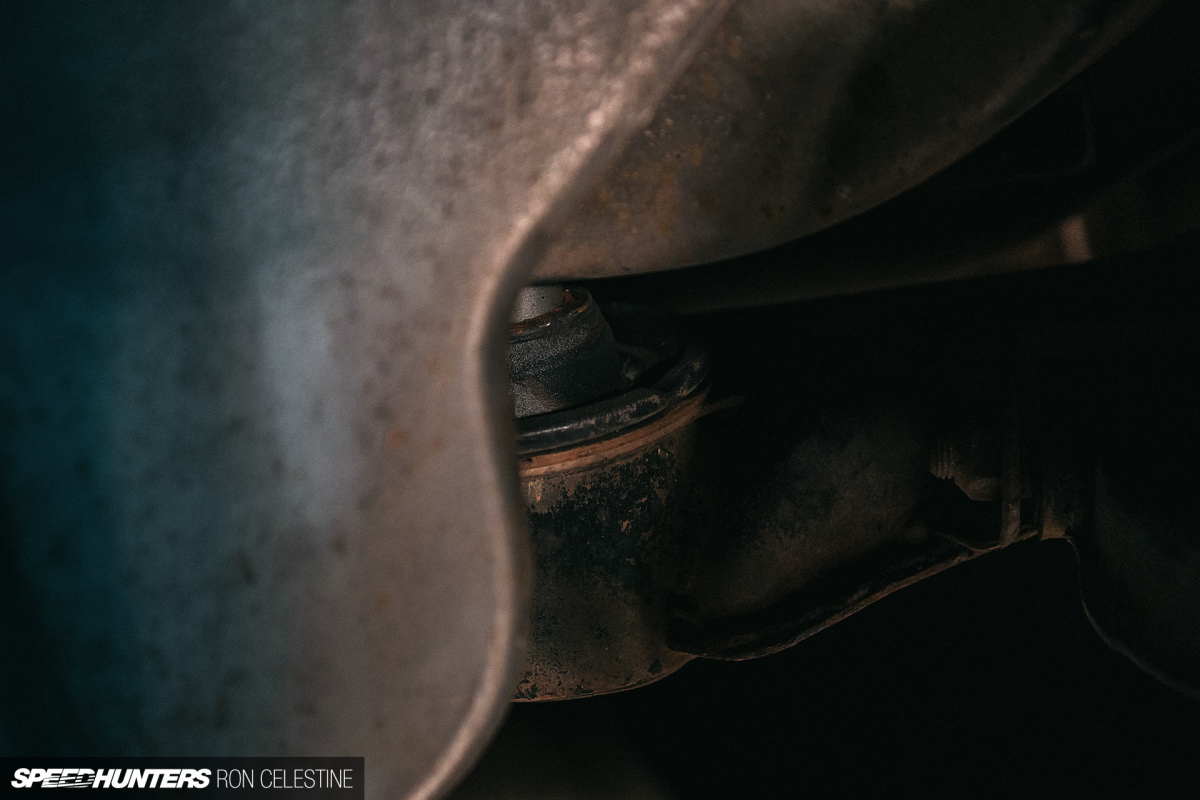
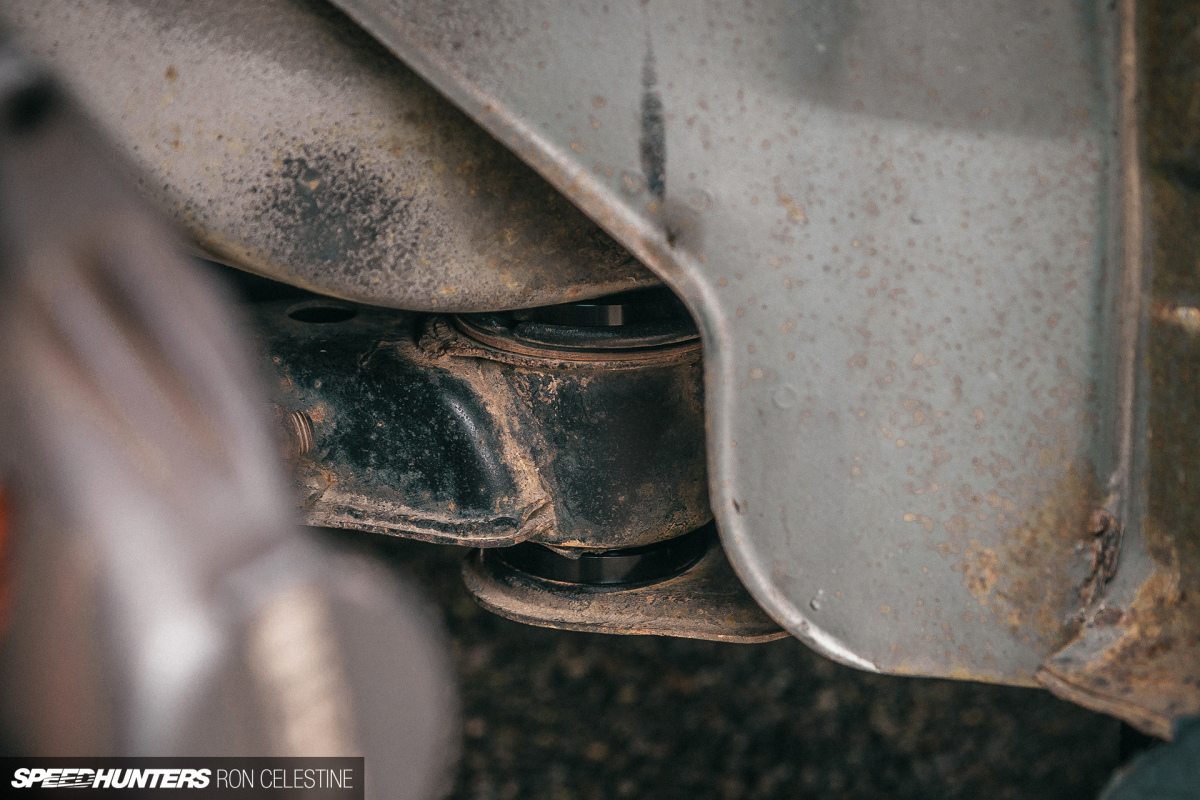
That’s when I noticed something very peculiar. On the back side of the rear subframe, there seemed to be an extra ring below the subframe. On closer inspection, it appeared to be a hard plastic-like polyurethane. Up front, these rings were not only thicker, but wrapped in a hose clamp and only fitted above the subframe.
The rears were easily removed as they’re located beneath the rear subframe, but the fronts are so tall that they’re not coming out unless you drop the whole front subframe.
Once again, I stopped what I was doing and started to research what these could be. It turns out that people use these ‘pineapple rings’ to offset the geometry of the diff and subframe to try and increase traction. Basically, they were configured to induce squatting.
I sent the car’s previous owner a picture of one of the rings and a message asking if he knew anything about them. He confirmed that they were installed so the car had more grip off the line for drifting and gymkhana.

I can understand why people want more traction in the rear, and these are a very cheap and easy way to achieve that. Traction arms, control arms, bigger wheels and tires are all costly. However, they shift the weight in an unusual manner and have a negative effect on handling.
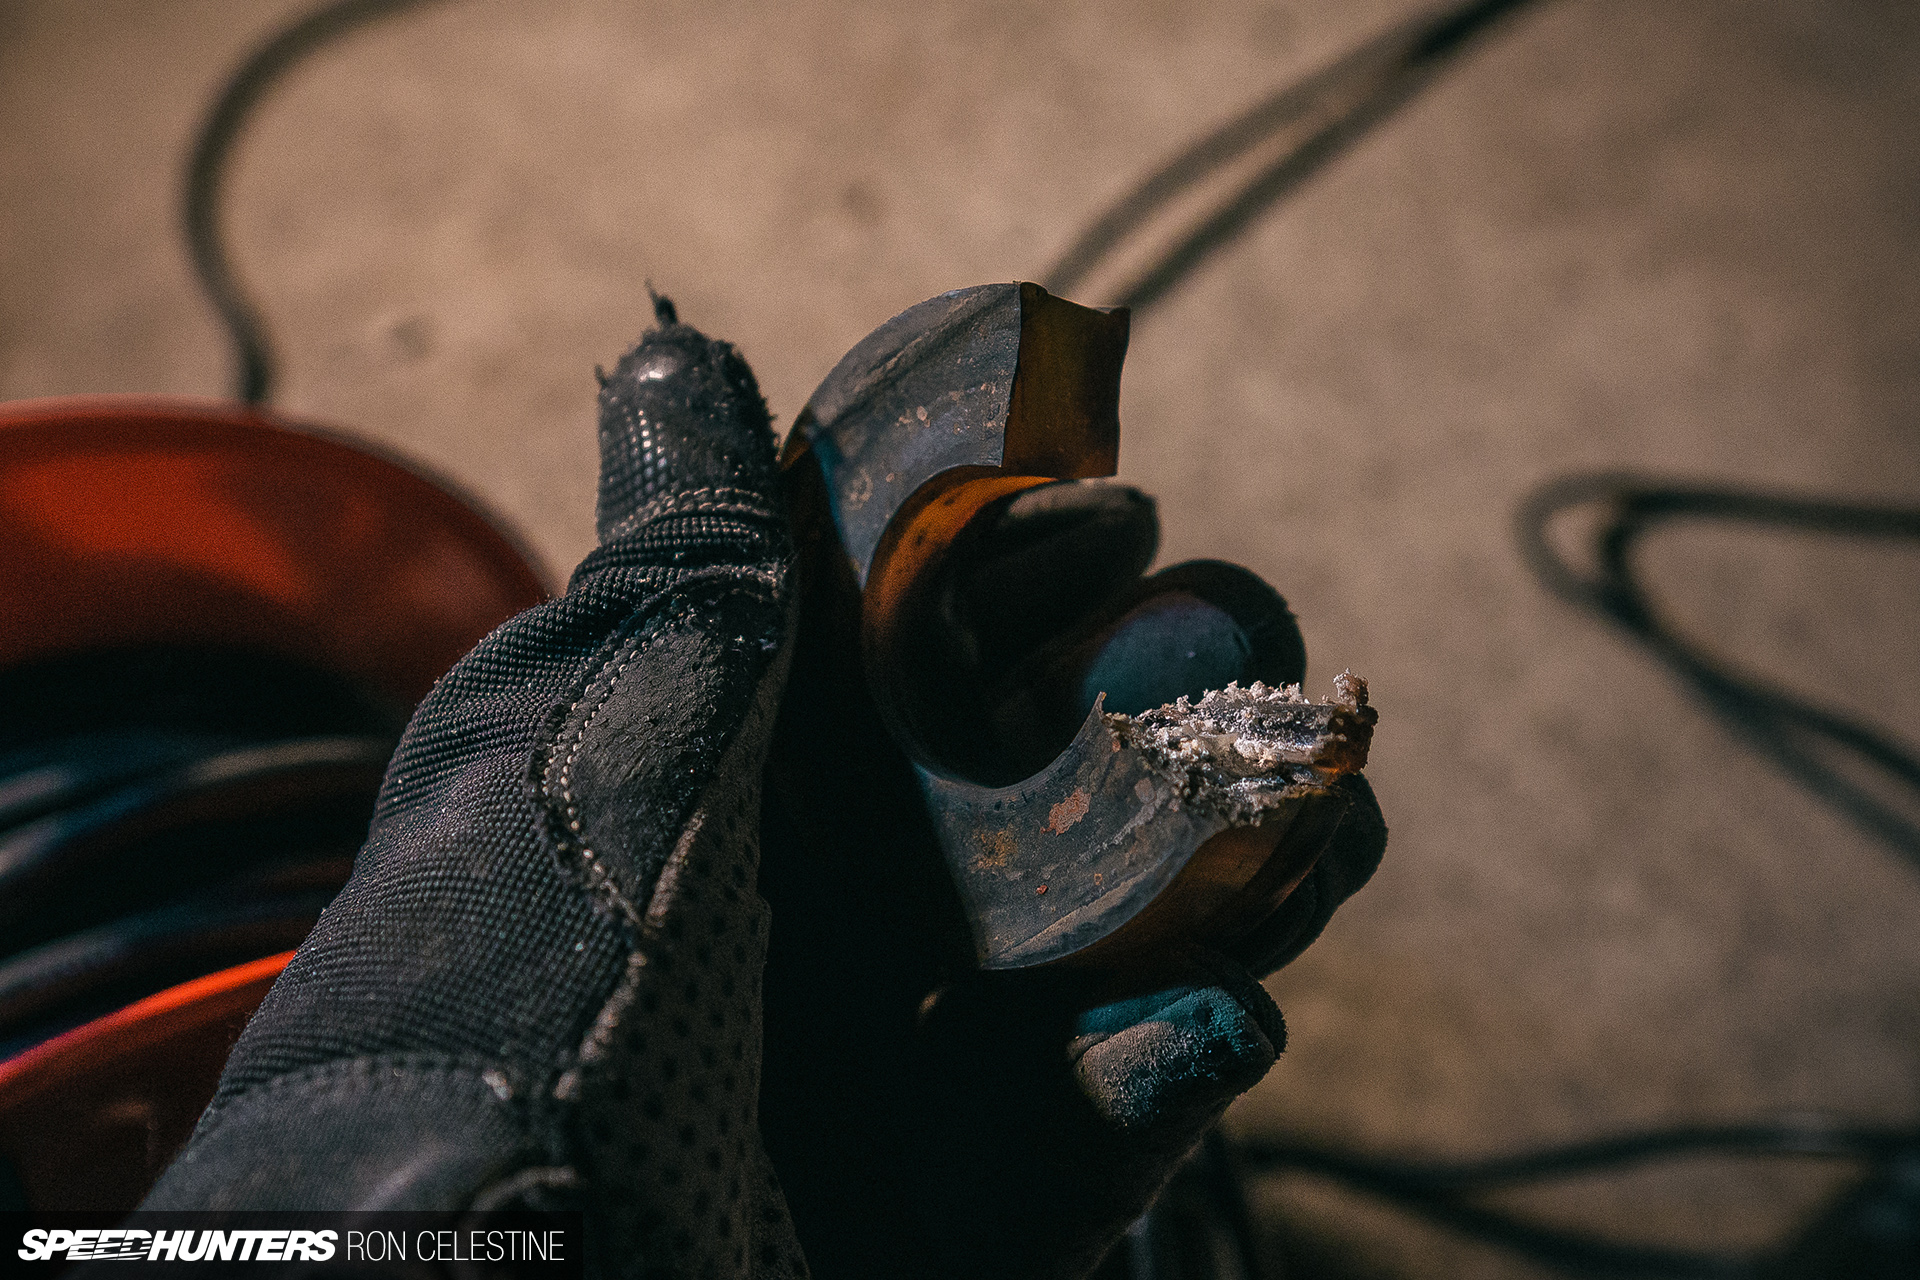
Knowing what I was dealing with, I broke out the Dremel and hacked away at the spacers until I could easily remove them. Then I fitted the GKTech collars.
At this point I definitely needed to do an alignment as the spacers had changed so much, but I wanted to do an apples-to-apples comparison. Unsurprisingly, the odd weight transfer feeling I had grown accustomed to was now gone, and the rear felt nice and tight. If anything, it felt better than the front, but that was to be expected prior to an alignment.
What I wasn’t expecting, but something that makes total sense now, was an improvement in gear shifts. When I installed the CUBE Speed short shifter, I thought that was the best it would ever be, but the car now shifts effortlessly and feels 10 times better with the geometry back in its designated place.
Now it’s time to move onto the final big project. Stay tuned.
Ron Celestine
Instagram: celestinephotography
OFFICIAL SPEEDHUNTERS SUPPLIERS
For GREAT deals on a new or used Chevrolet check out Community Chevrolet TODAY!